For the past two years, I have been a Haas Research Fellow at the Science History Institute in Philadelphia. There, I have been investigating the history of rare earths and their socio-ecologic impact on communities. My project engages the histories of mining, extraction and its environmental impact and takes a critical look at our earth as a finite resource commodity and our dependence on materials. The project has been co-hosted by the glass department at Tyler School of Art where I have been working on object responses to the research. As an artist working in glass, I directly feel the impact of the raw material market.
Rare Earths, are the Elements 57-71 on the Periodic Table and make up some of the last discovered elements. Rare Earths received little attention until the dawn of the Atomic age. In the 1930’s with the race to invent the atomic bomb a lot of pure uranium was needed and so RE’s - a contaminant in Uranium that has to be separated out when refining Uranium was a byproduct, for which researchers started to look for possible applications.
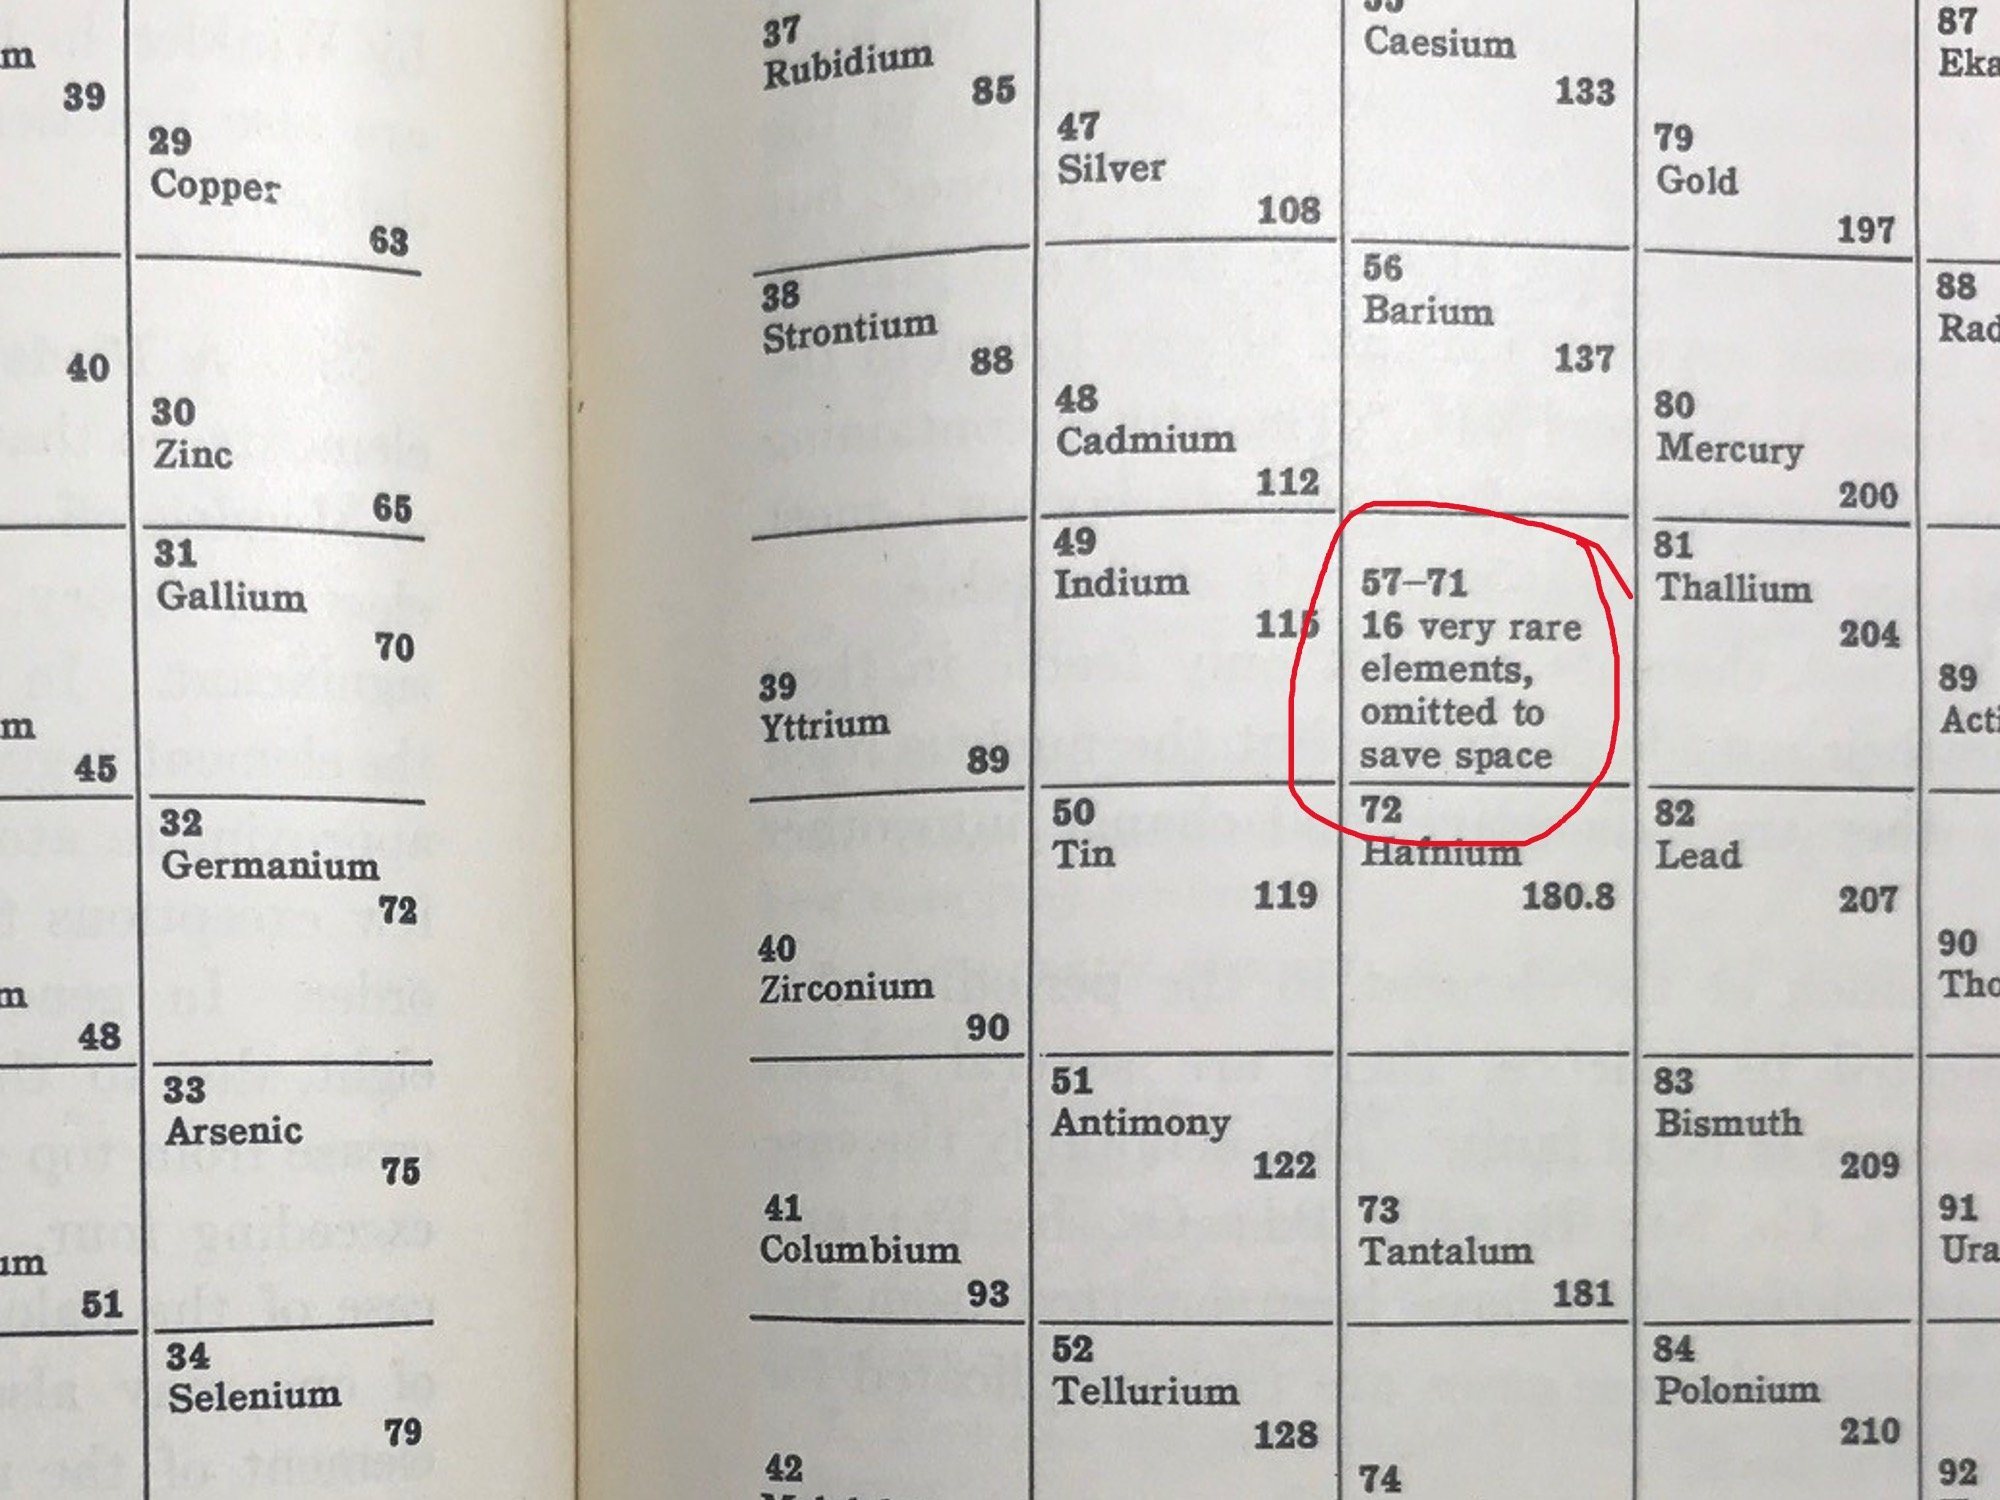
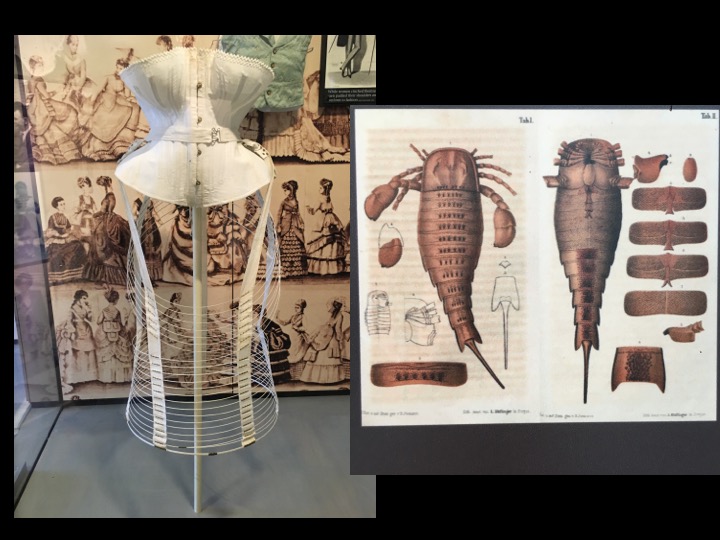
RE’s on a historic periodic table, considered to be so unimportant that they were left out to safe space.
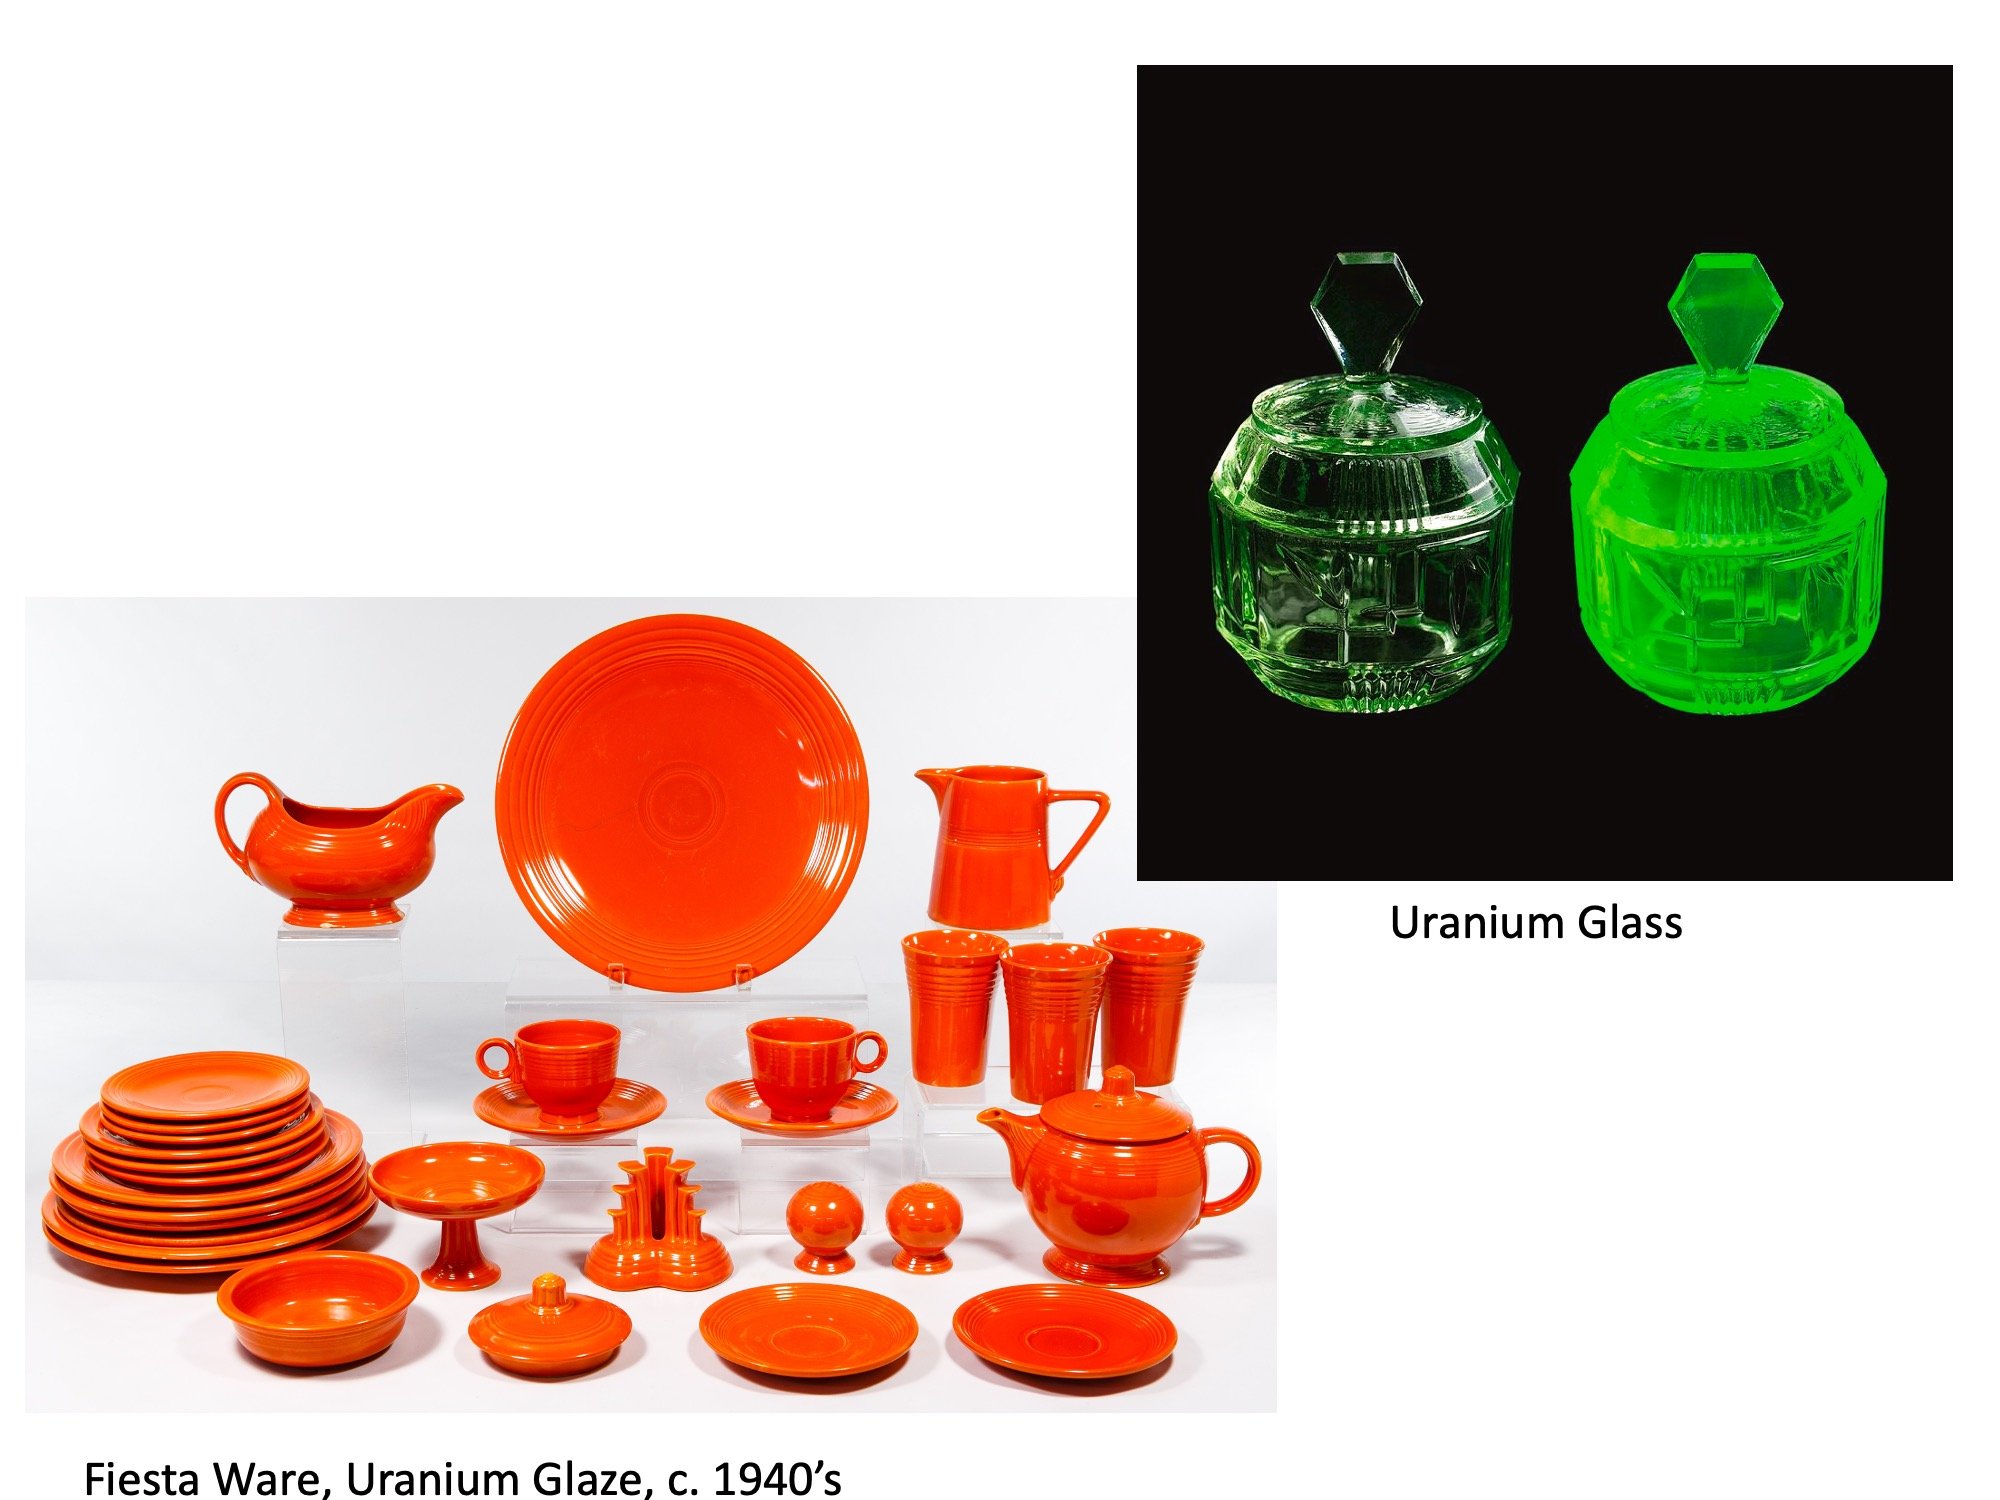
Uses of Uranium for the everyday. Uranium glows under Blacklight.
Because RE’s and Uranium’s histories are so interdependent and occur always together. My research had to expand to Uranium as well.
But why are rare earths important?
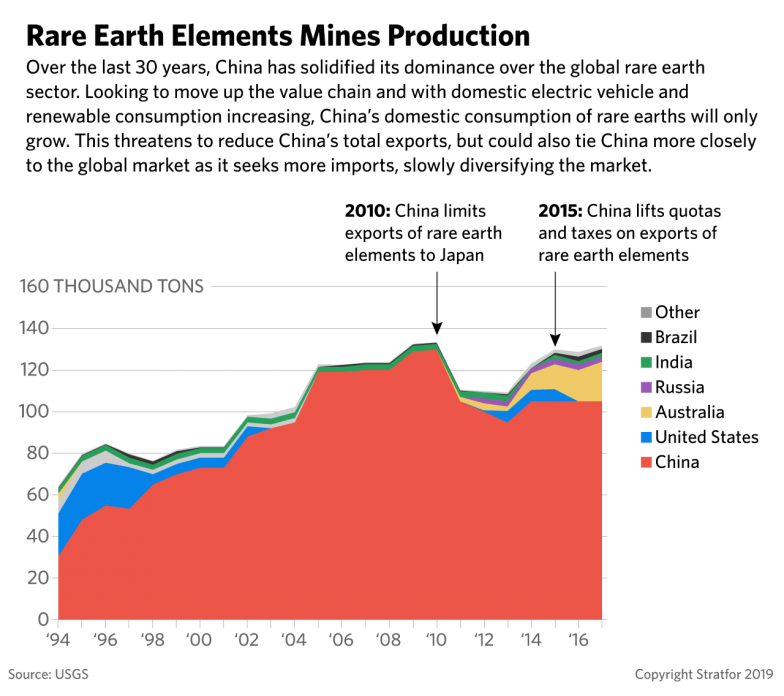
they are used in all consumer electronics and are crucial for all renewable energy. The cost of them has increased by 10% in the first months of 2022 and increased 50-fold in the last 10 years. RE’s have to be chemically separated from the ore using acid baths. The concentration of RE’s is very low, between 5-10% of the ore is RE the rest ends in mine tailings. In the separation process the ore is crushed to a sand which in the tailings easily becomes water and air borne.
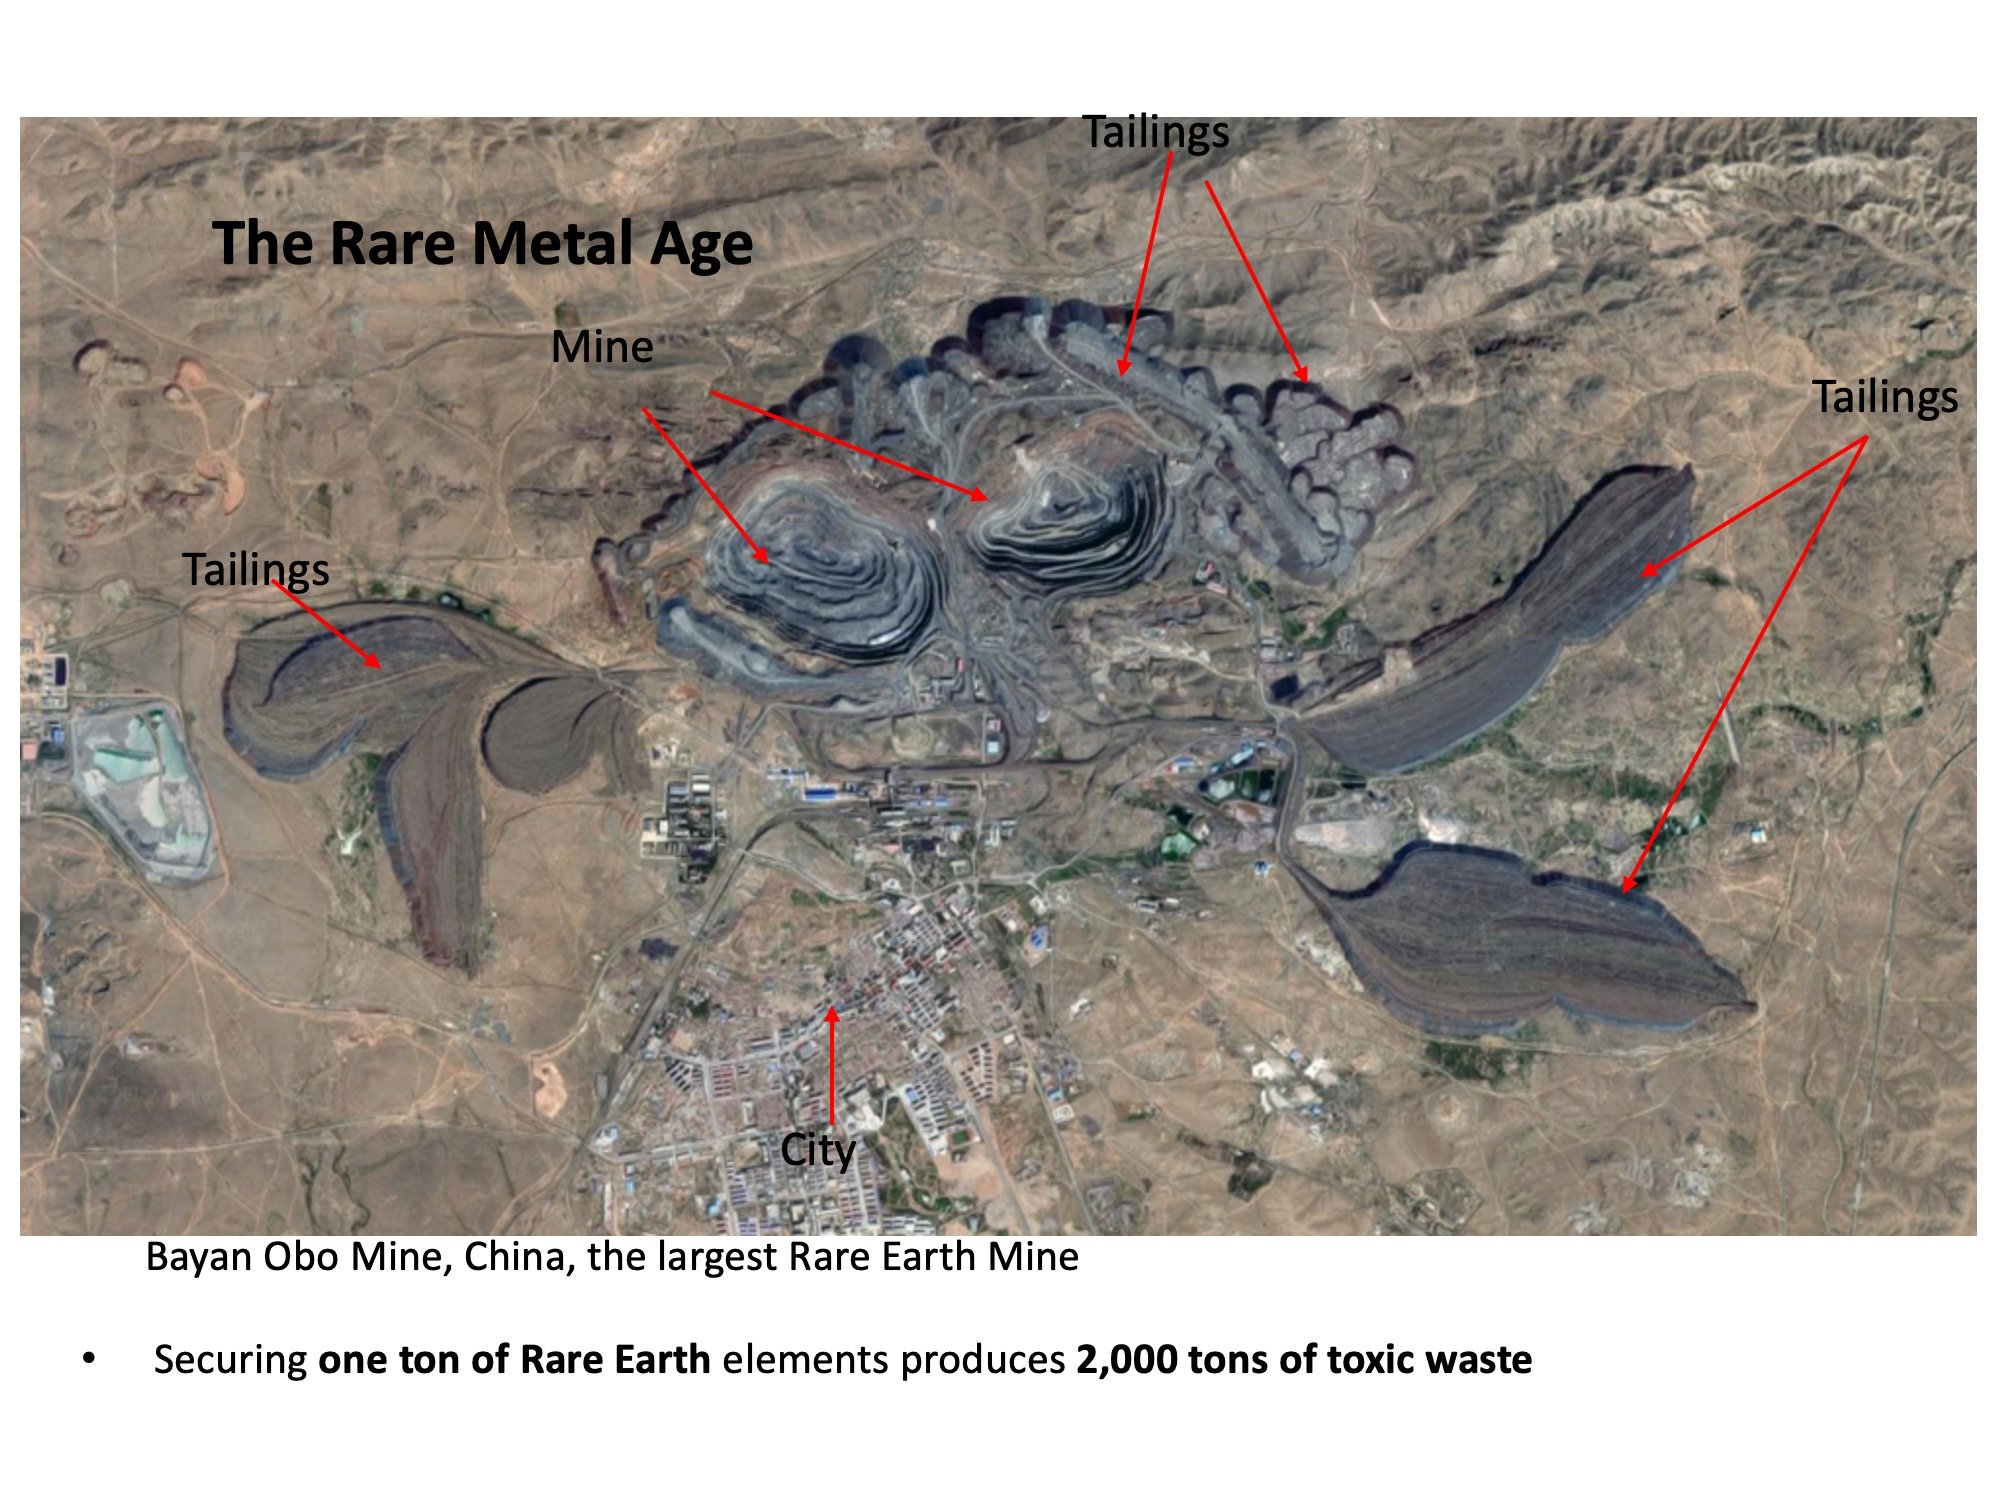
China’s Bayan Obo Mine is the largest in the World.
Securing one ton of Rare Earth elements produces 2,000 tons of toxic waste. The mining industry is responsible for almost all acid rain on earth. The iPhone relies on nearly half of all elements on the planet, with rare minerals playing a crucial role for its functionality. Apple moved from being the 85th largest company in the world to becoming the largest company and surpassed Exxon Mobile, which means that the world has become as dependent on Rare Metals as it has on oil.
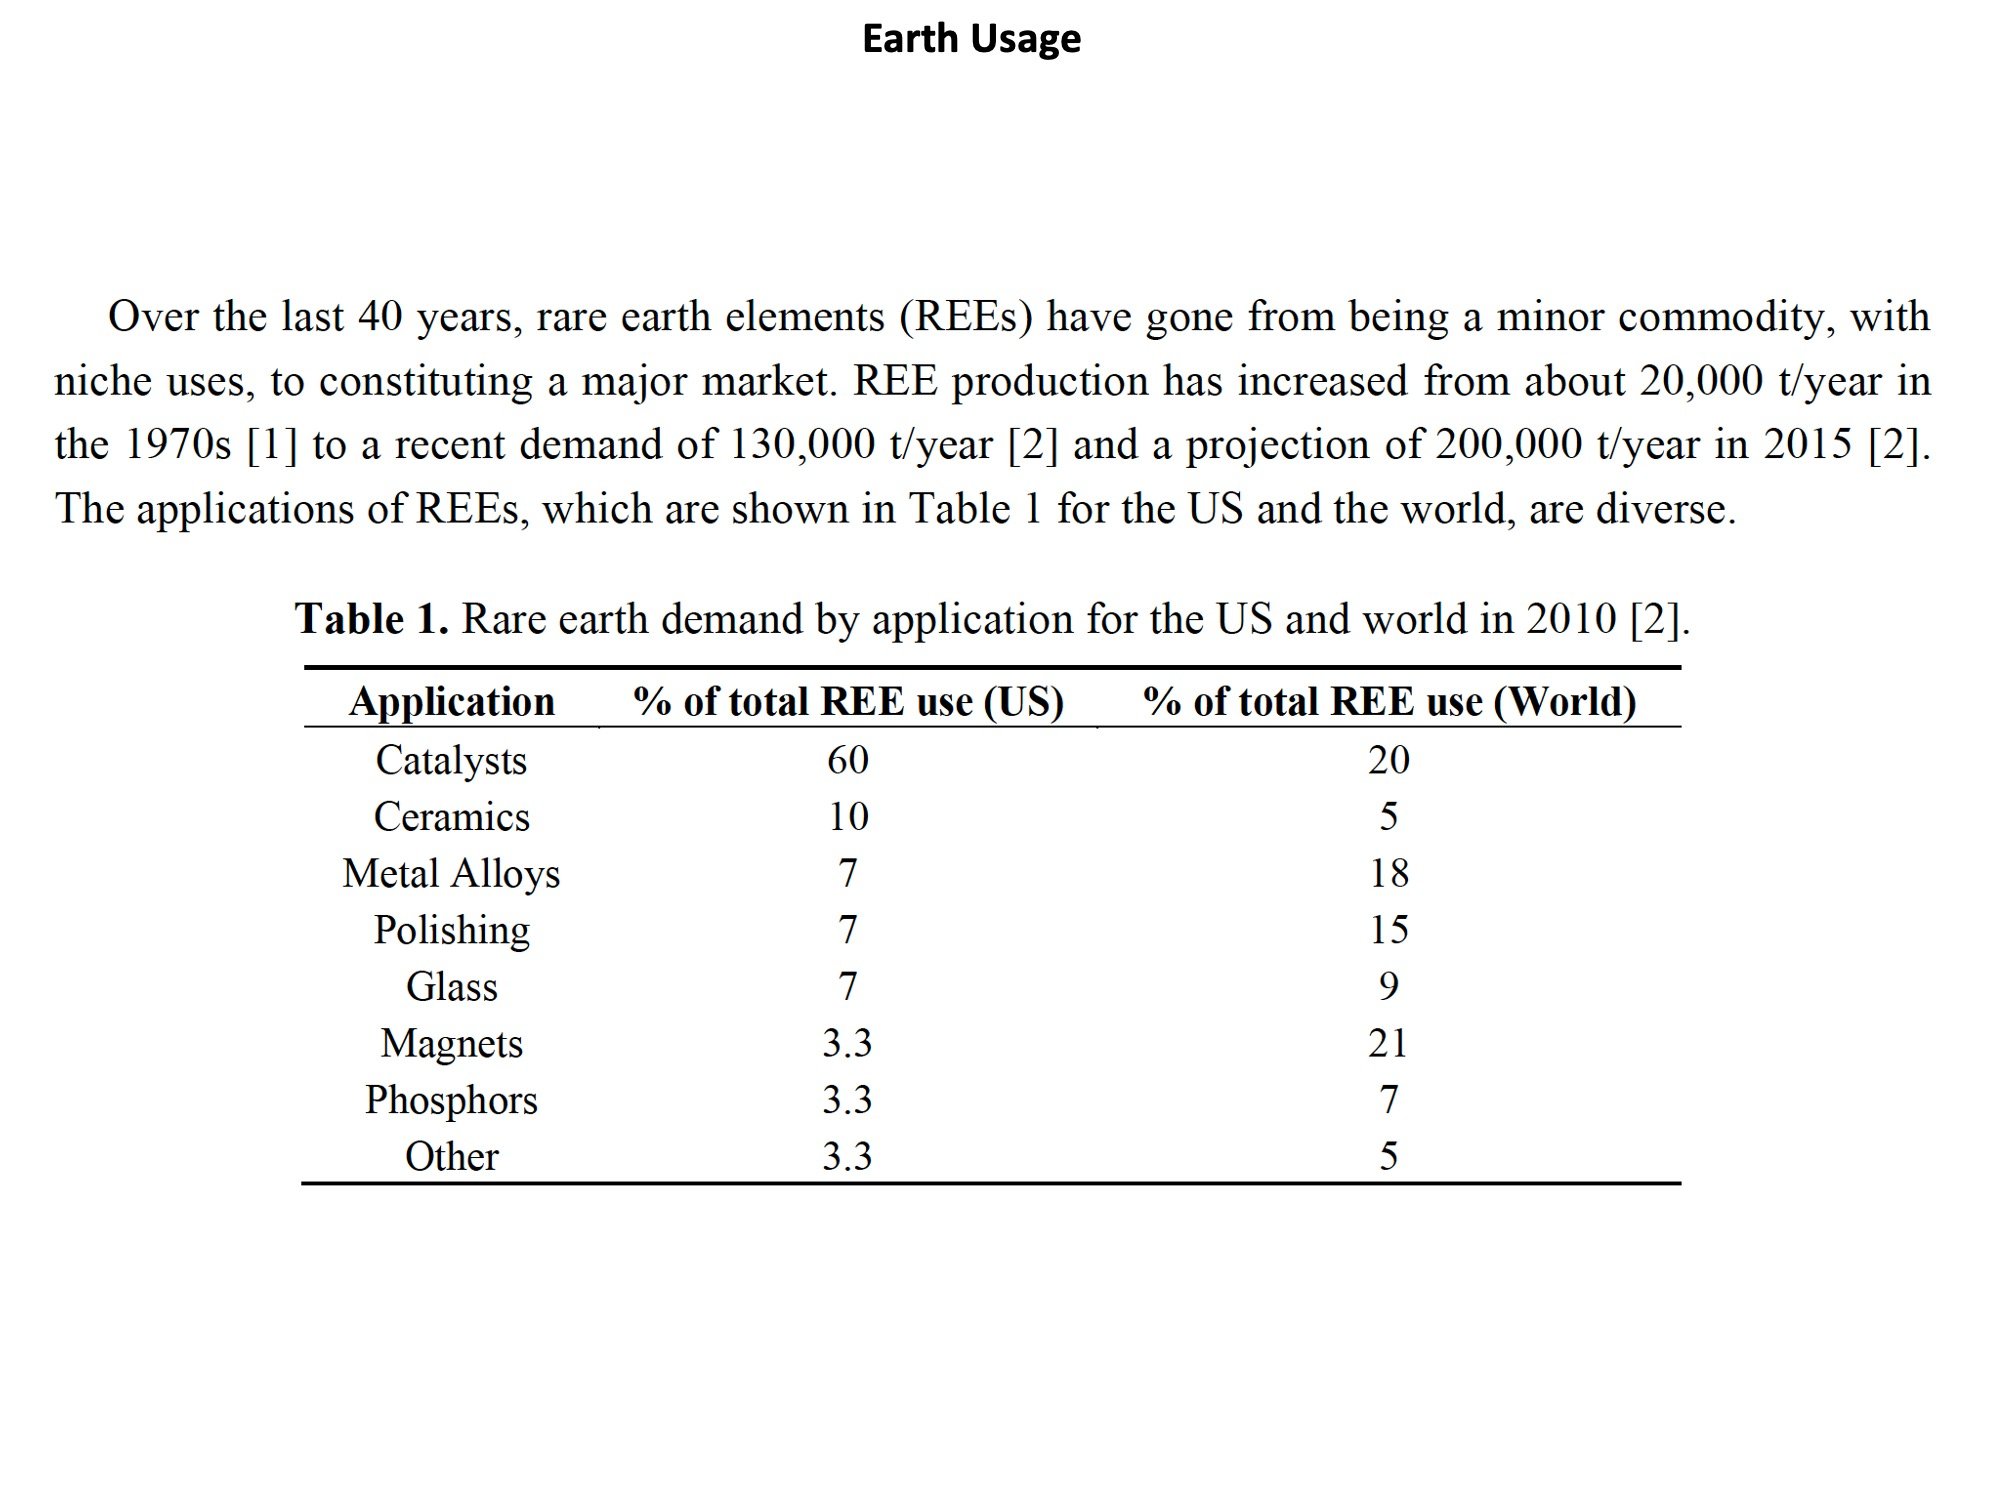
Glass and Polishing take up a significant percentage of RE’s uses.
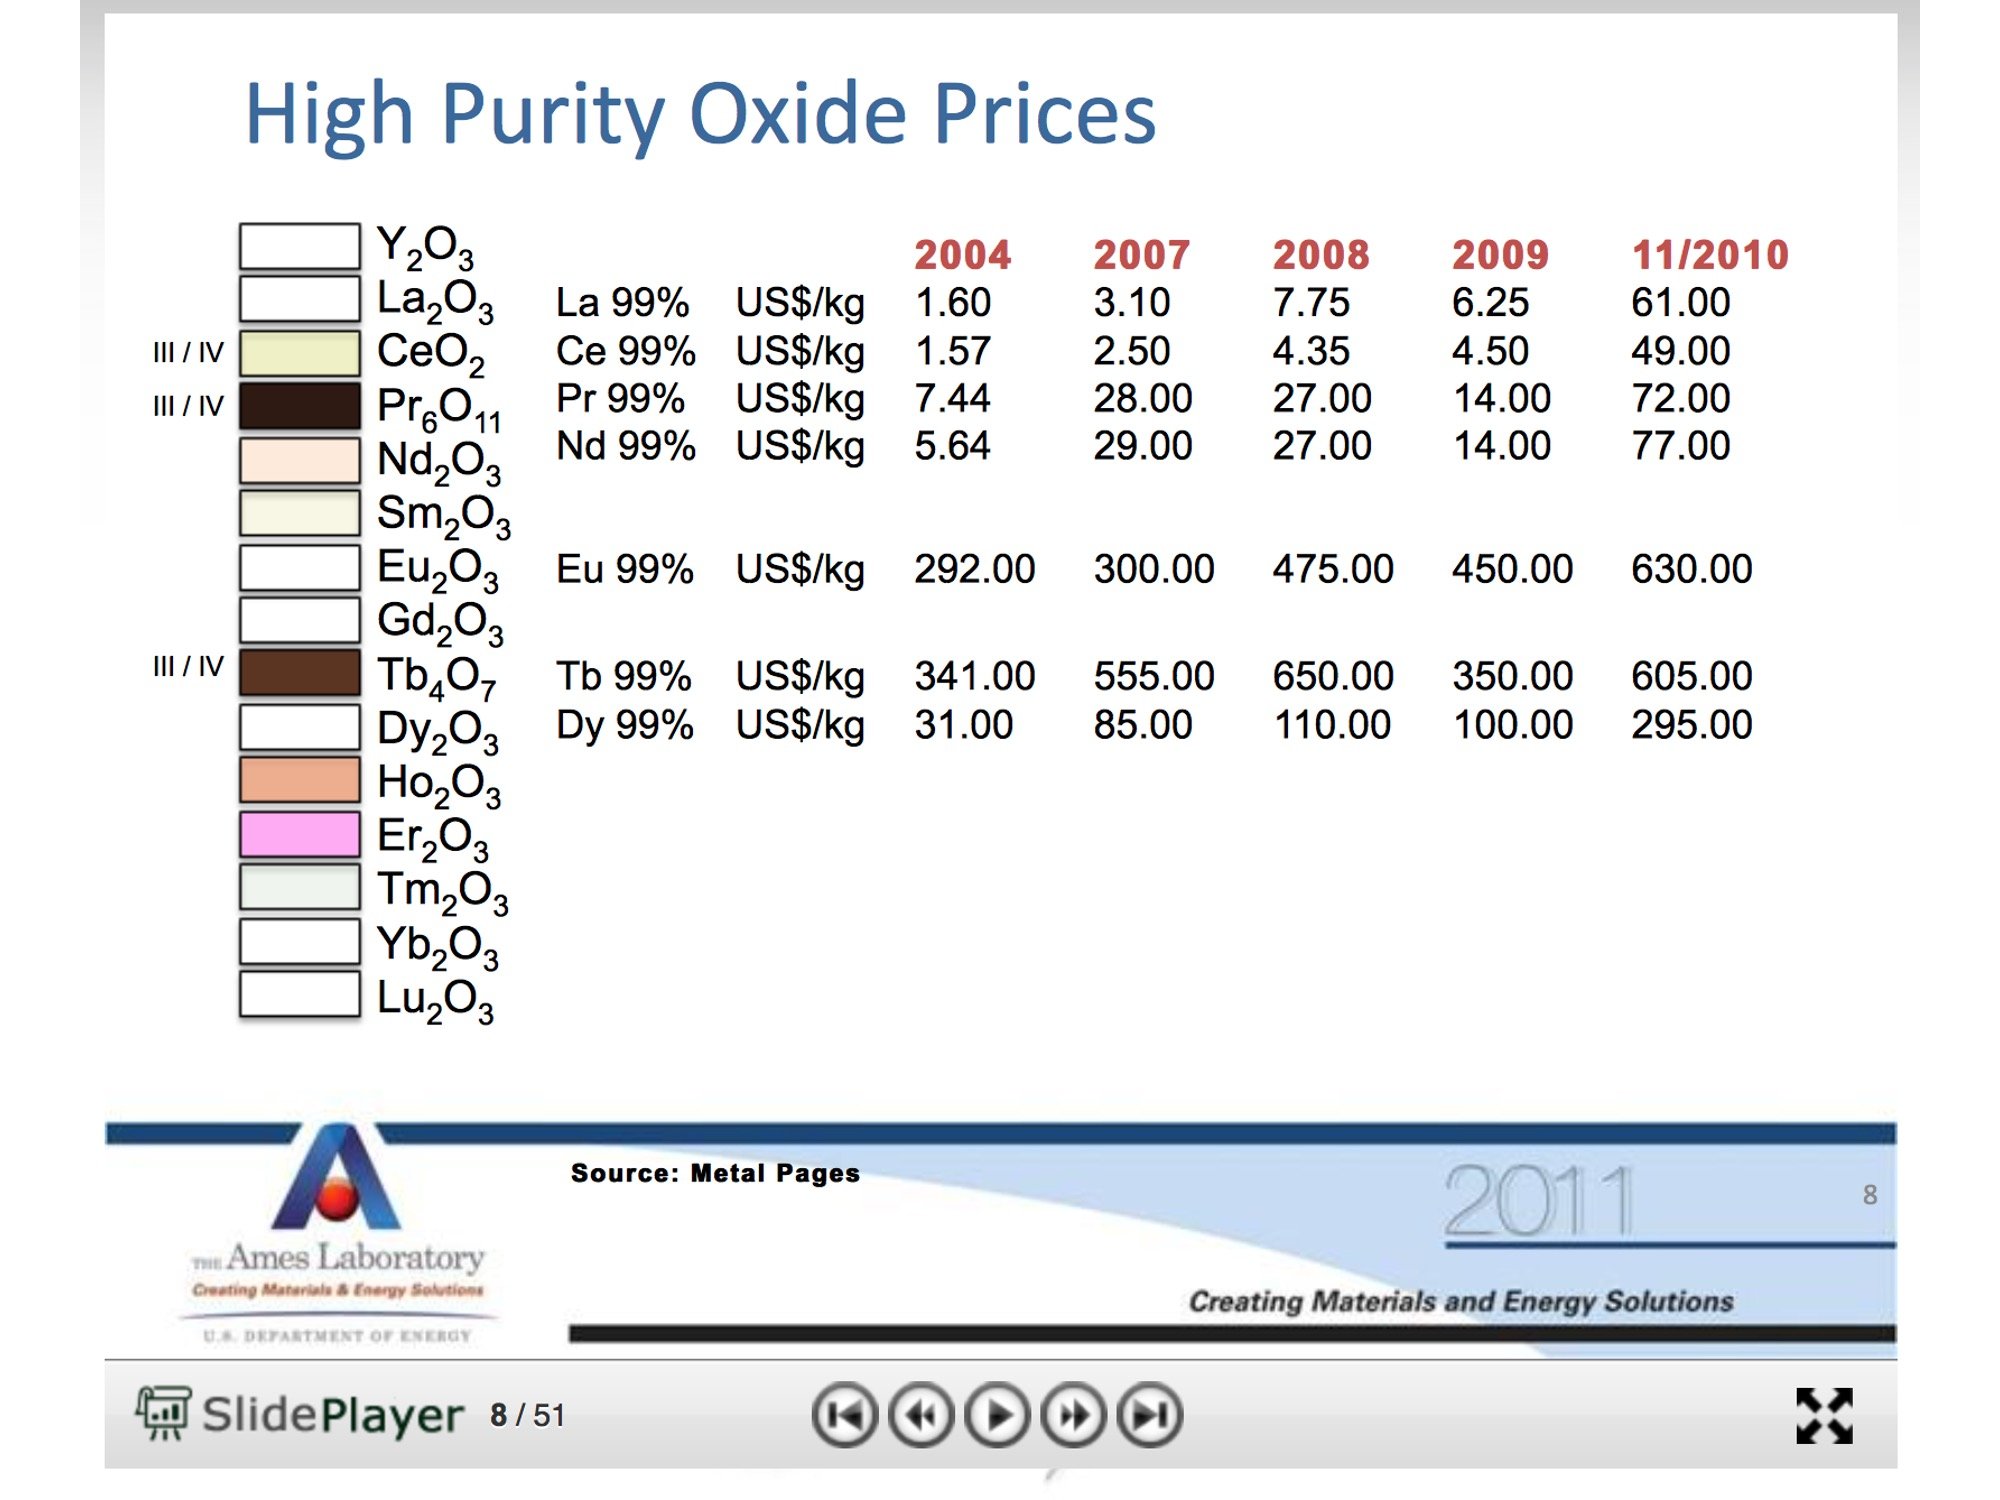
From a 2011 presentation, since then the market has further exploded.
Eight of the wealthiest countries on the planet use 2/3rds of all minerals extracted, while the extraction countries often still represent old colonial ties and mining firms are foreign owned, so that host countries are left with the ecological disaster but not with the economic benefits.

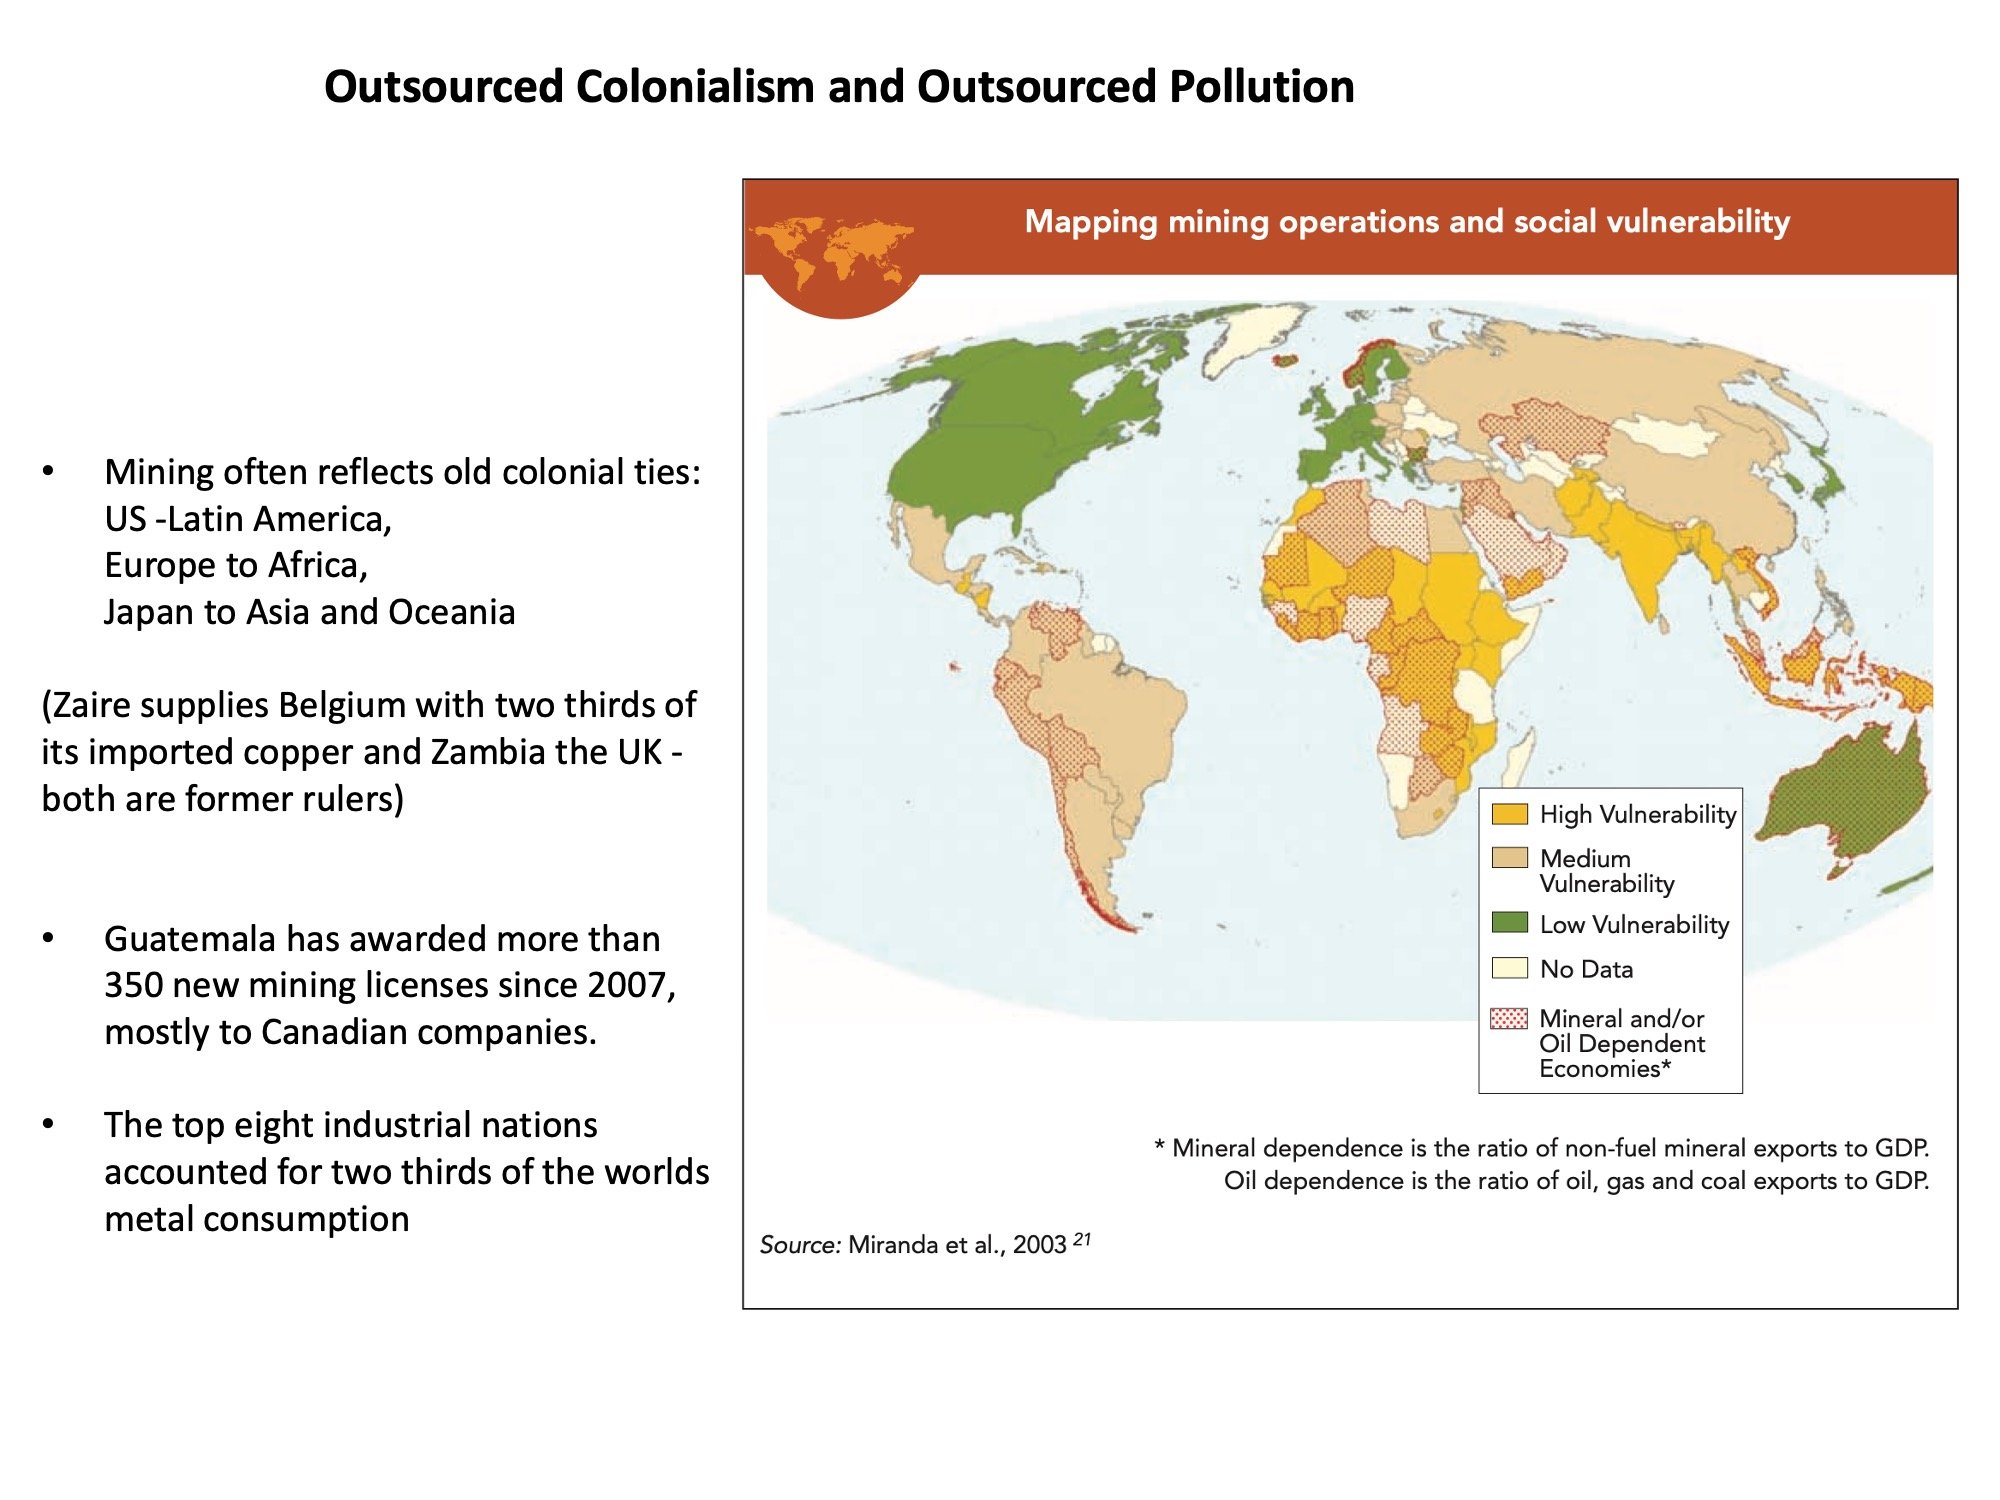
An overview of Mining ( not specifically RE mining only, but all metals).
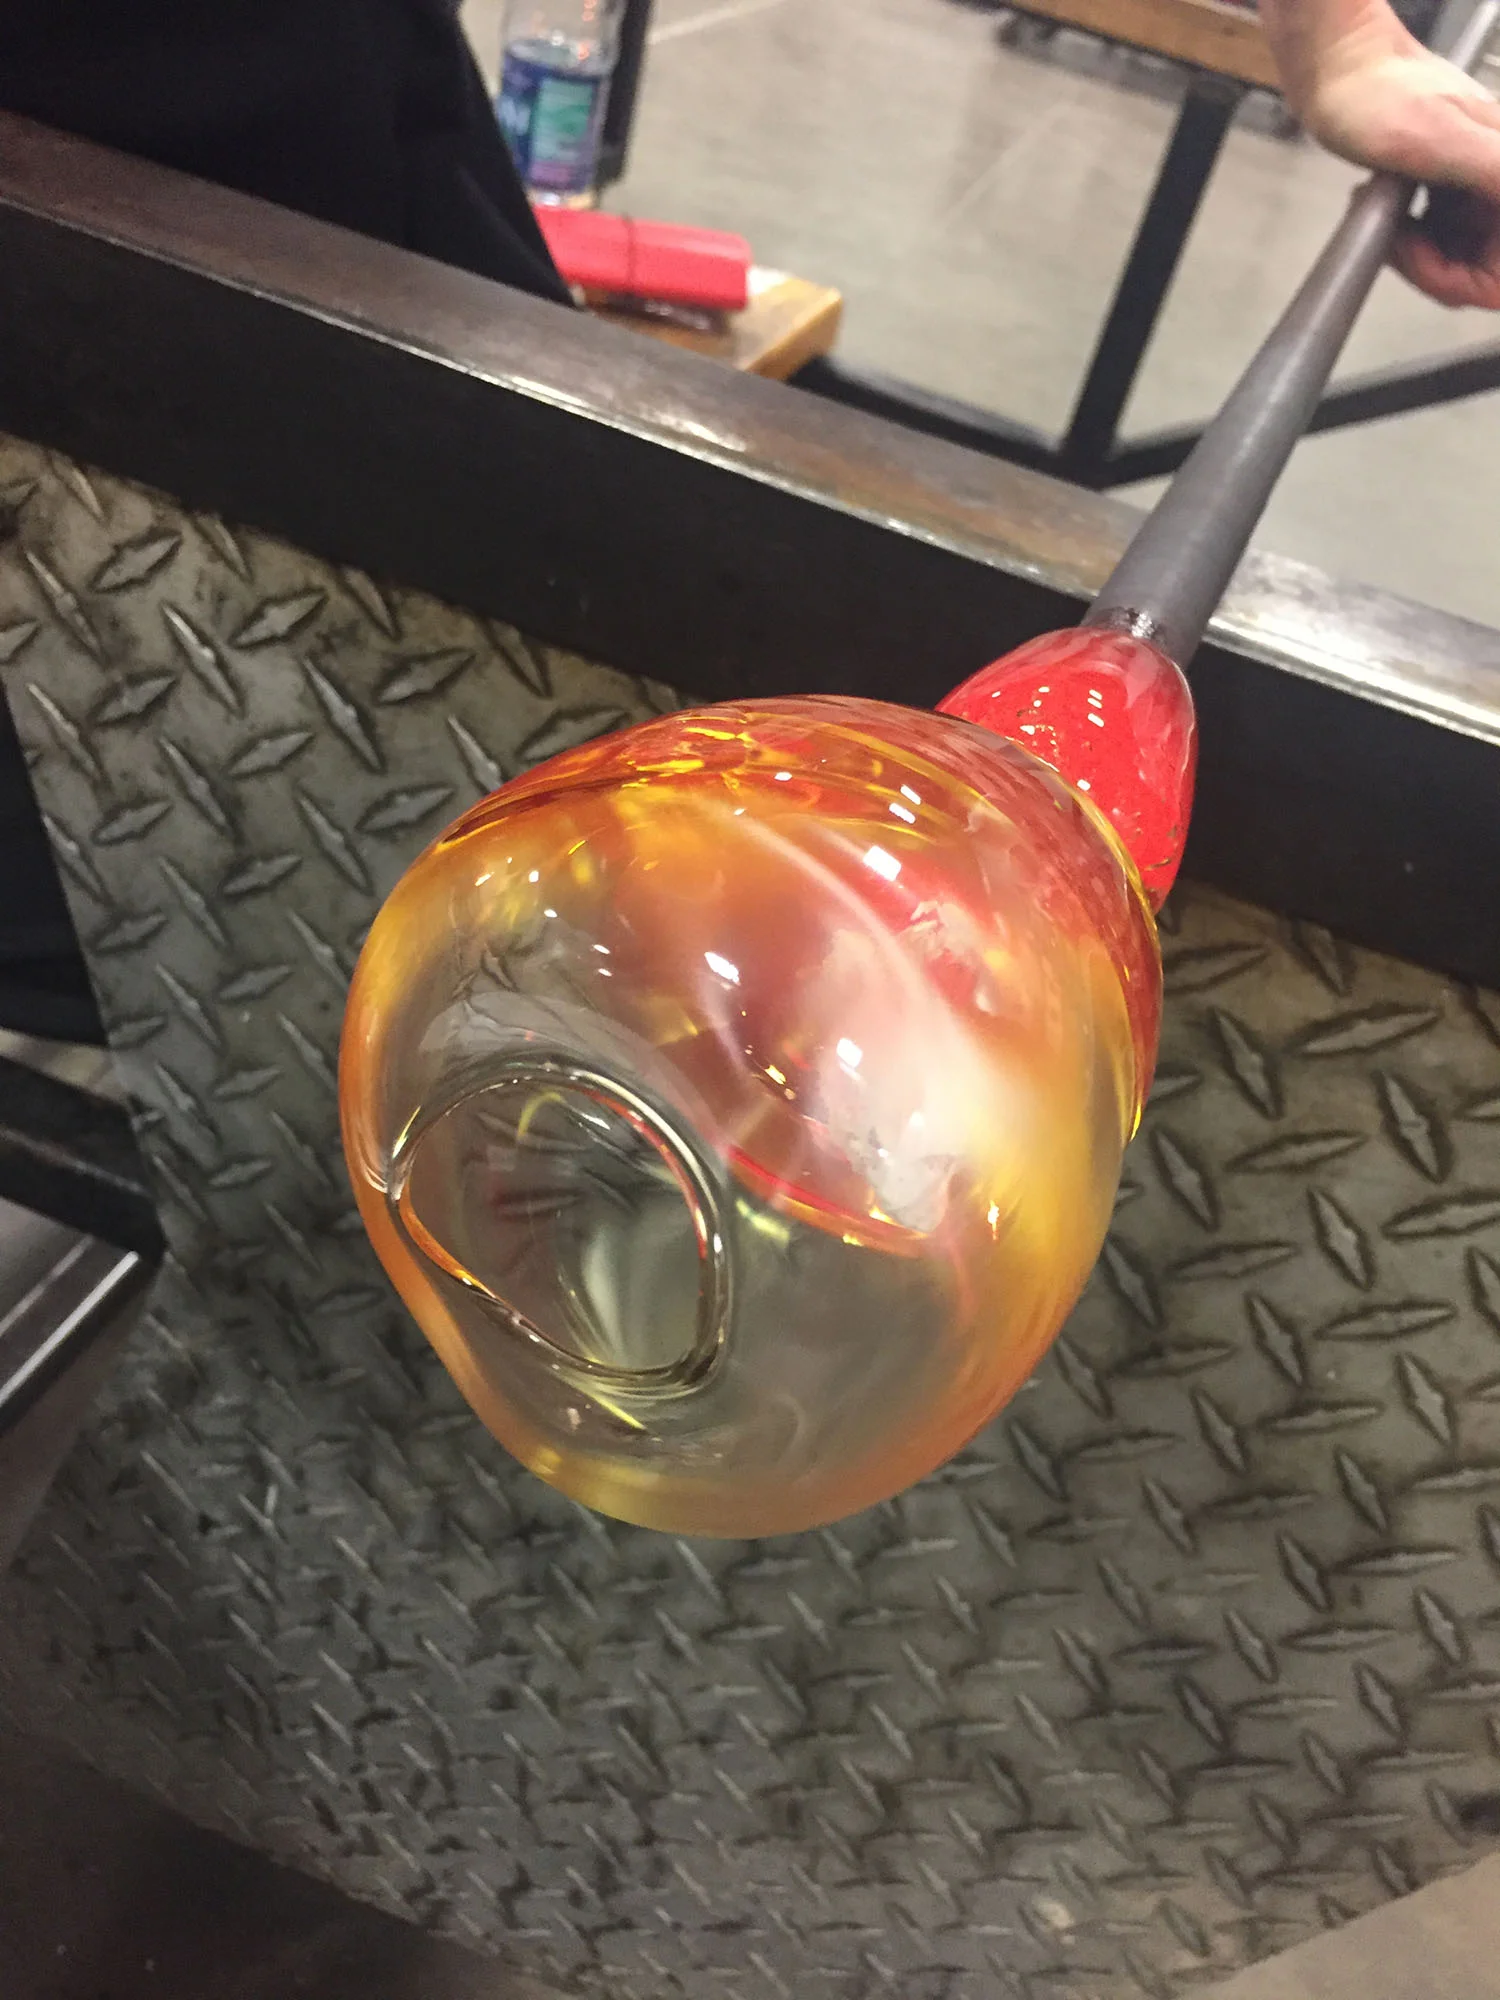
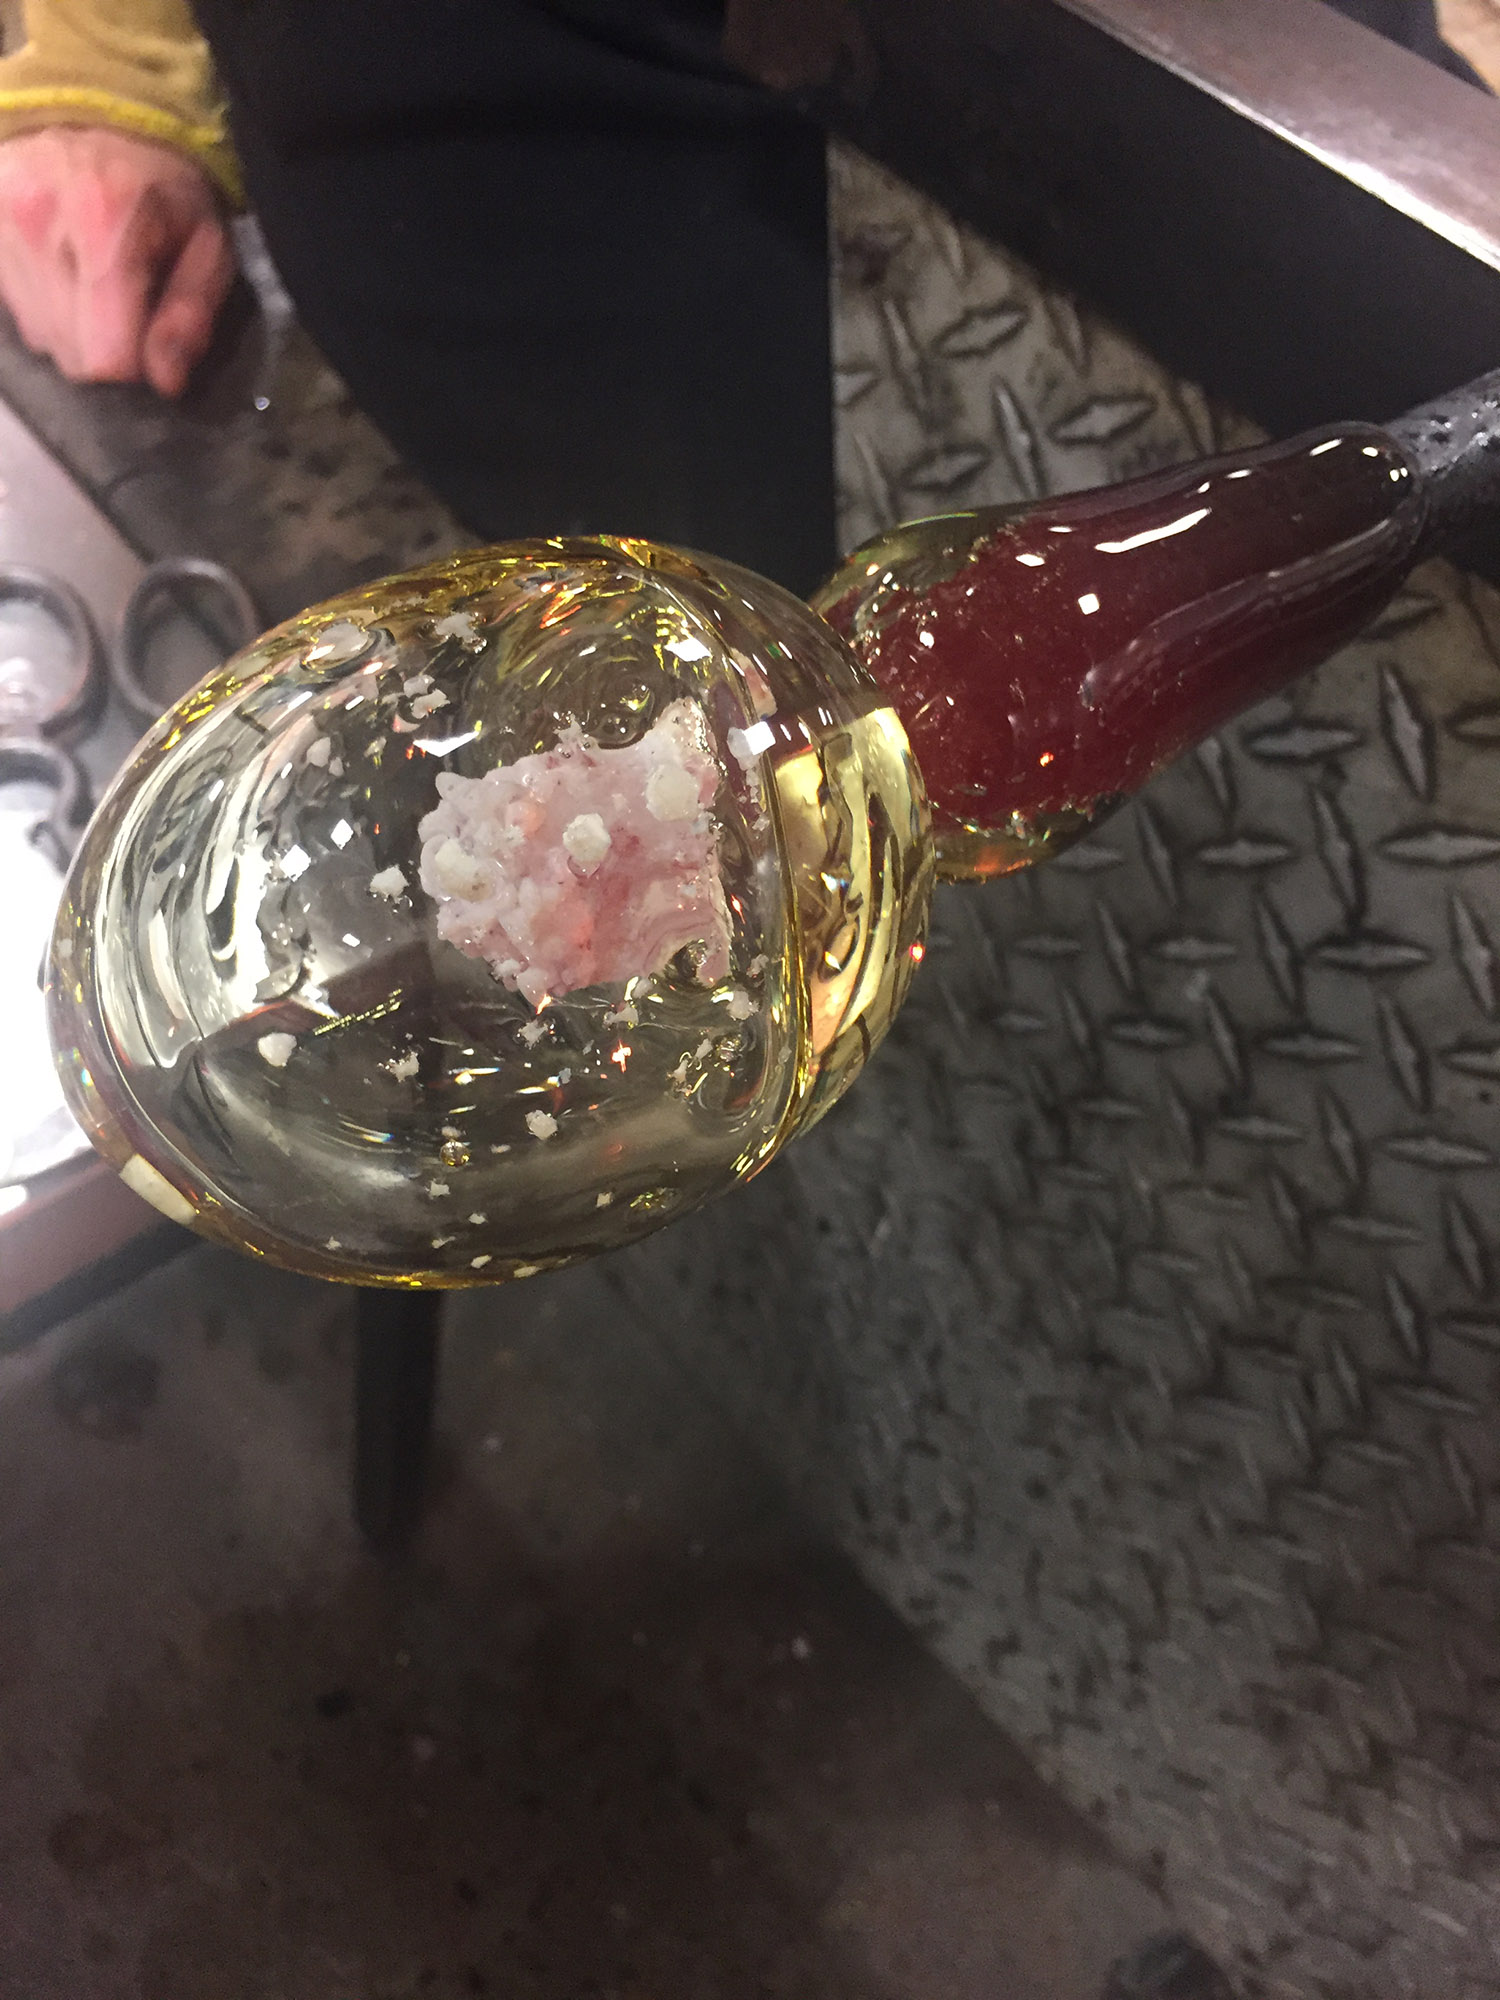
As we never purchase RE’s directly, we lack any relationship to them at all. However, as an artist working in glass, I directly feel the impact of the raw material market as the prices for glasses using rare earths have increased in the last 5 years up to 150%.
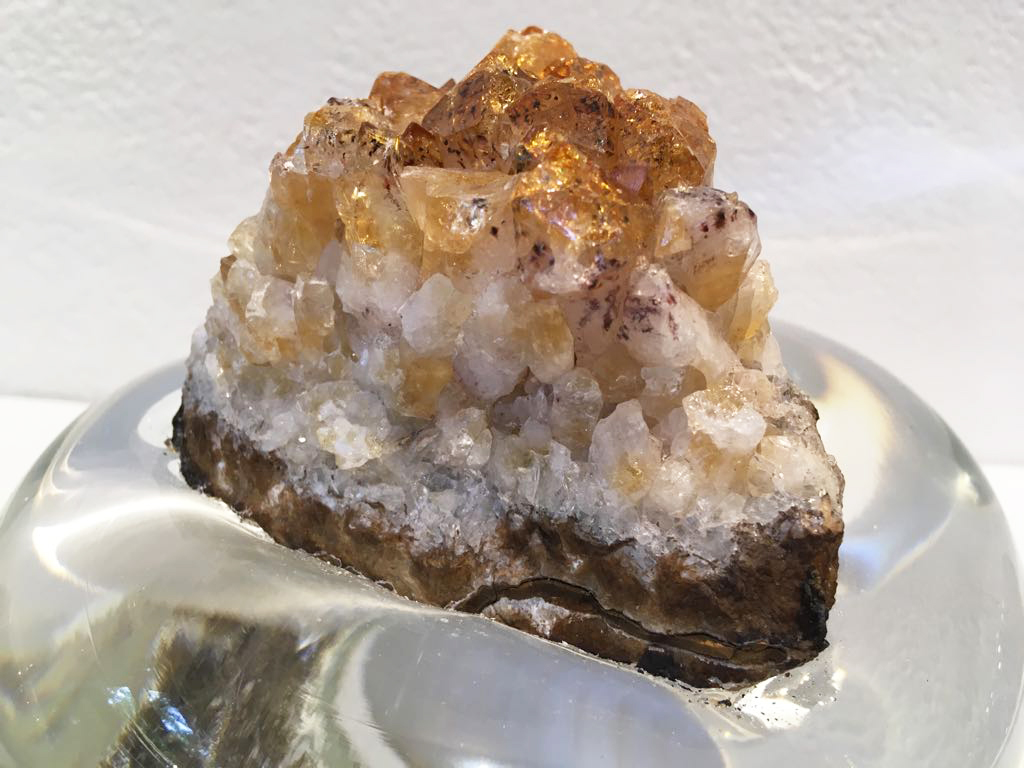
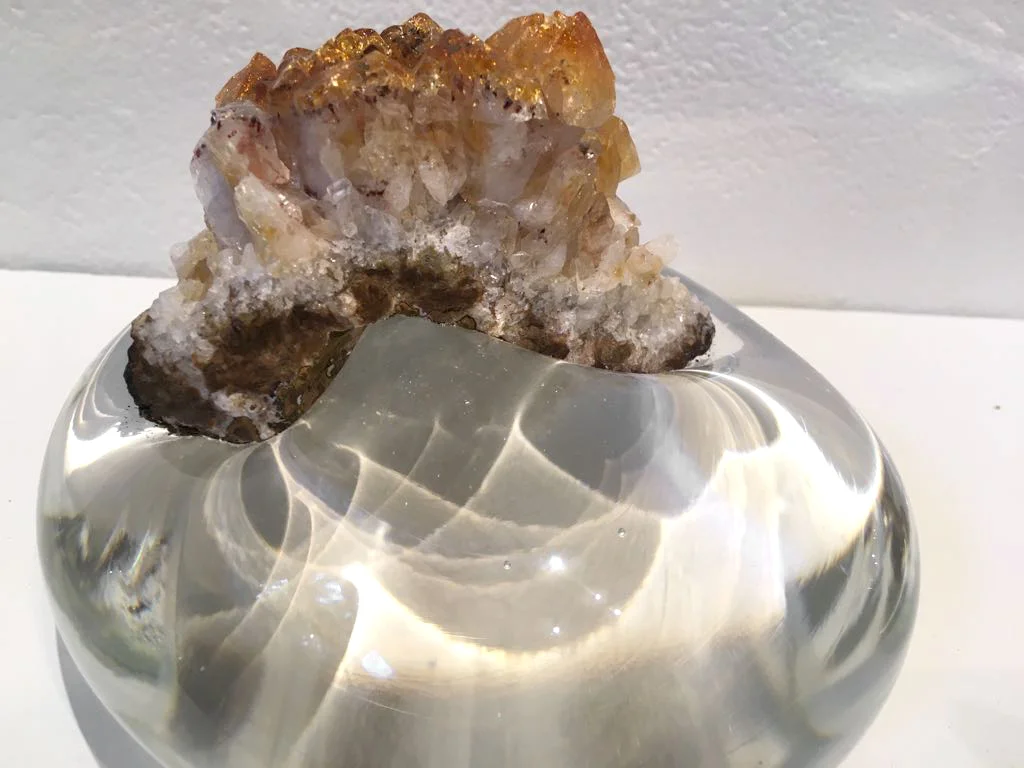
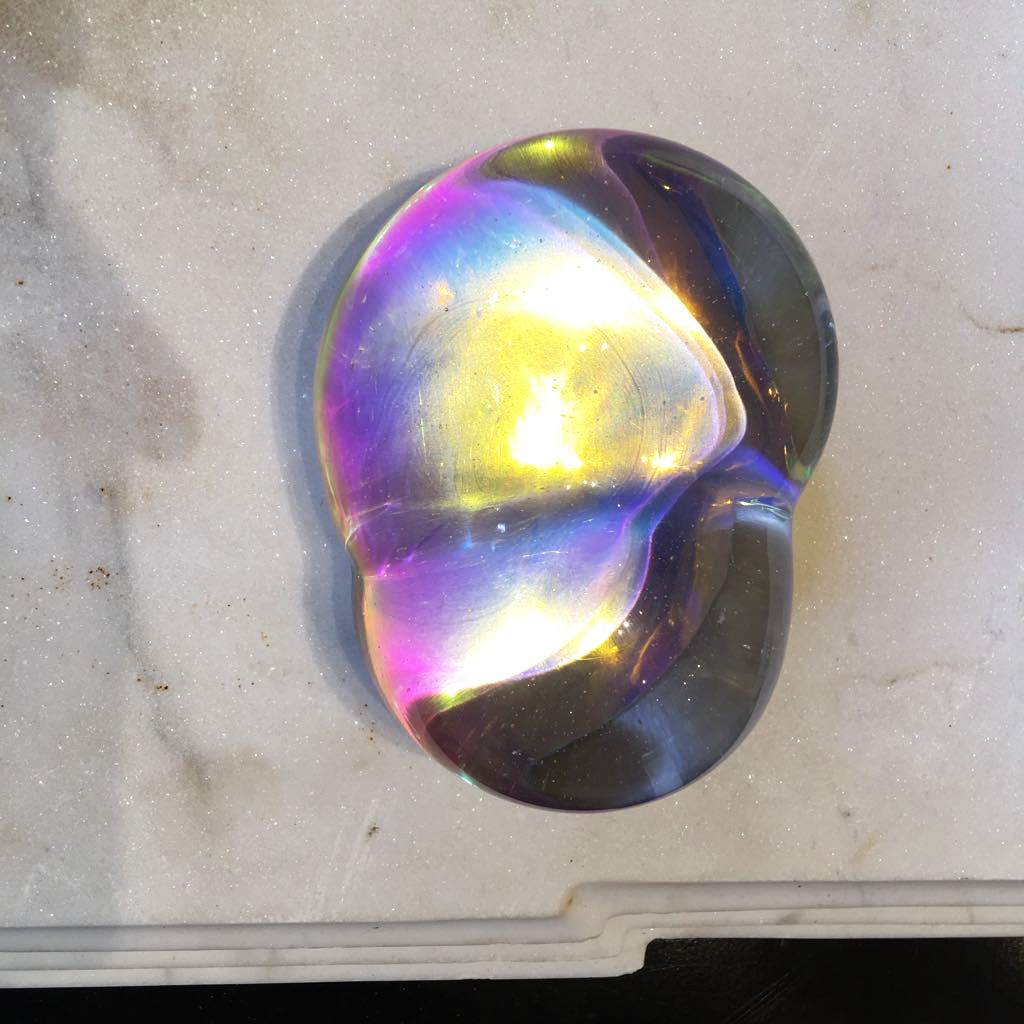
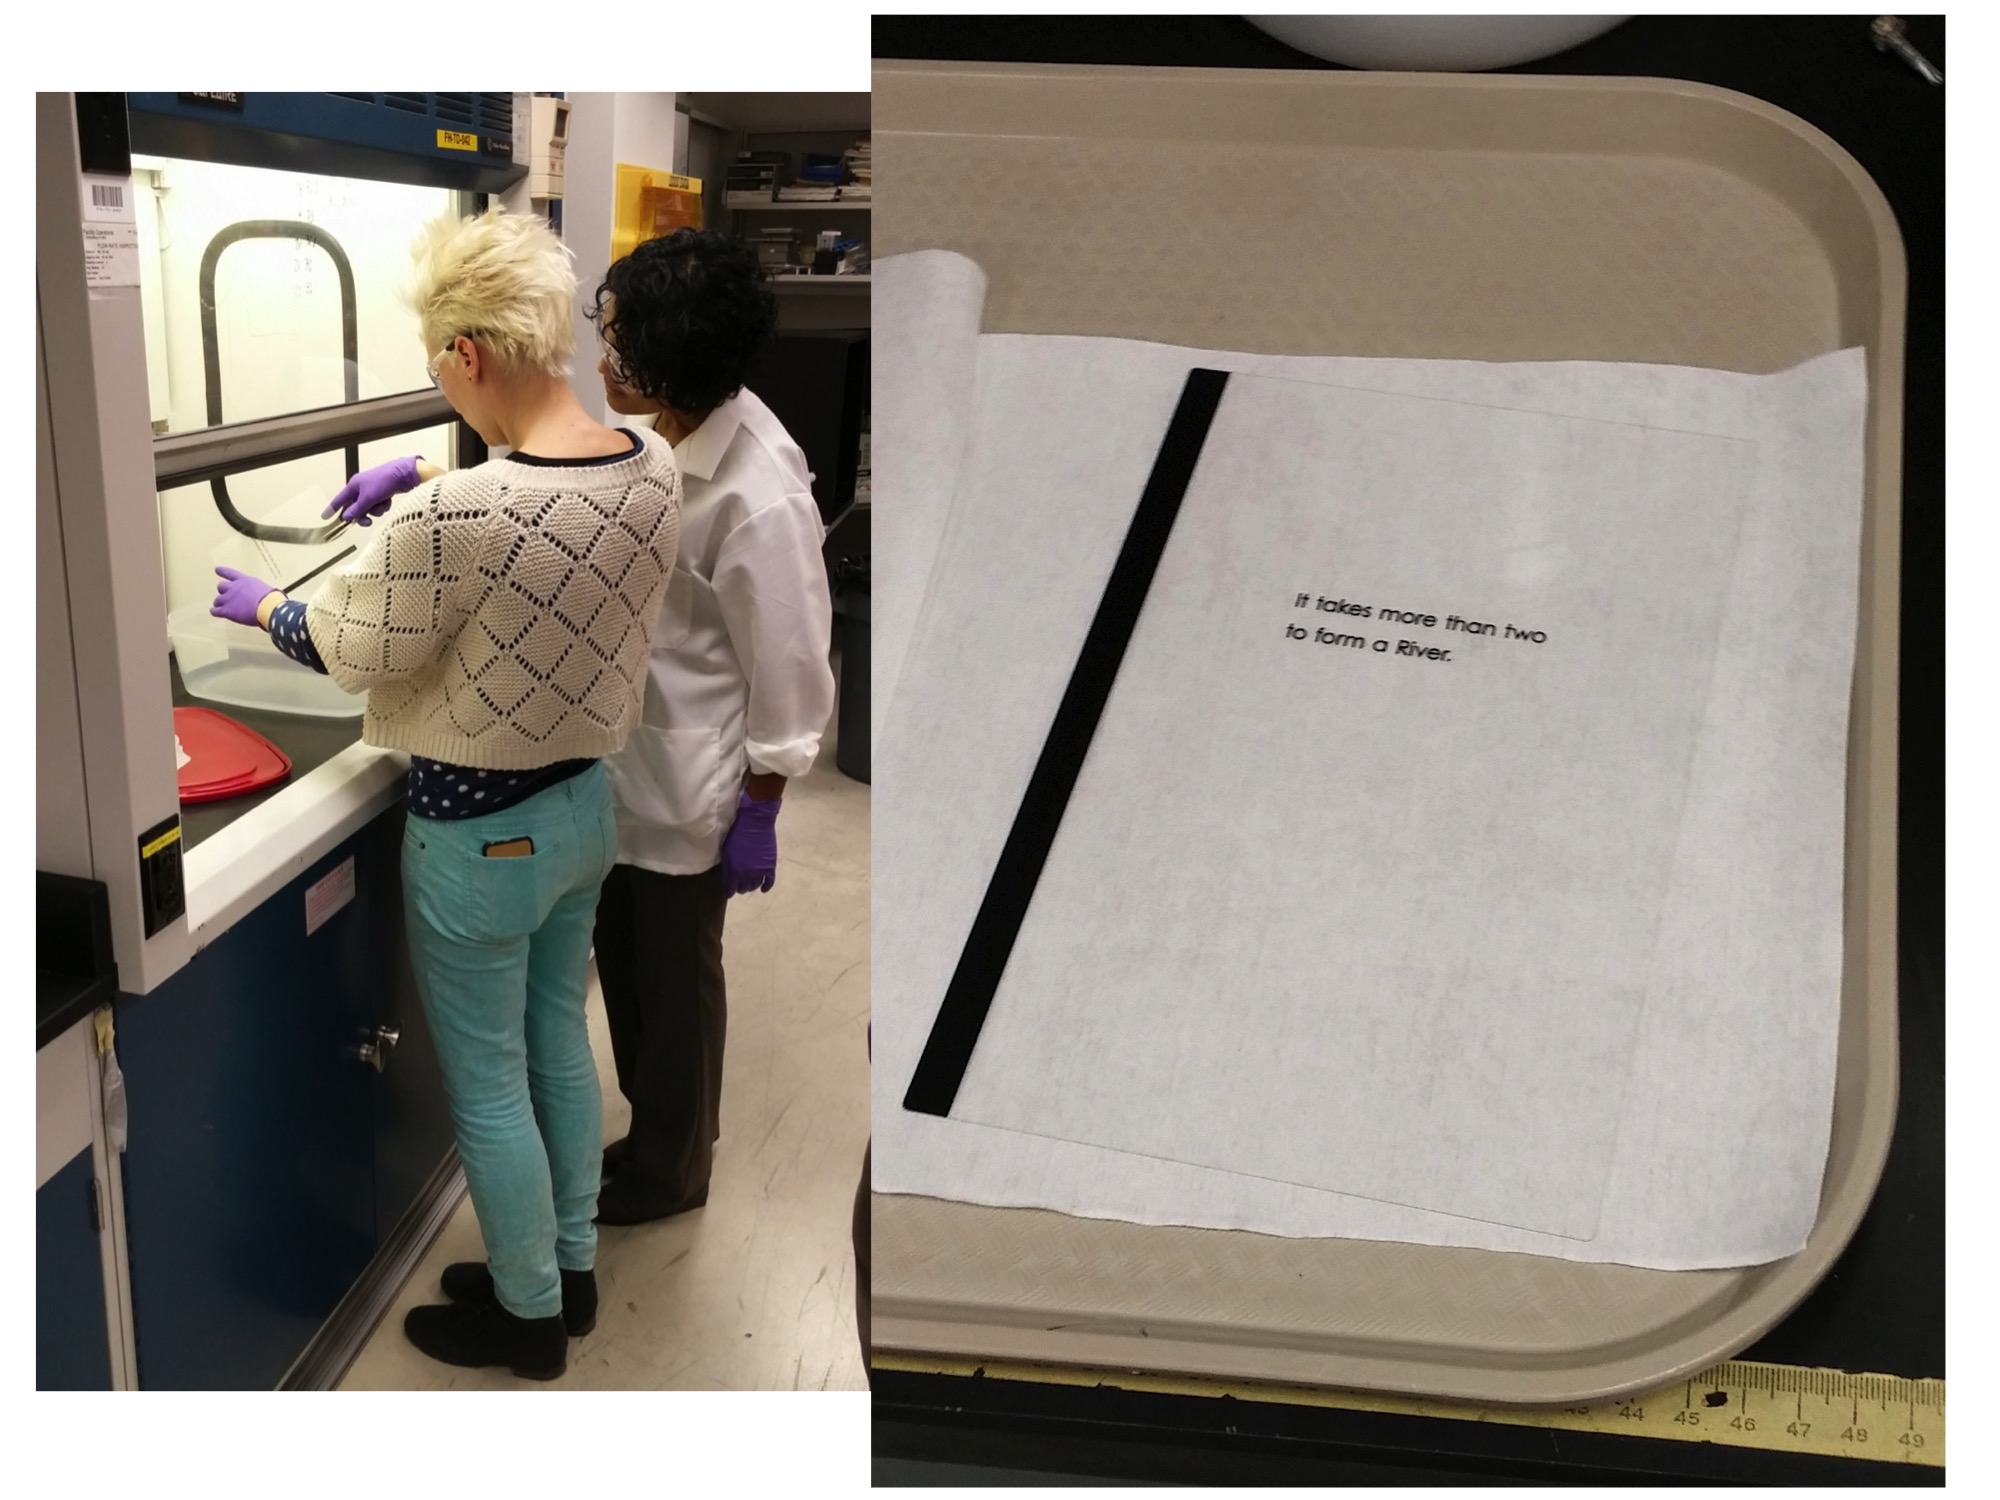
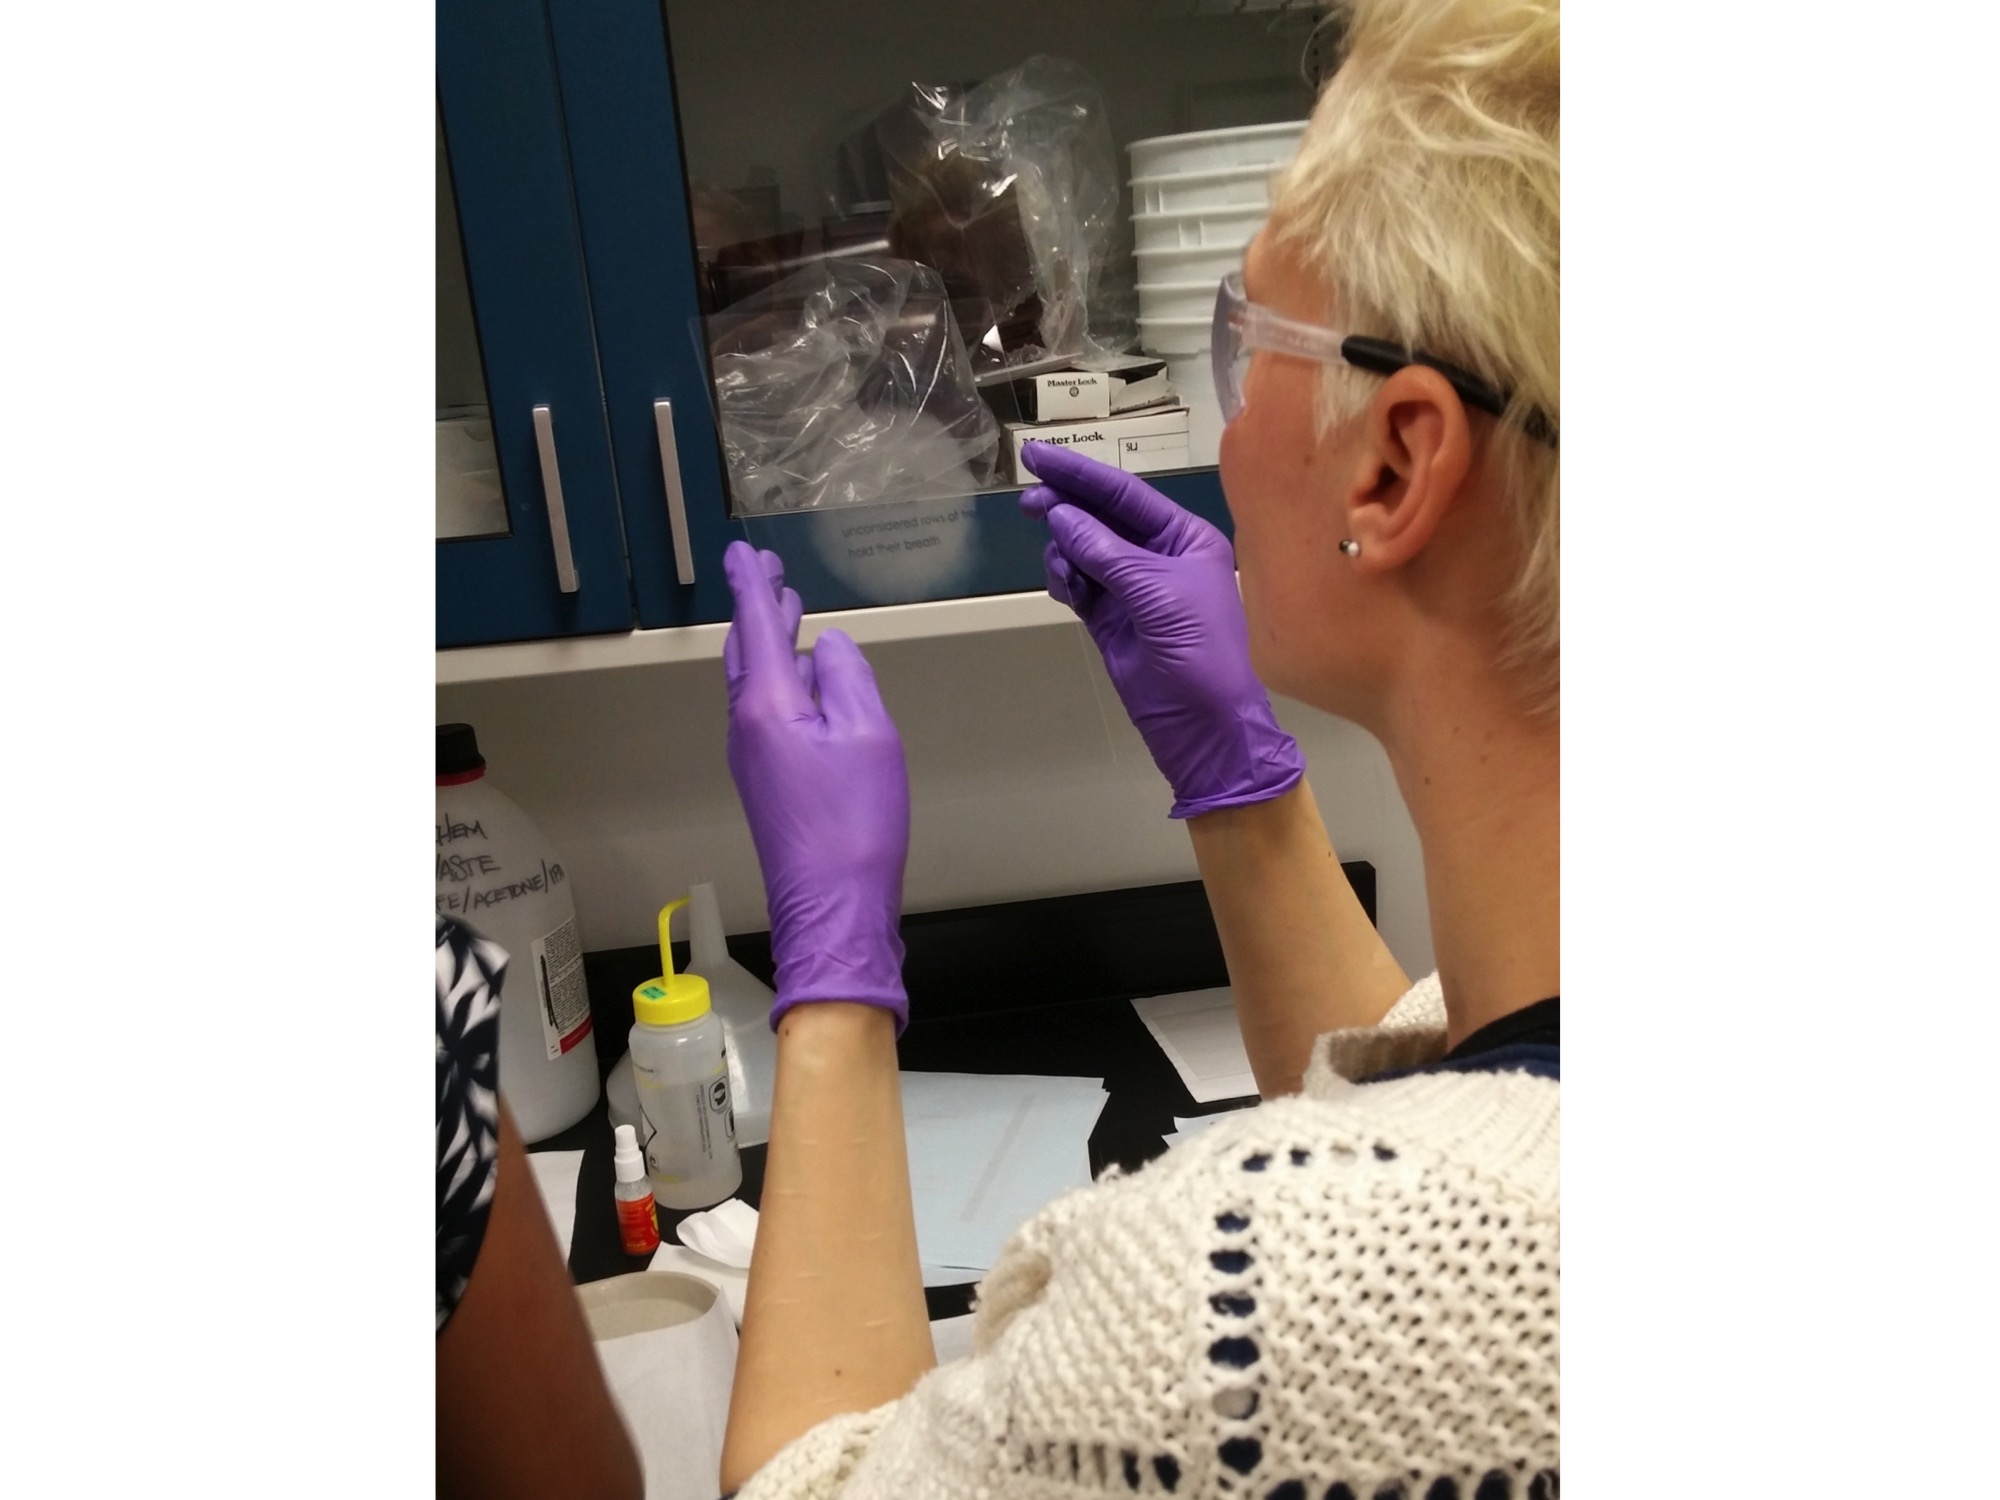
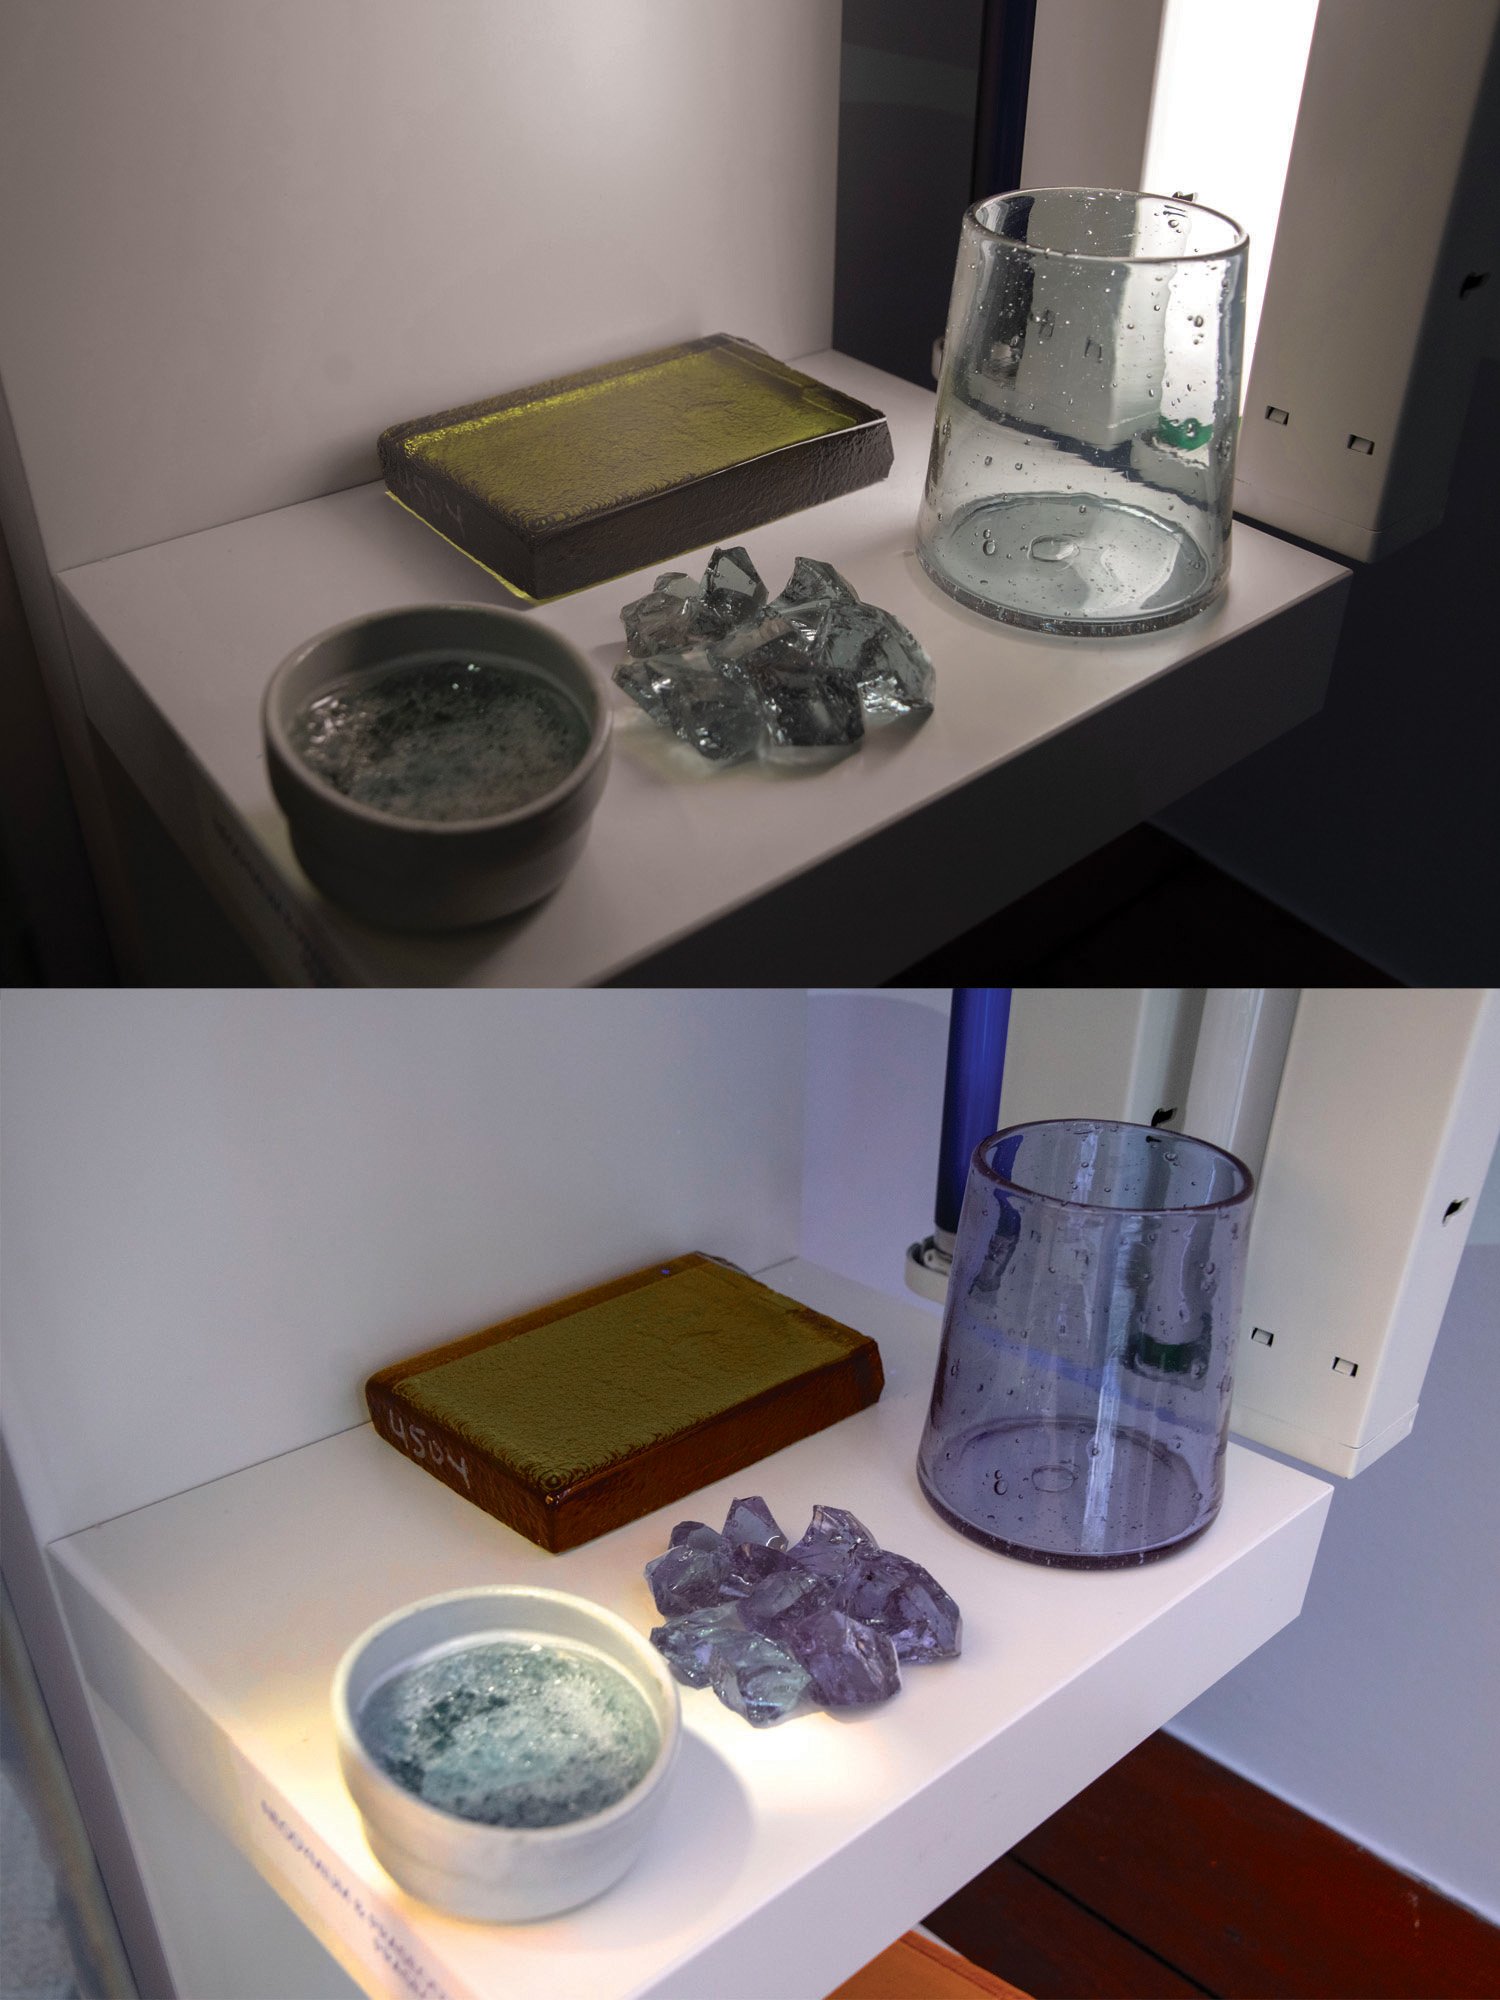
RE’s play an important role in glass production. We use cerium as a decolorizing agent and for polishing the glass surface. Erbium, terbium, europium, neodymium and praseodymium are used for coloring and produce striking hues. Rare earth elements also enable some glasses to change color under different lighting.
As an artist I can critically examine the materials I use and how they are linked to climate change, outsourced pollution, outsourced colonialism, and environmental destruction.


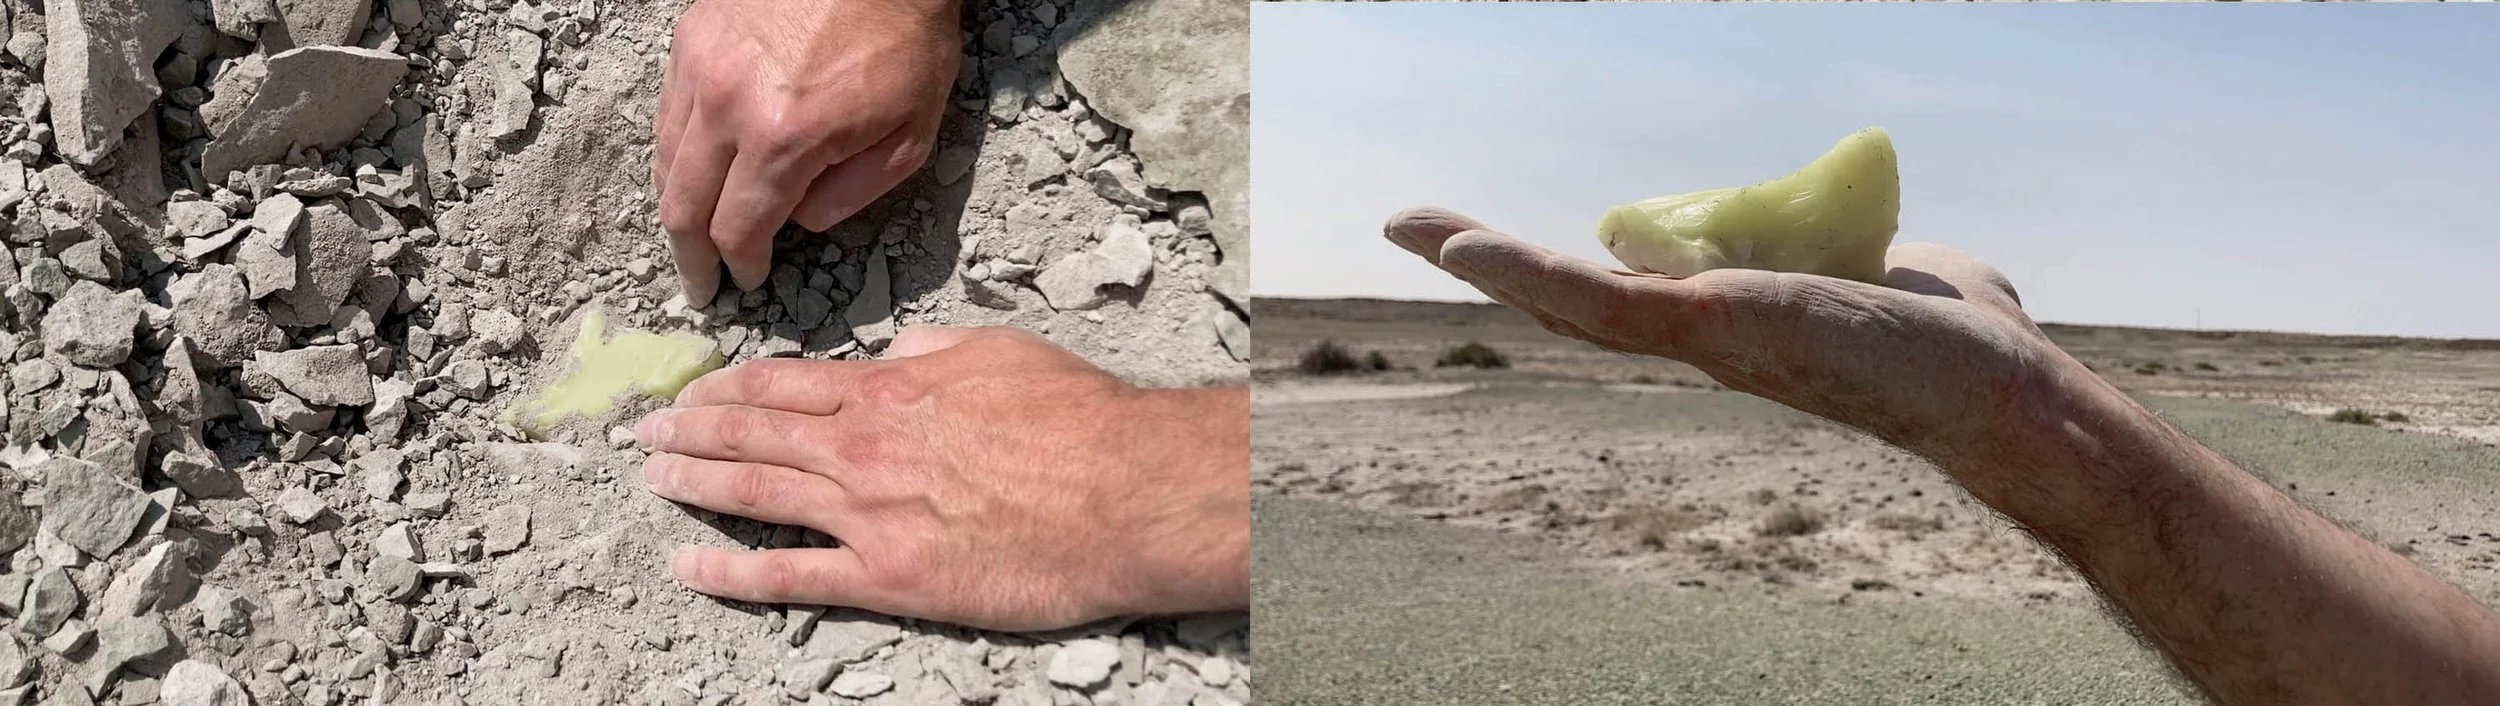
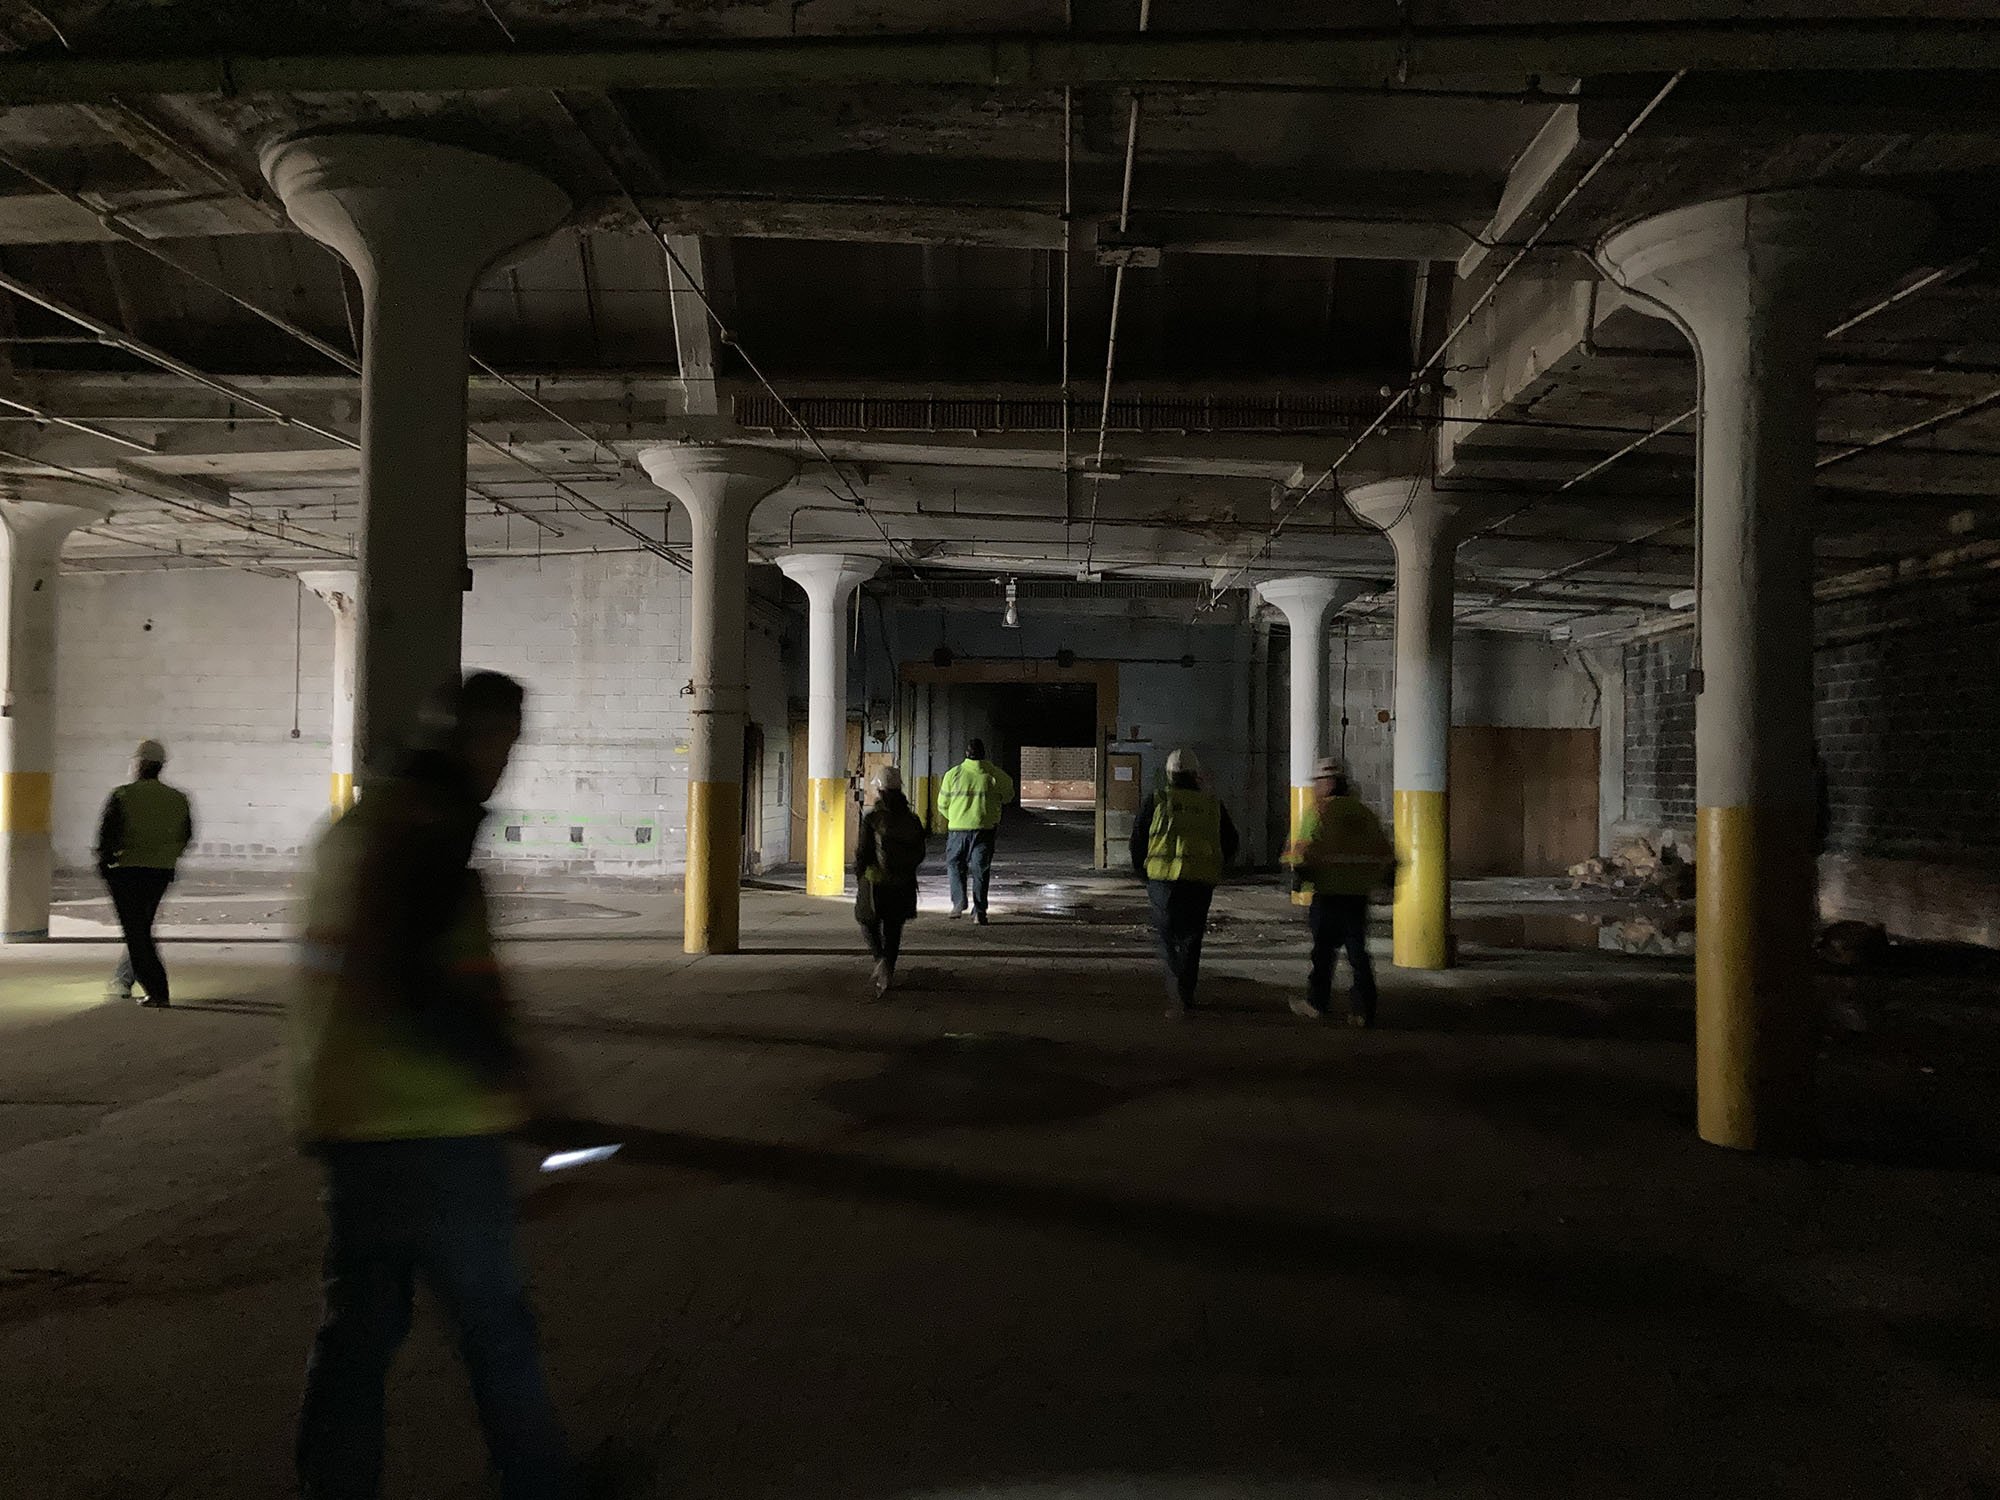
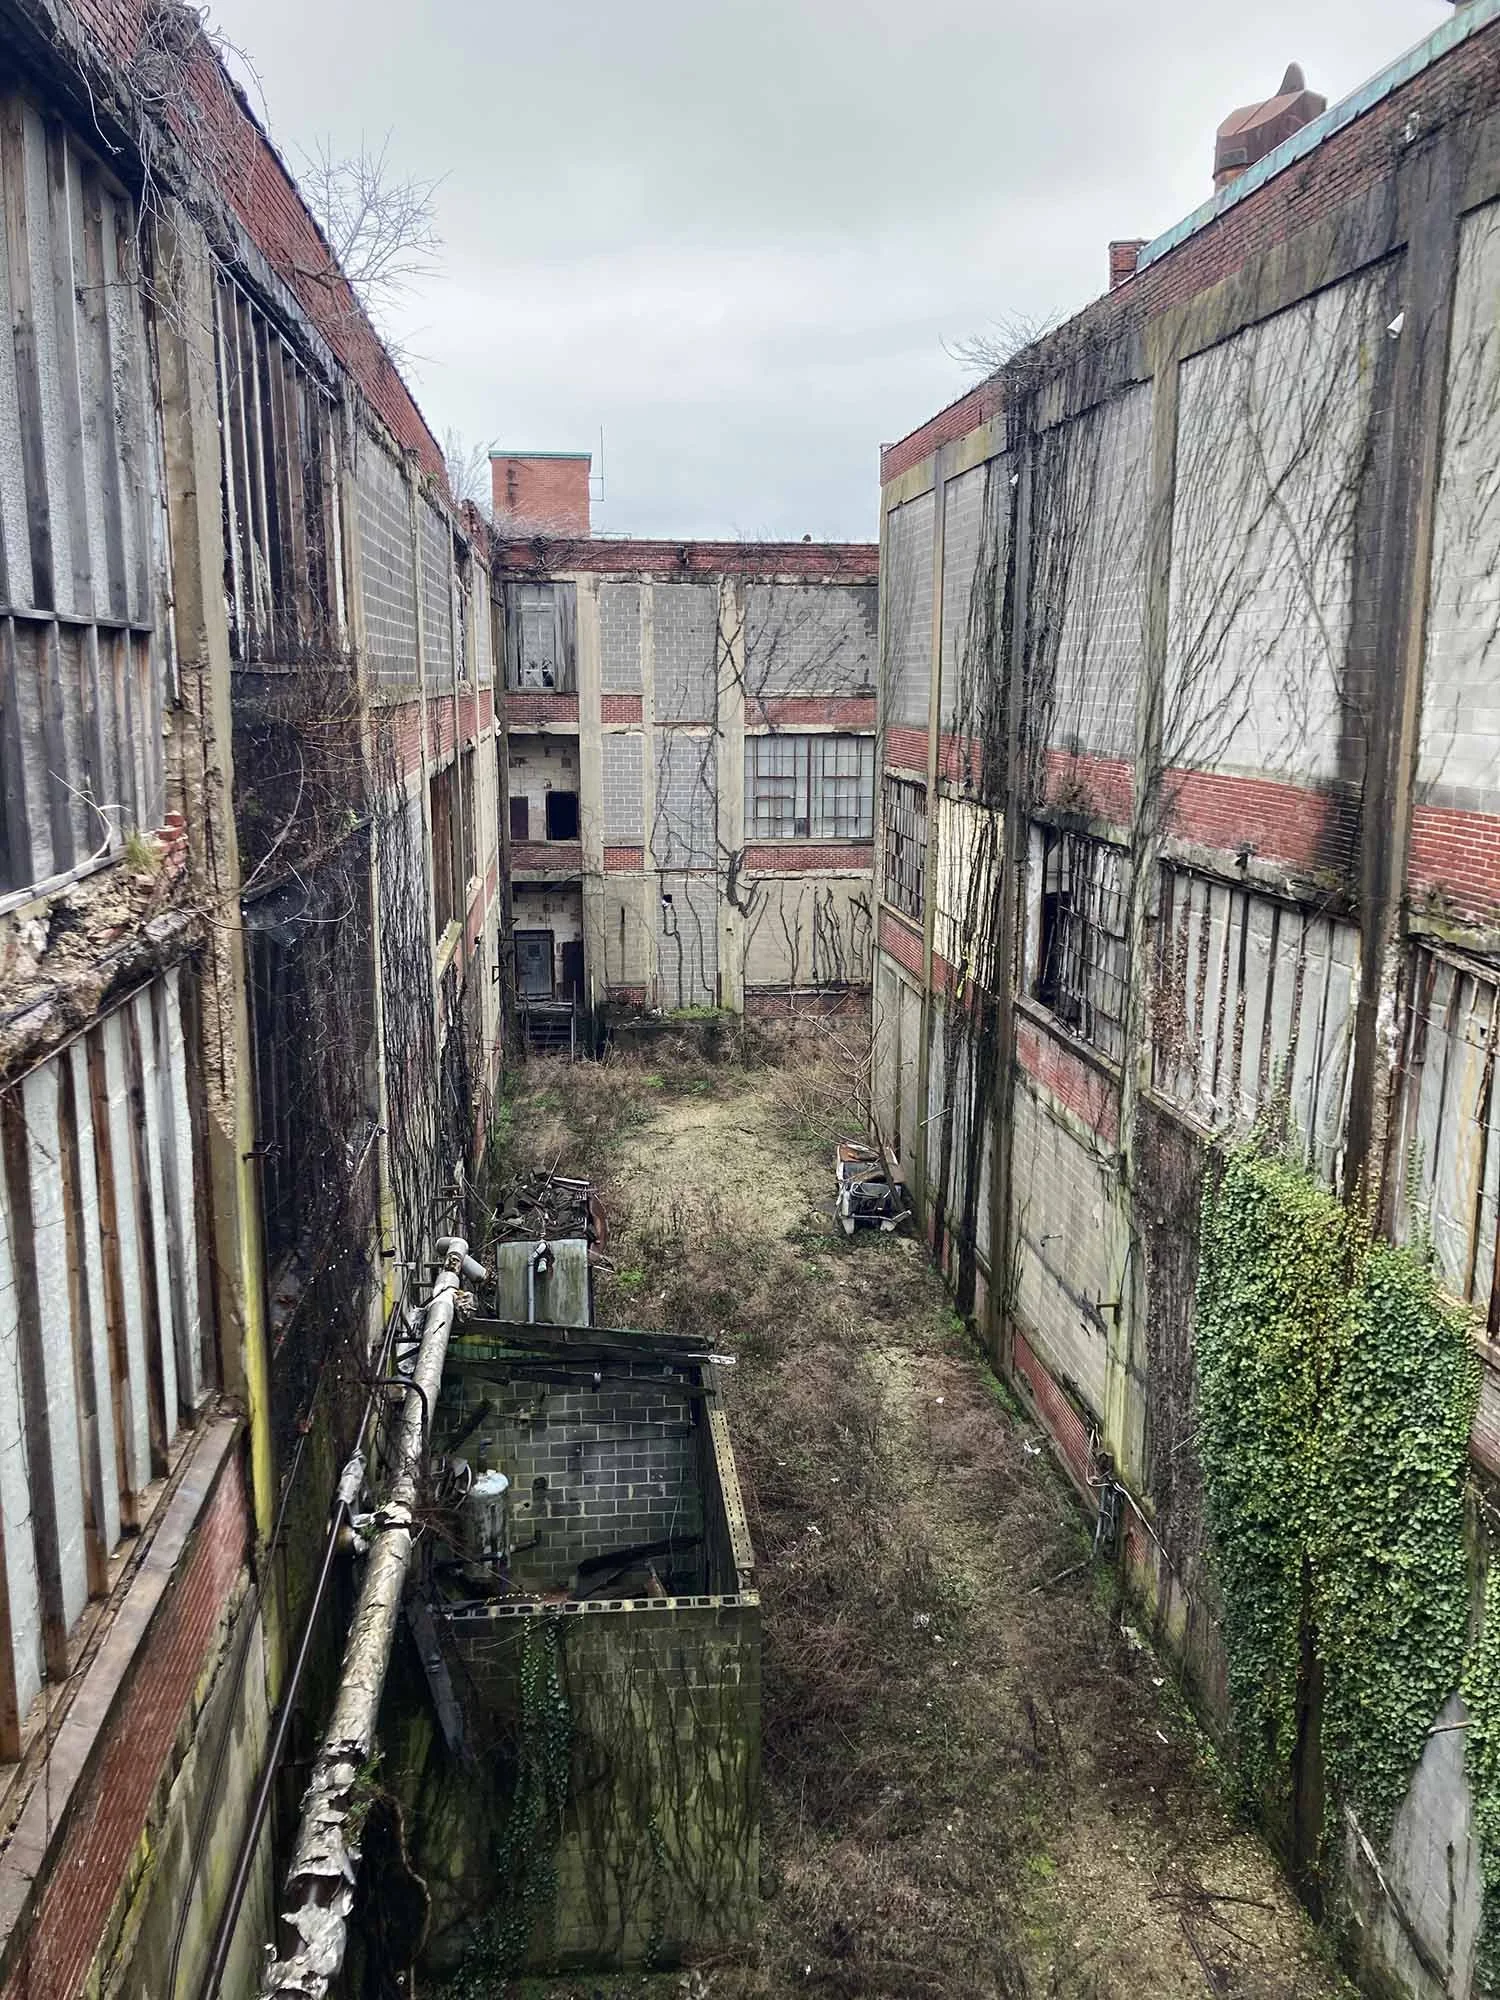
As part of my research into the environmental impacts of RE’s I visited the site of their first industrial use. The Welsbach Gas Lighting factory site in Camden NJ. During its years of operation, the monazite sand shipped to the facility, from which the RE’s were extracted made for an excellent fill, used in the expanding Delaware River port and growing housing. This practice has spread contamination far beyond the factory boundaries. It is now a Superfund Site. Hosted by the EPA, I visited the Welsbach Superfund site in April 2022. It is a unique place where the environmental impacts of RE's can be studied.


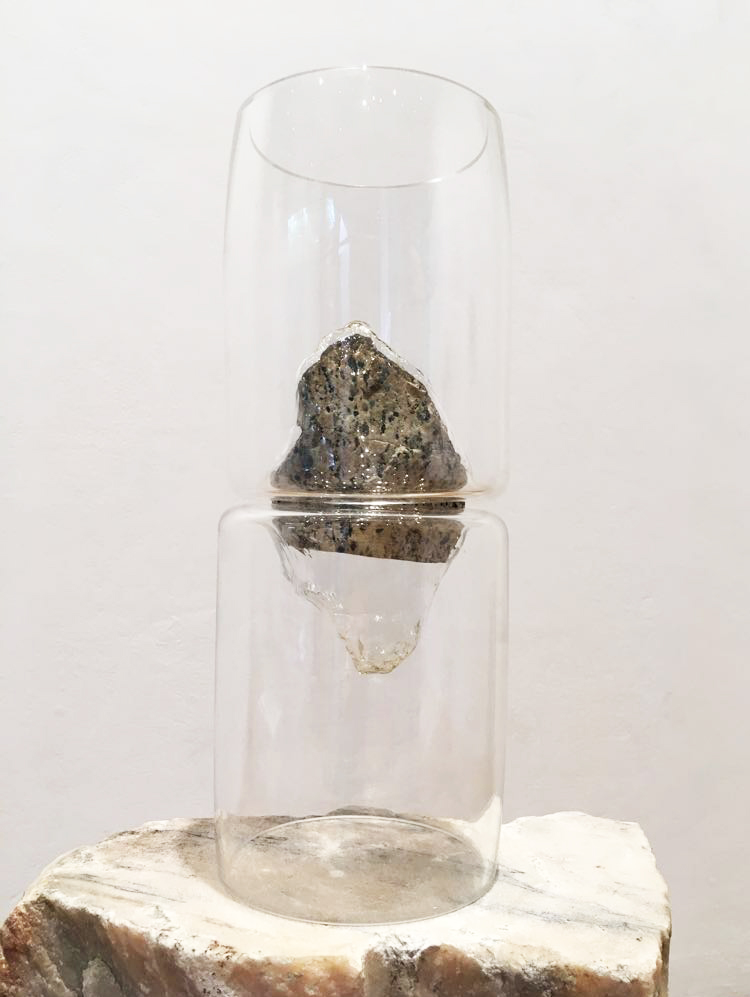
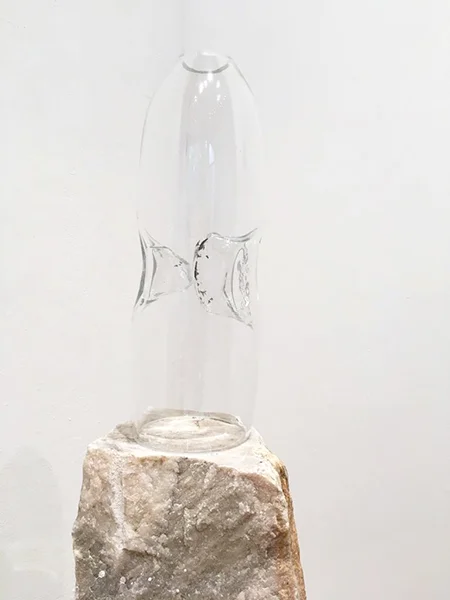
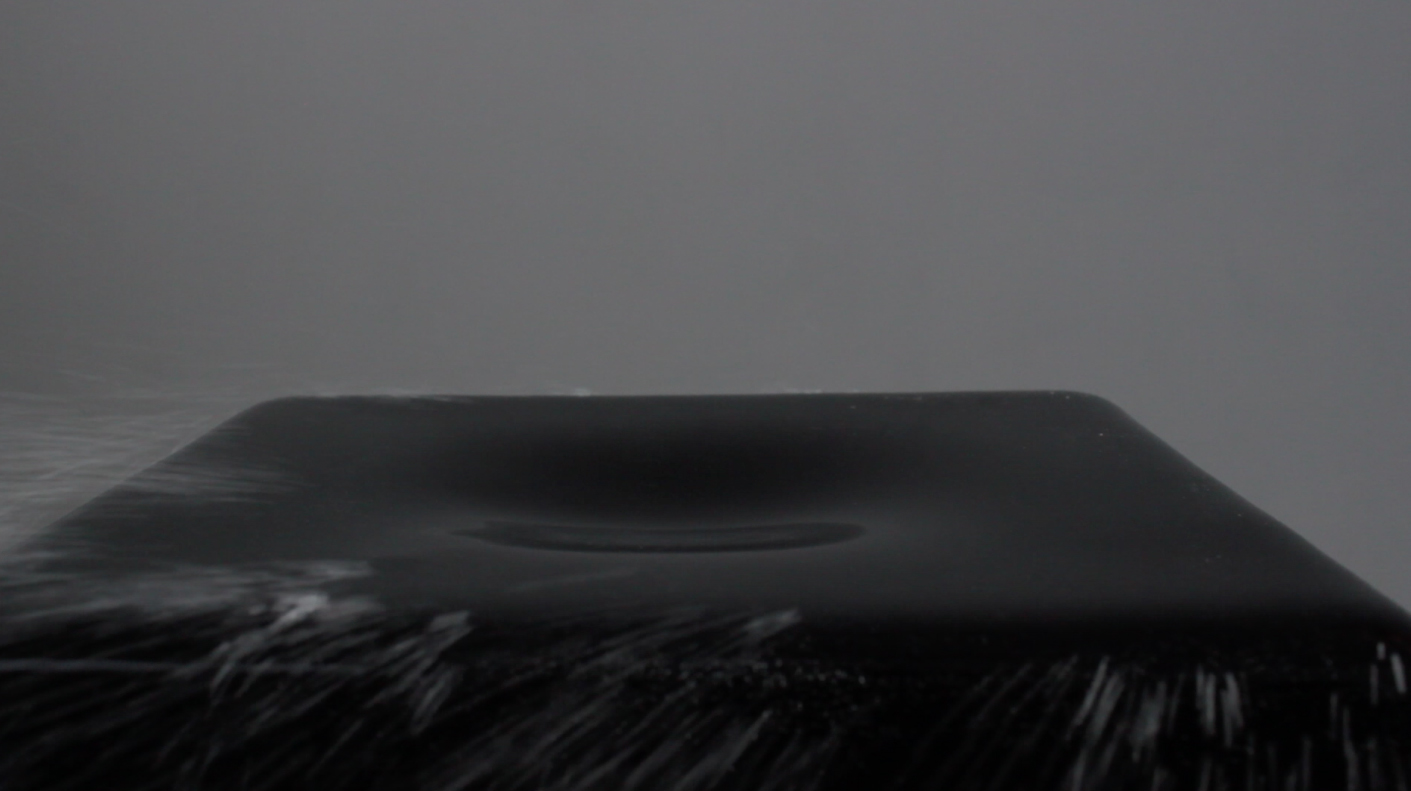
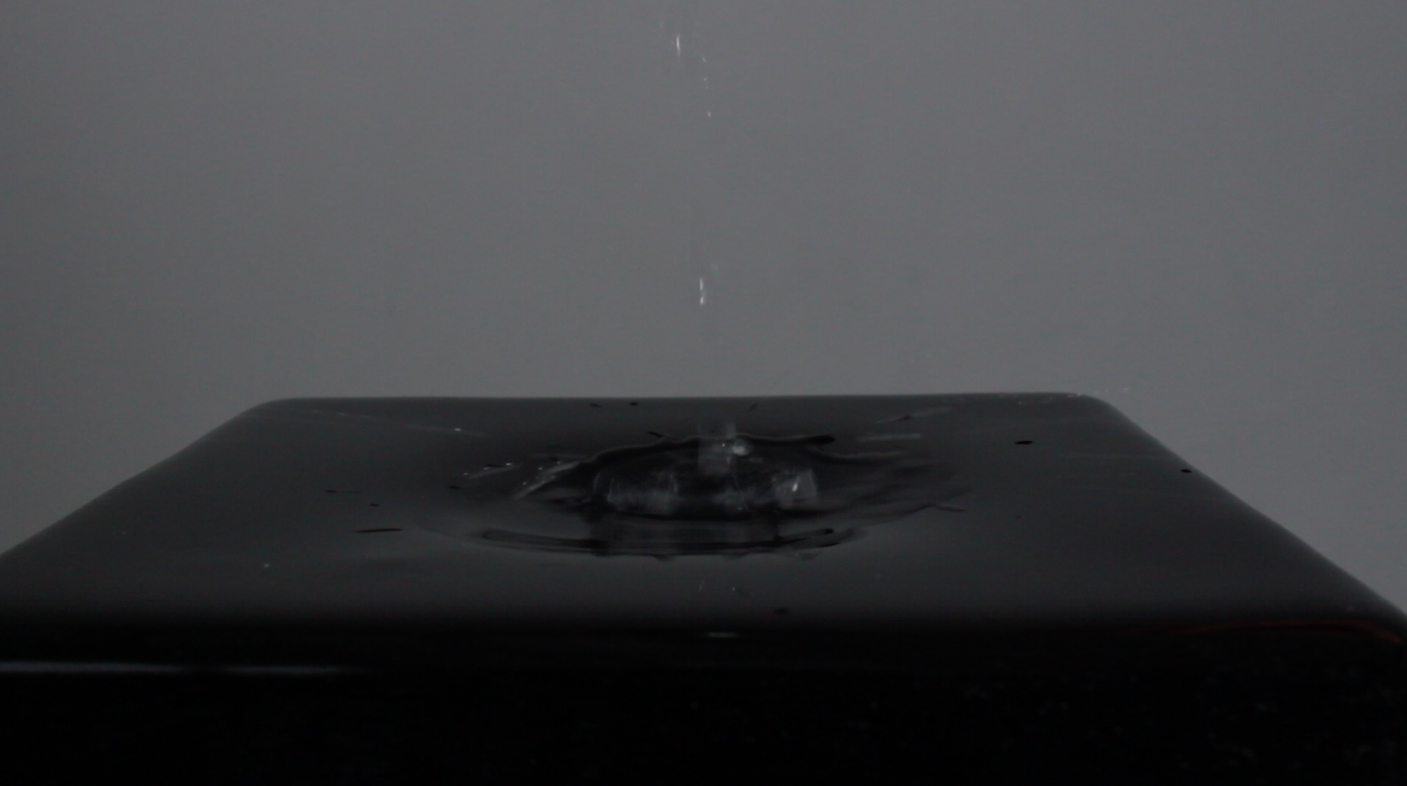
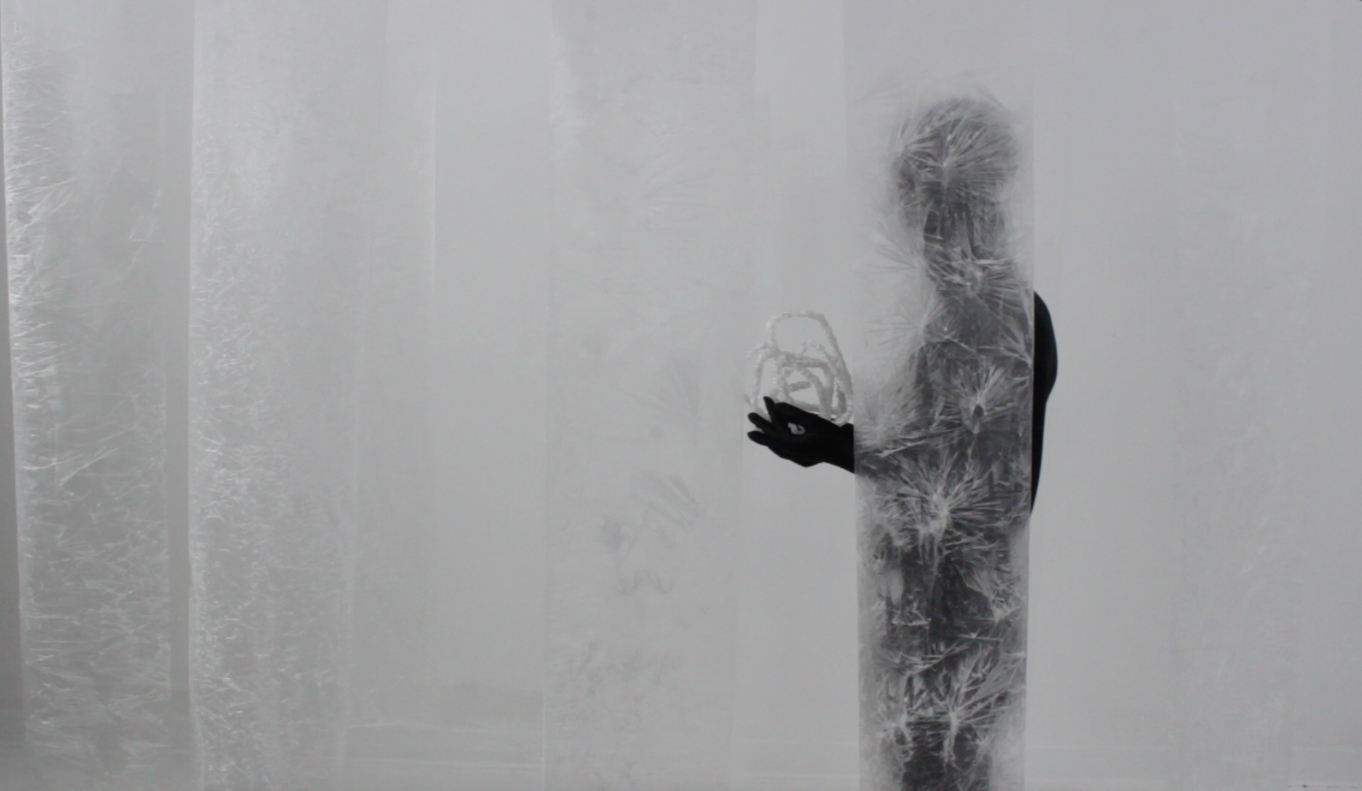
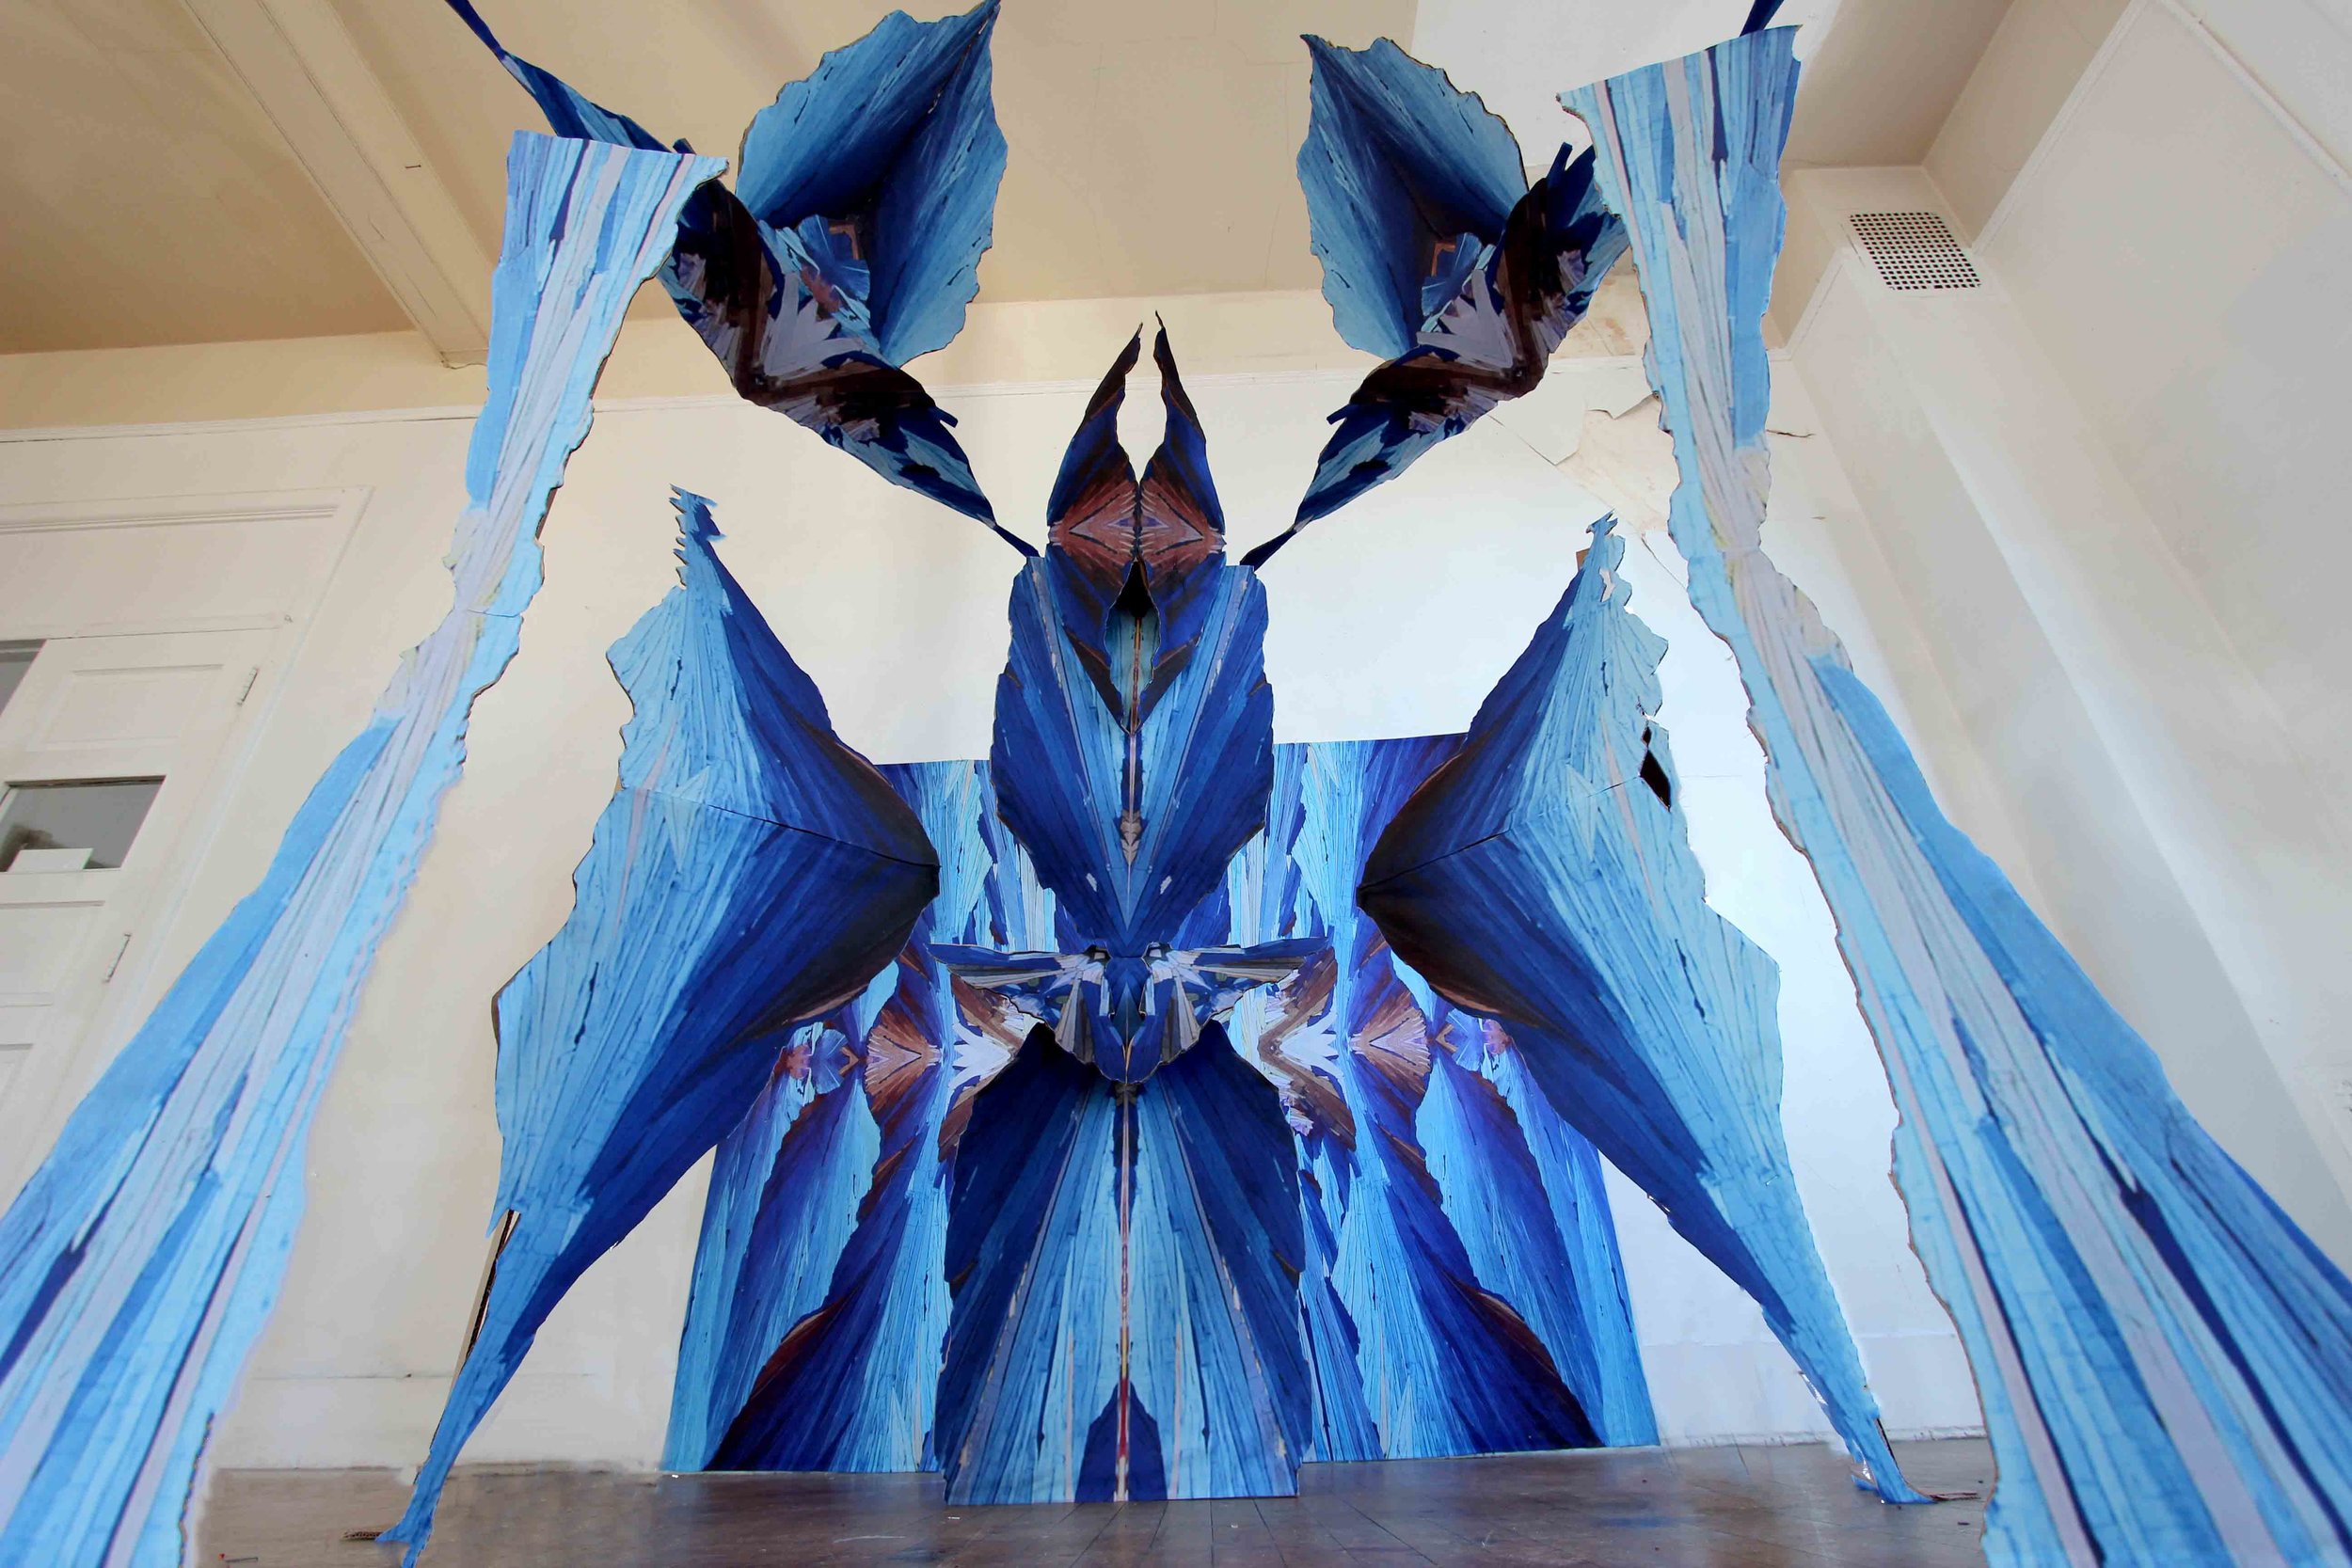
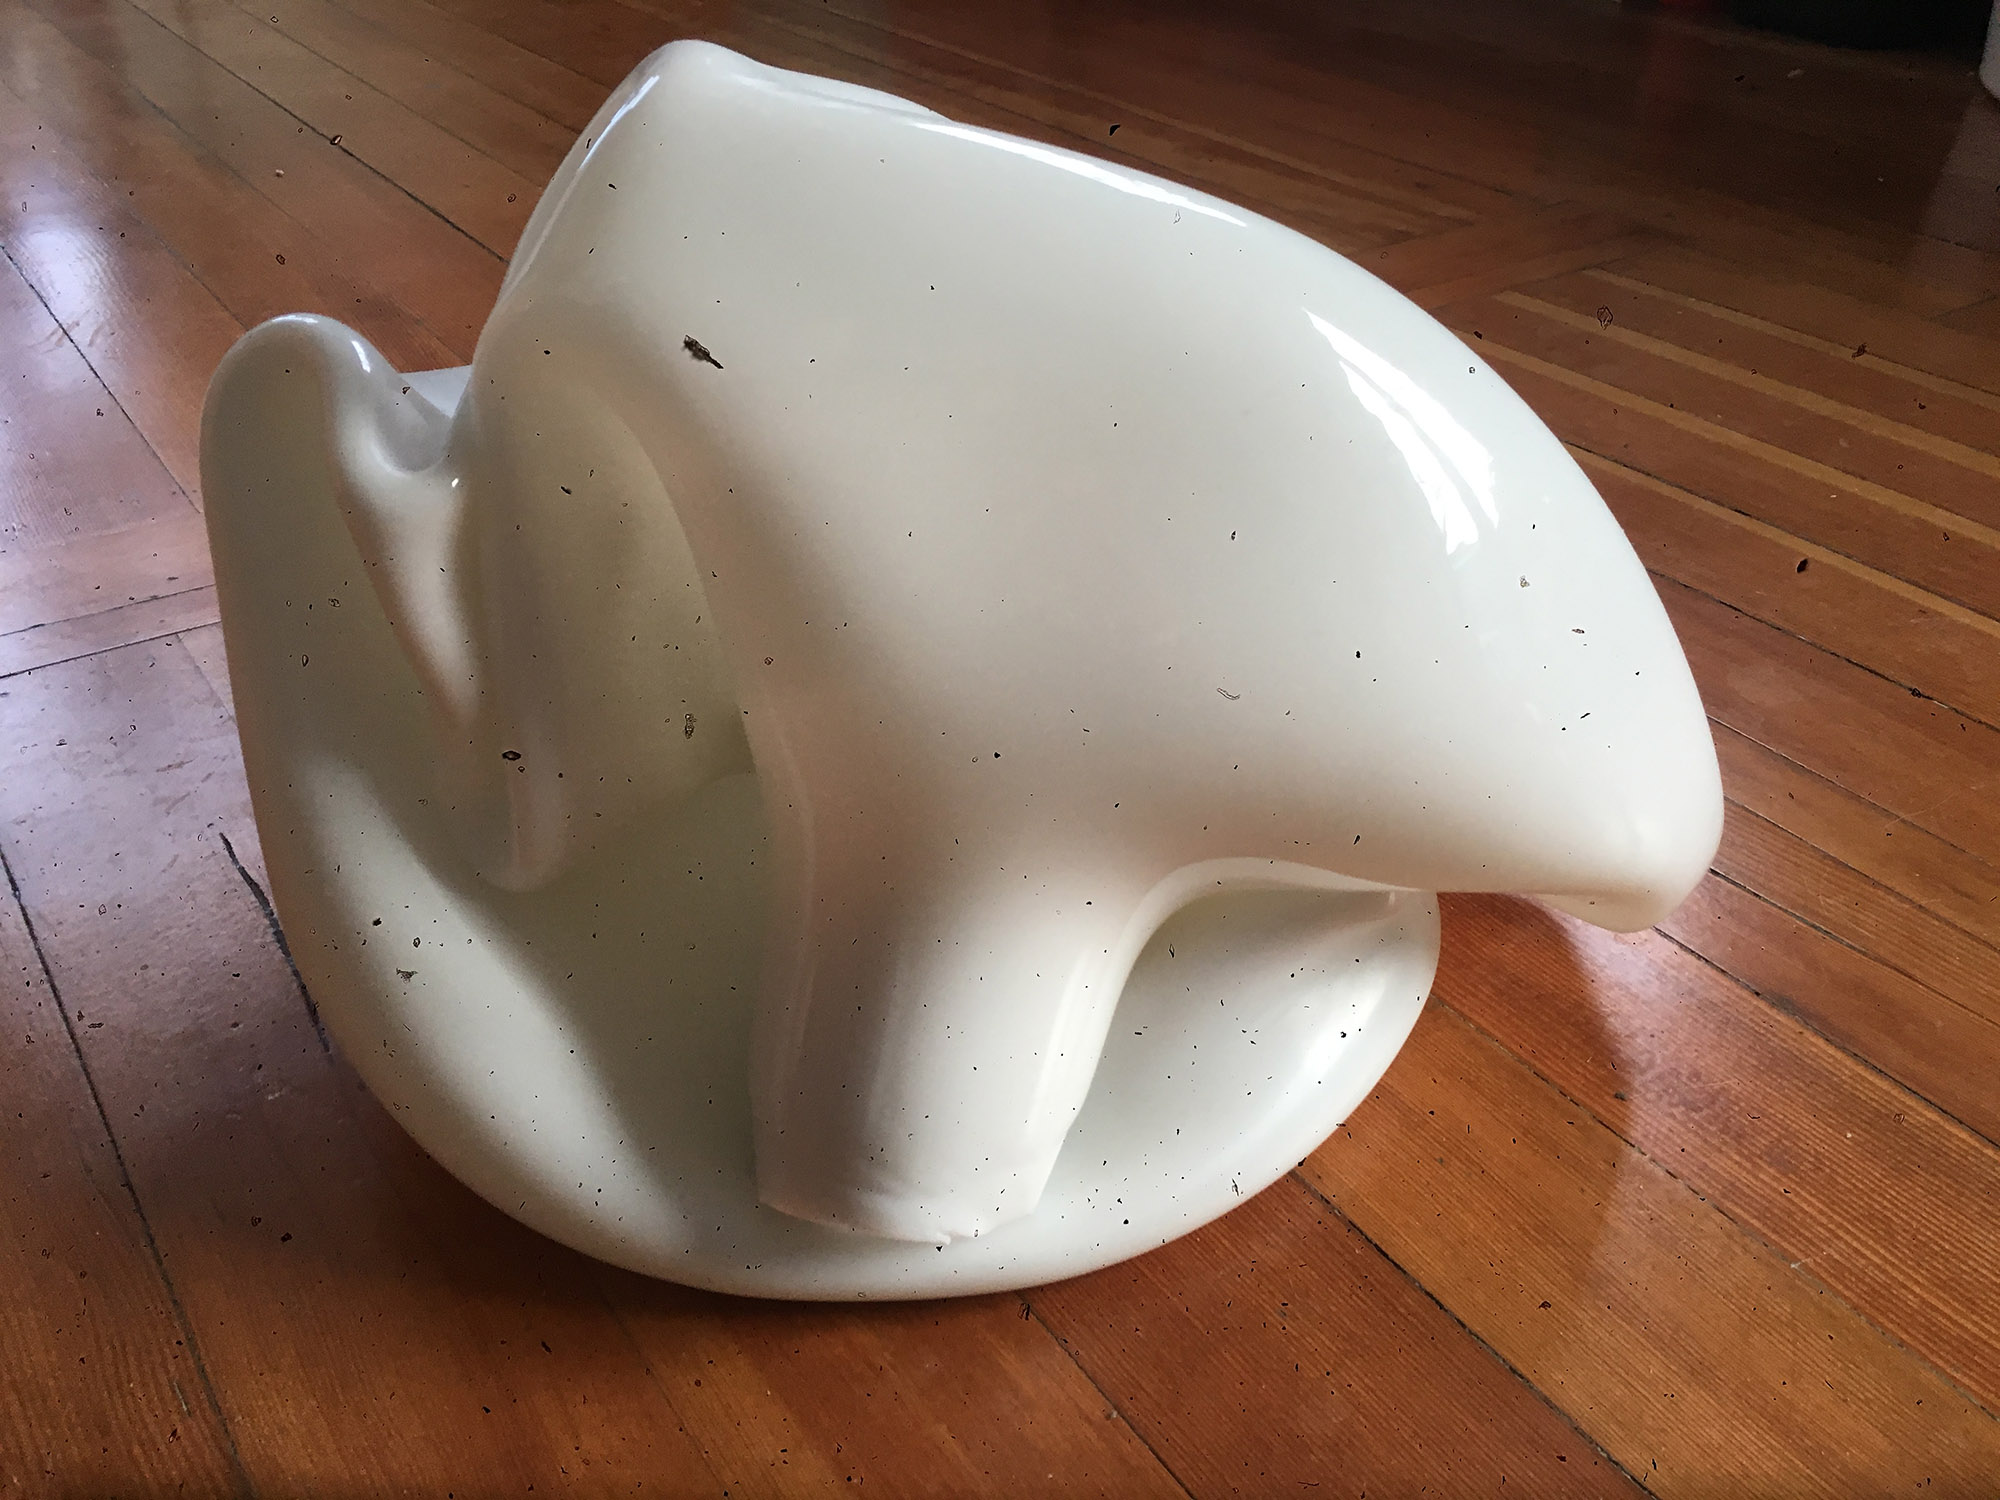
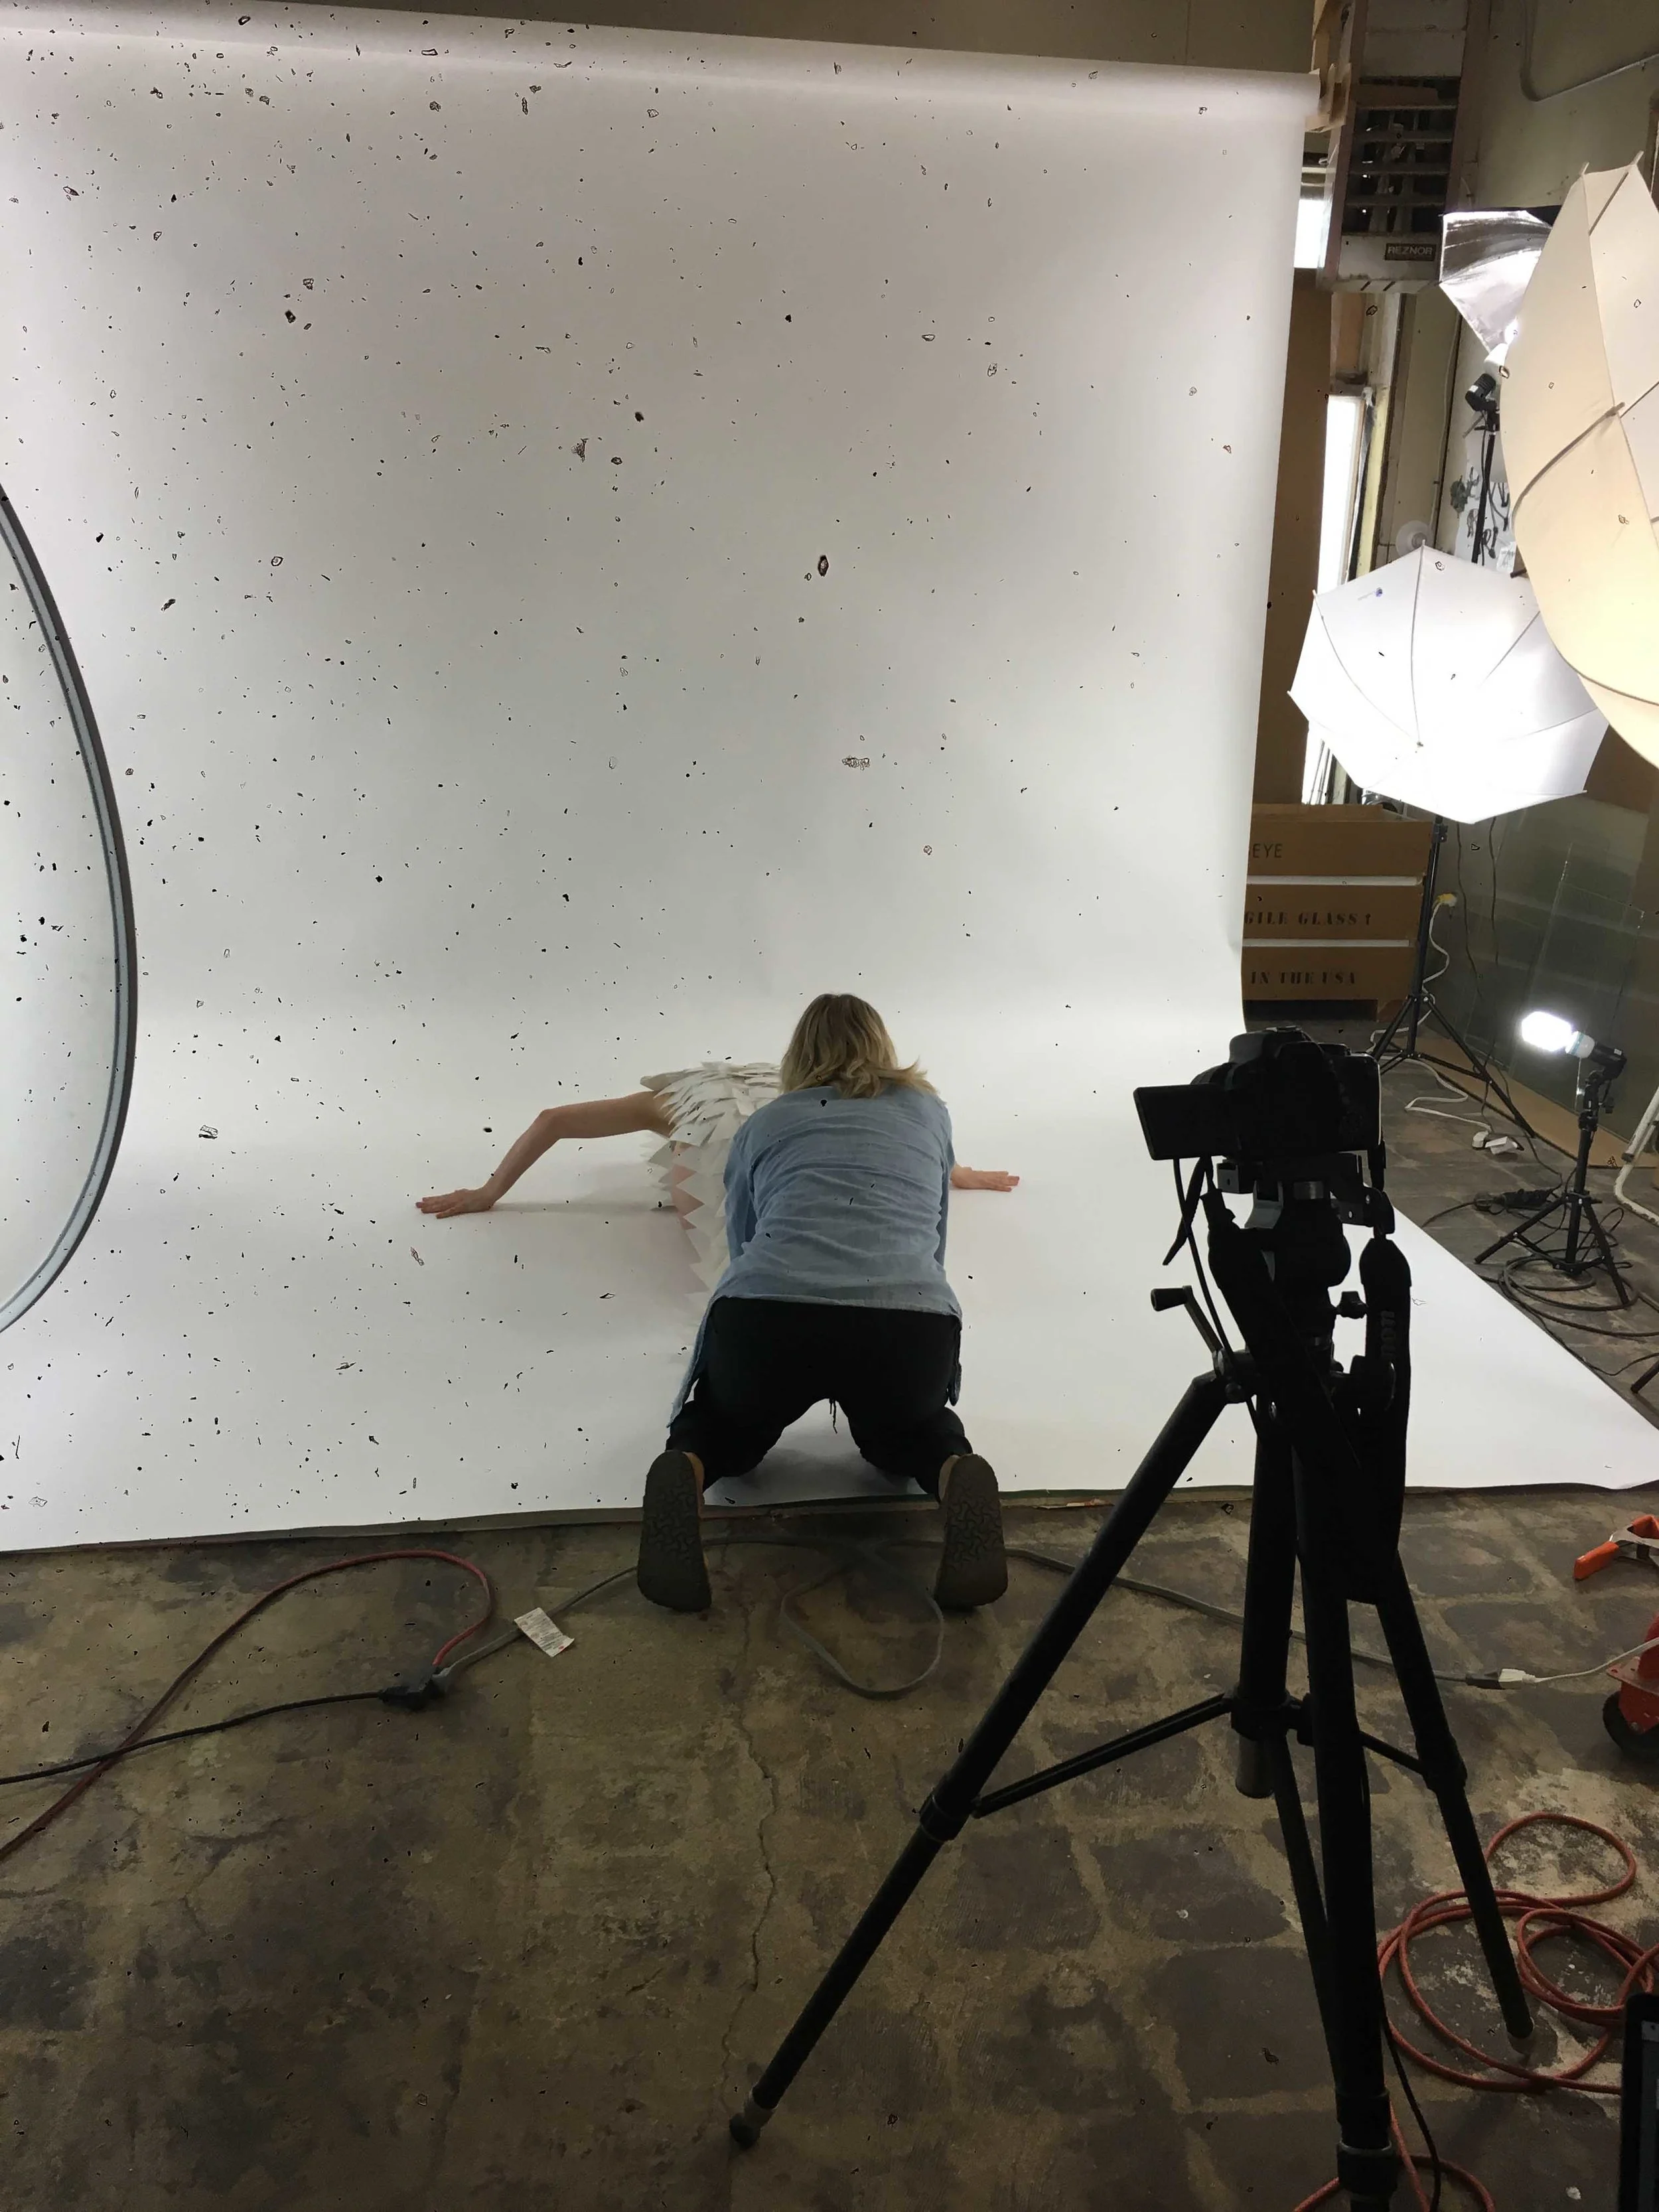
I have been working on a large-scale Installation of video and objects.
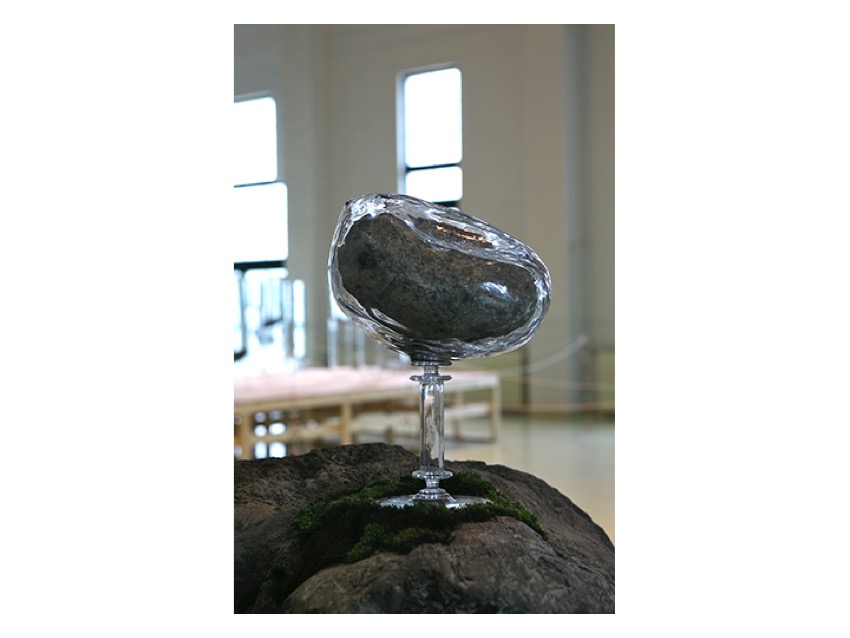
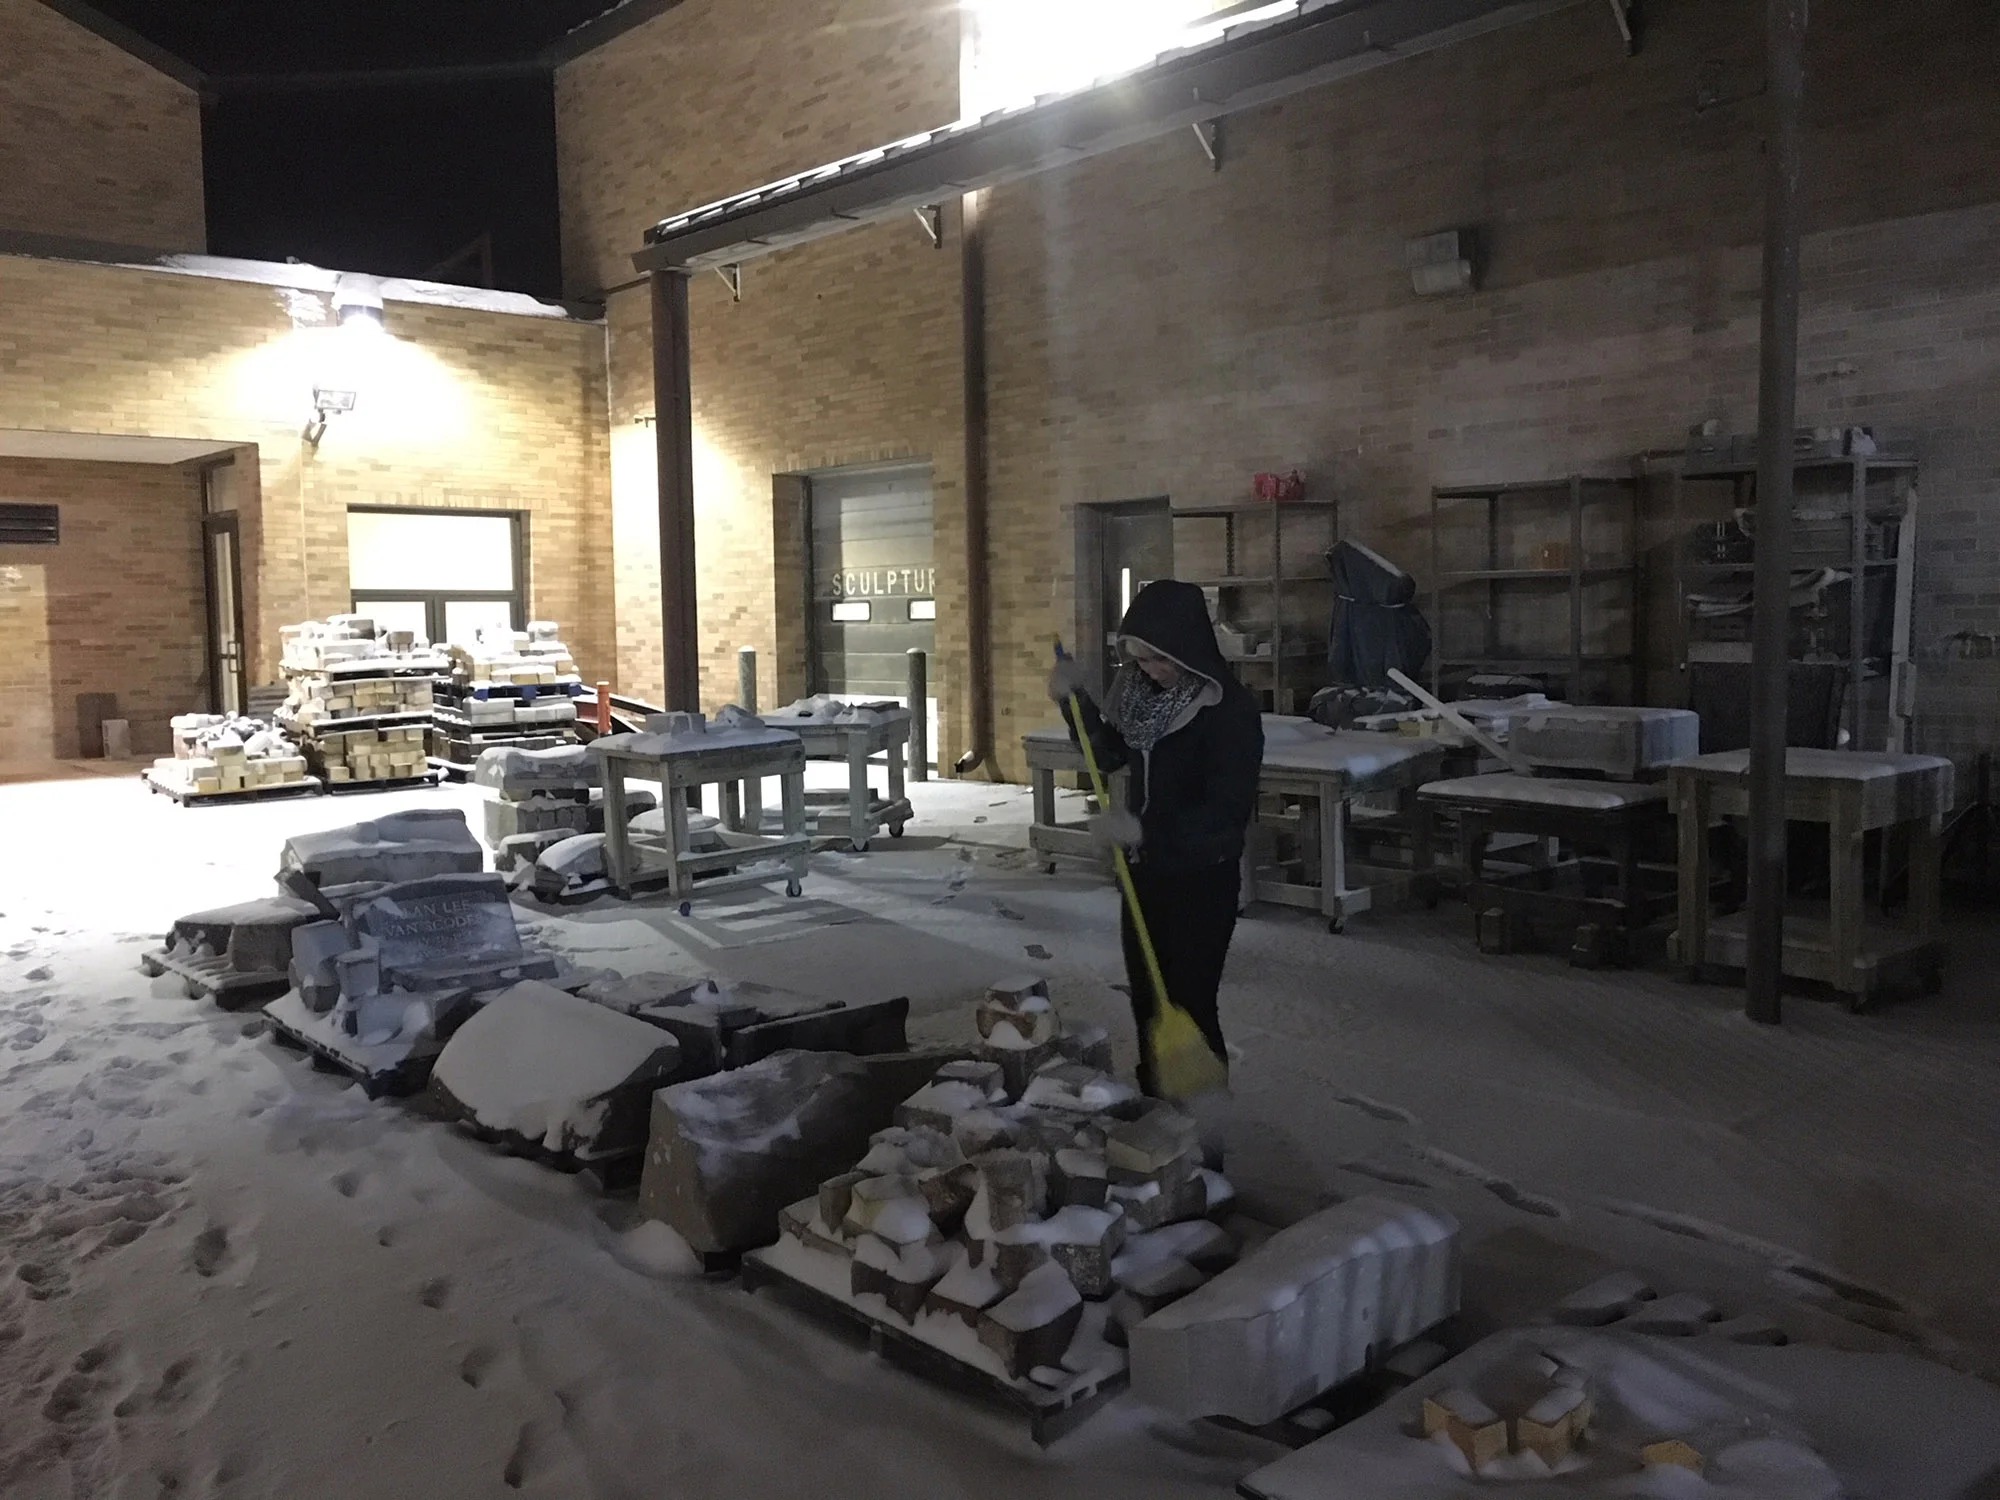
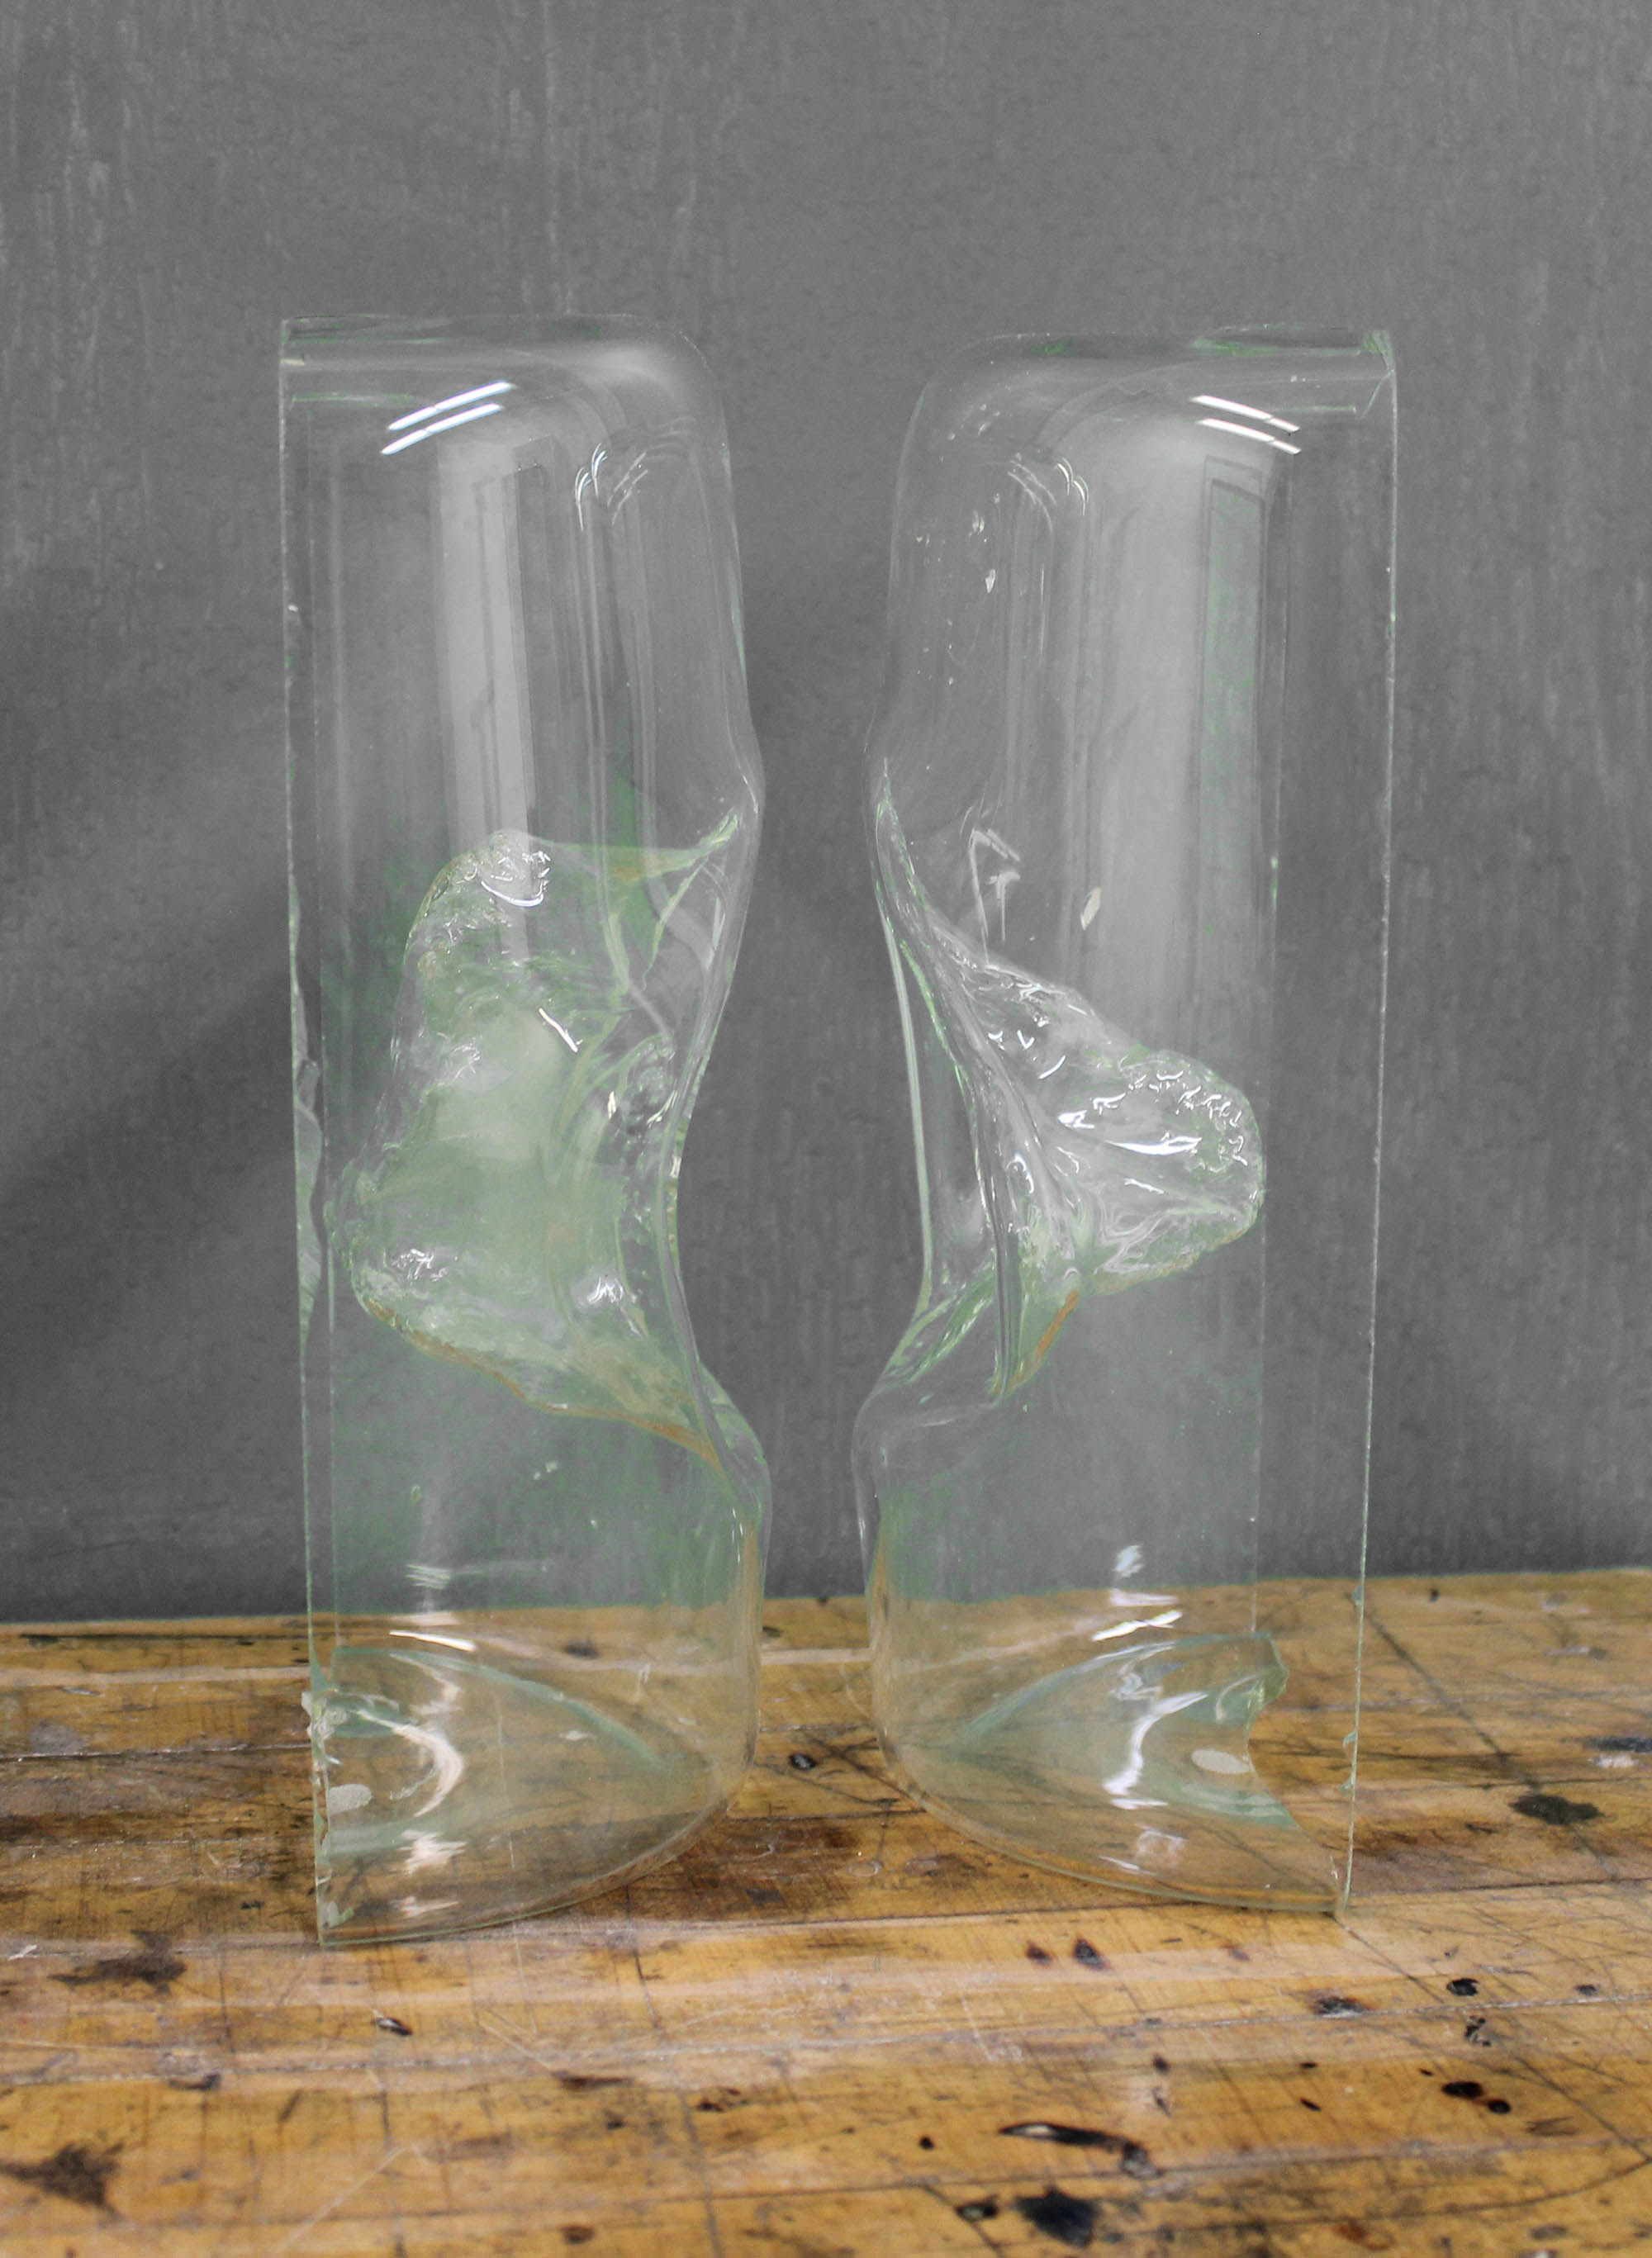
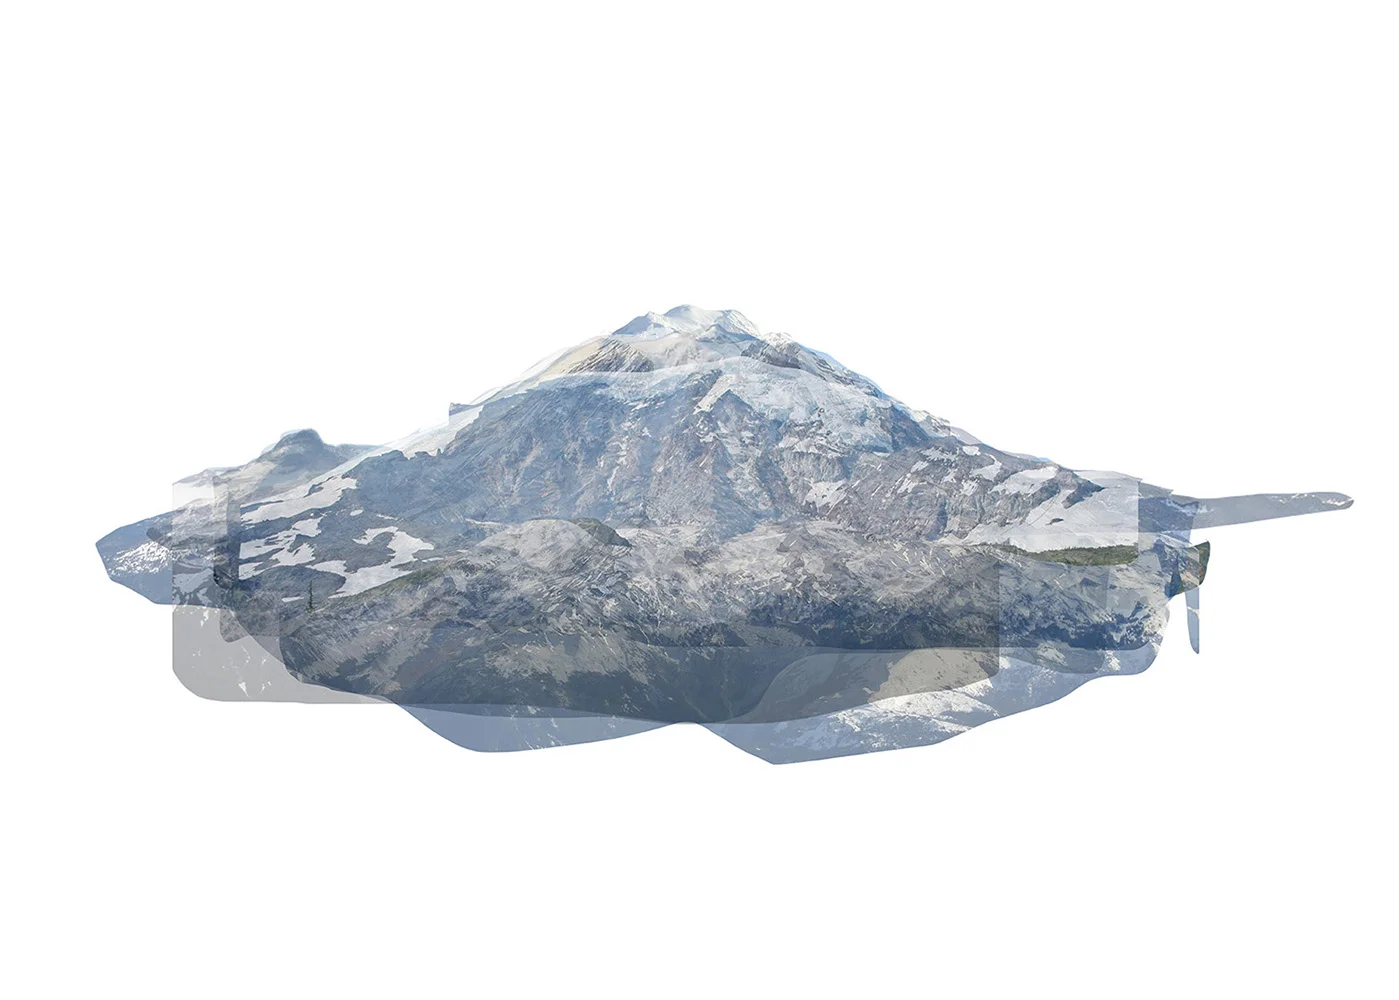
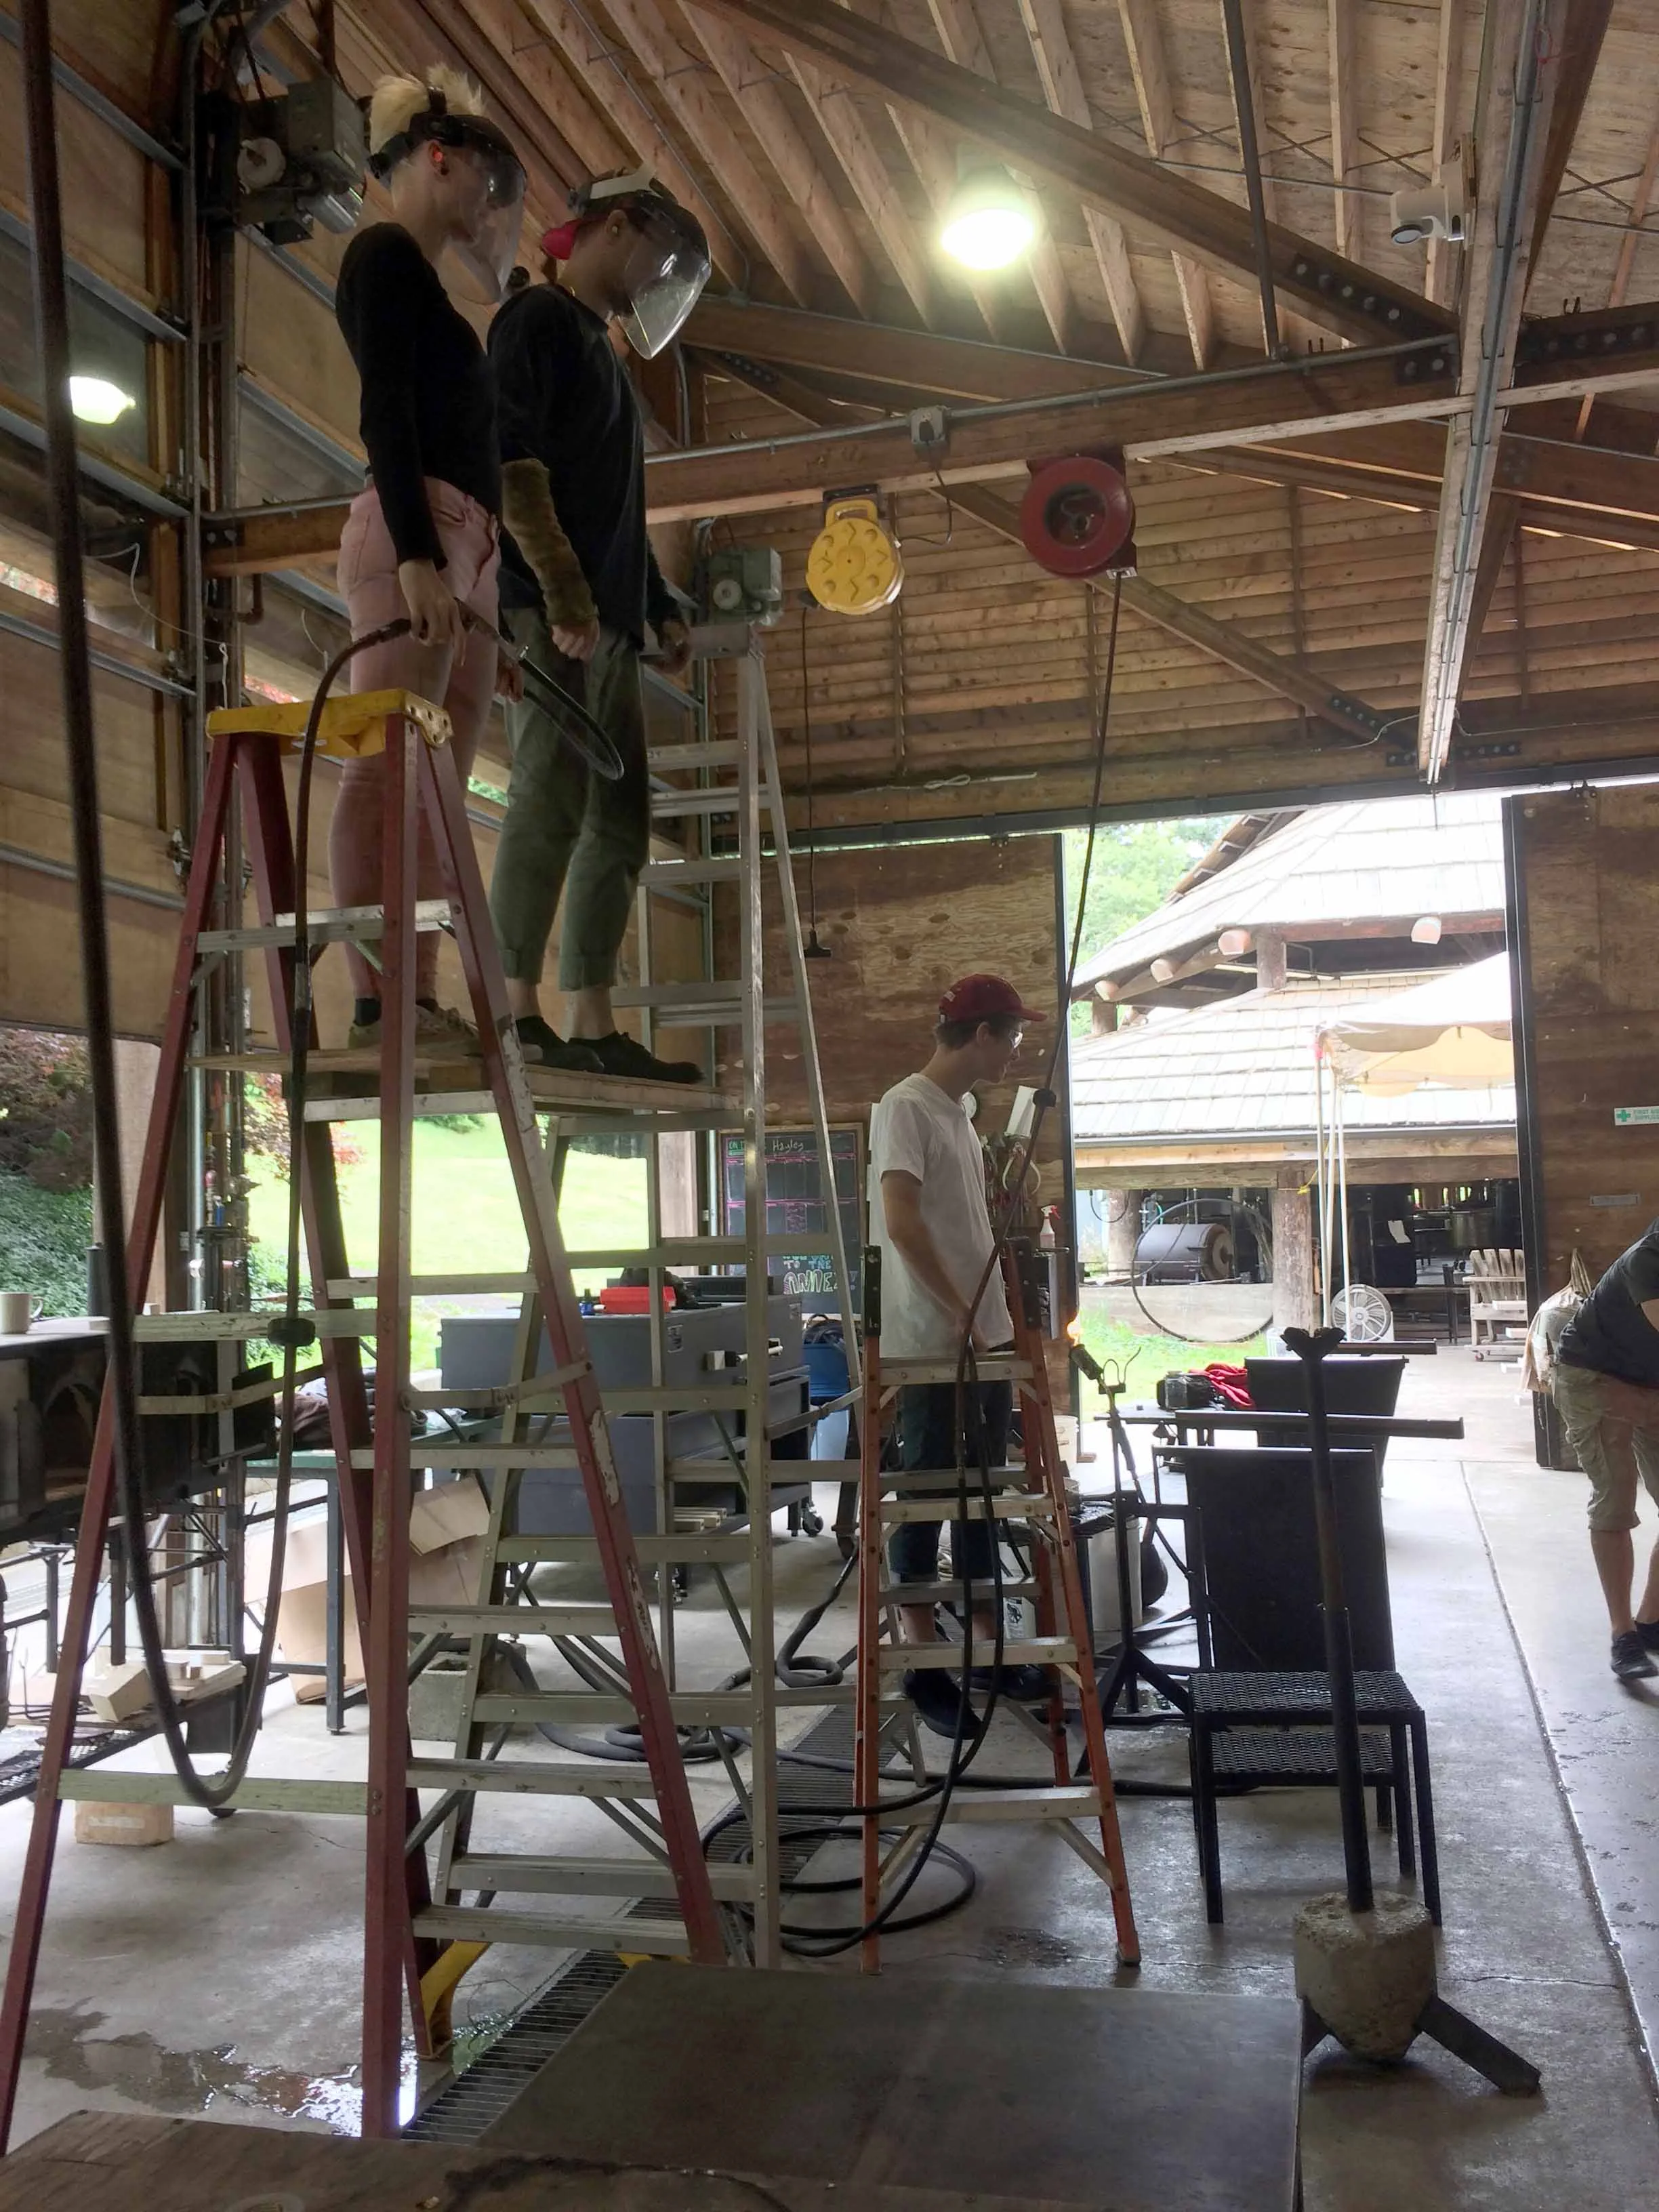
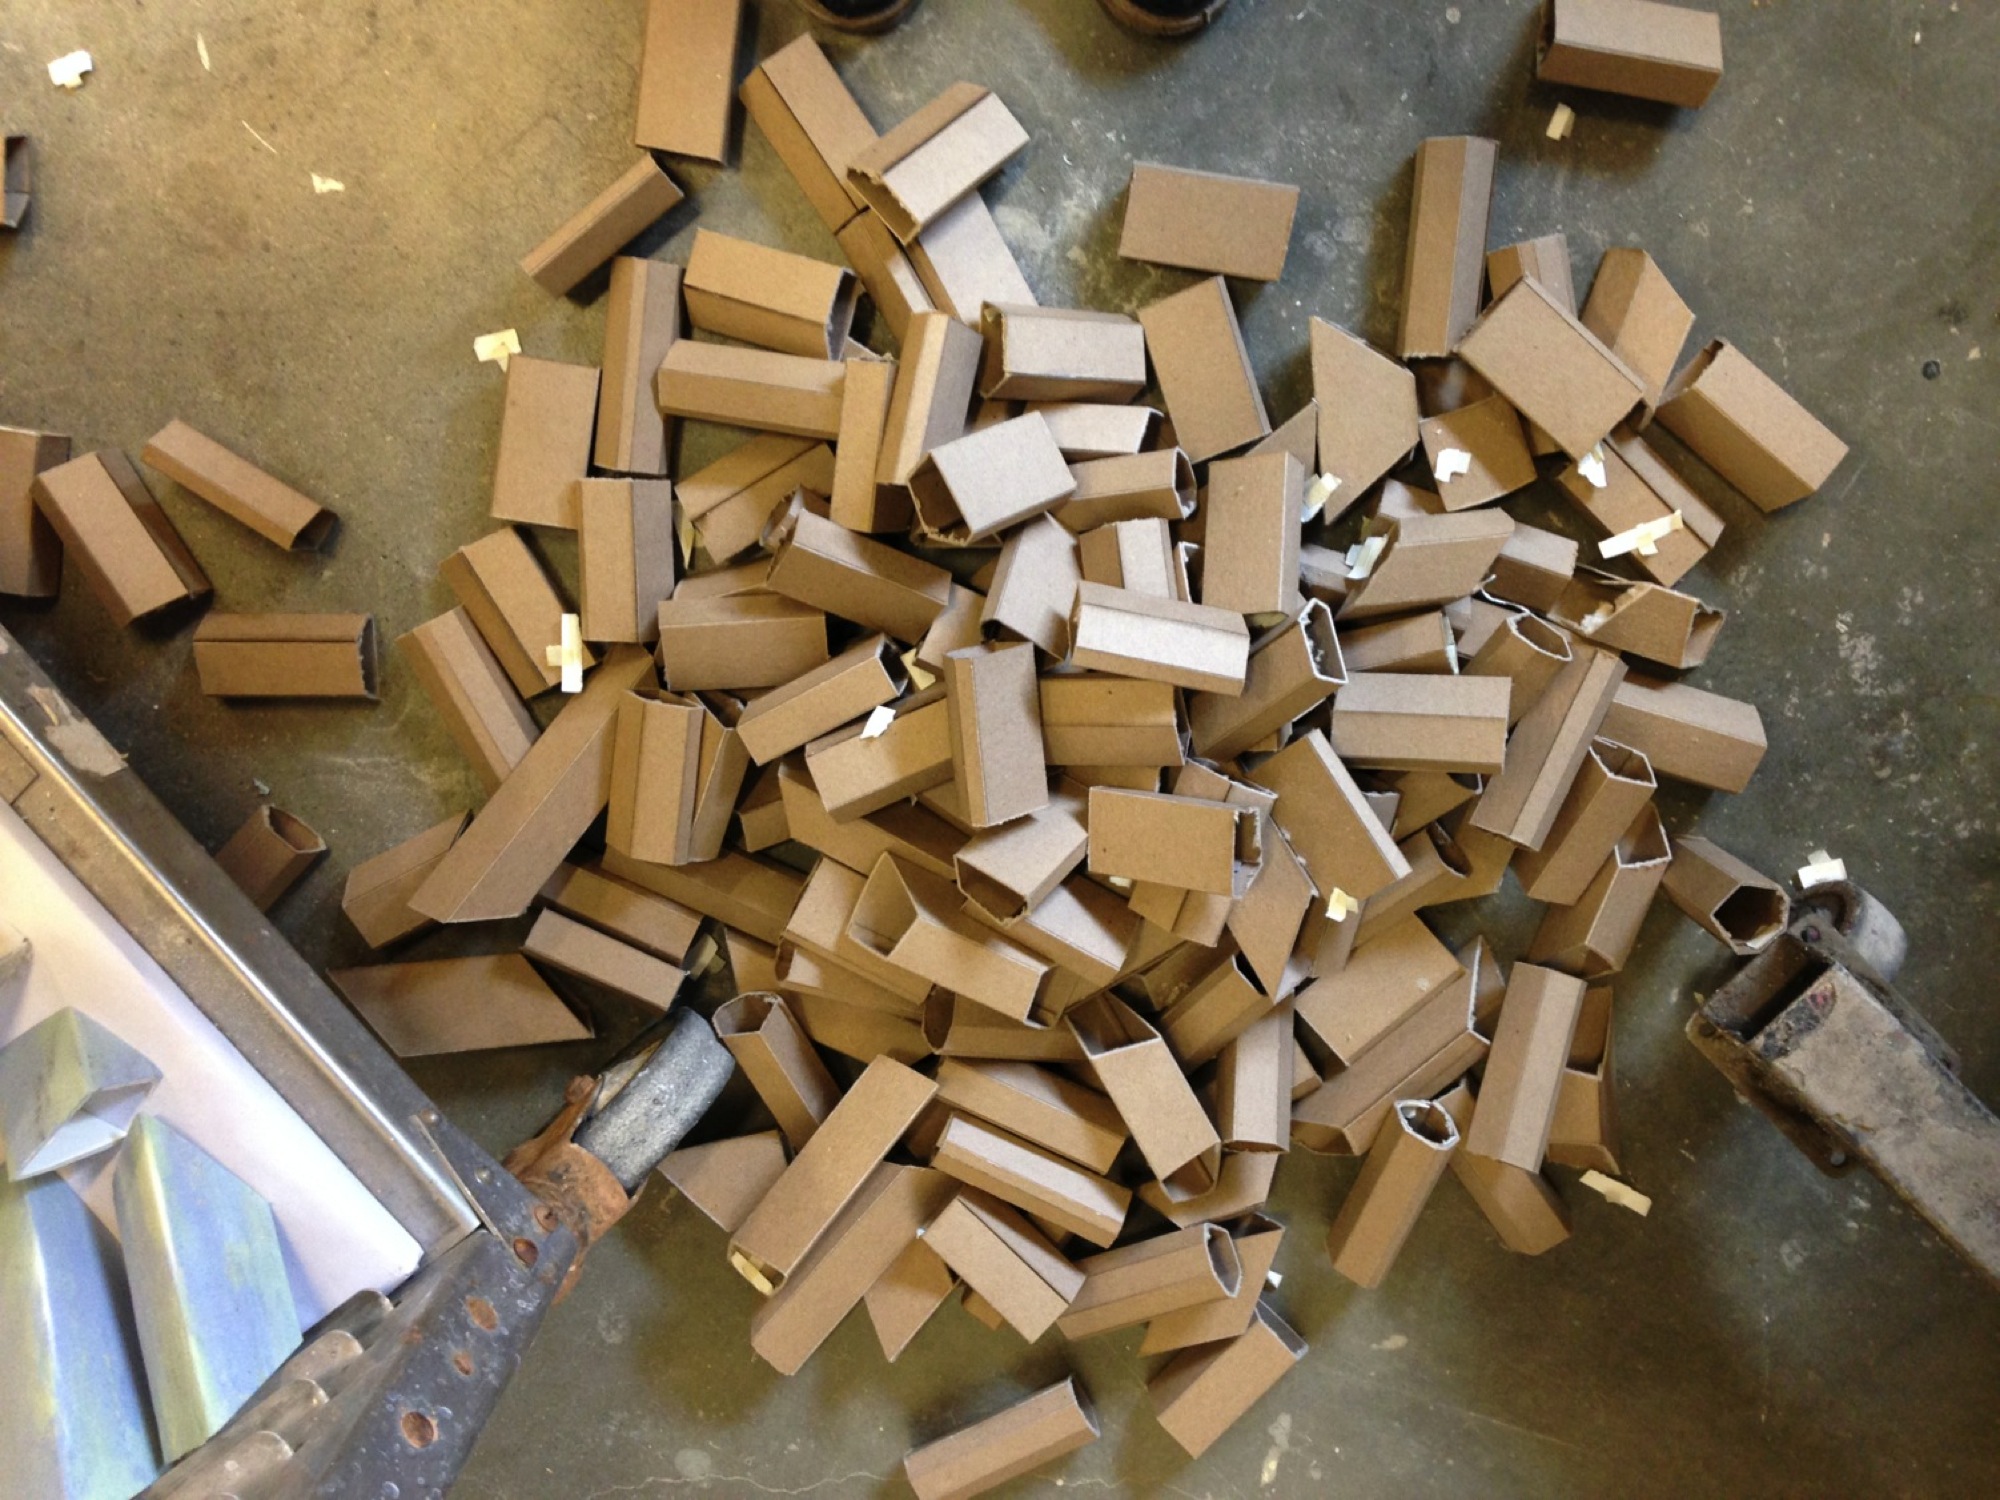
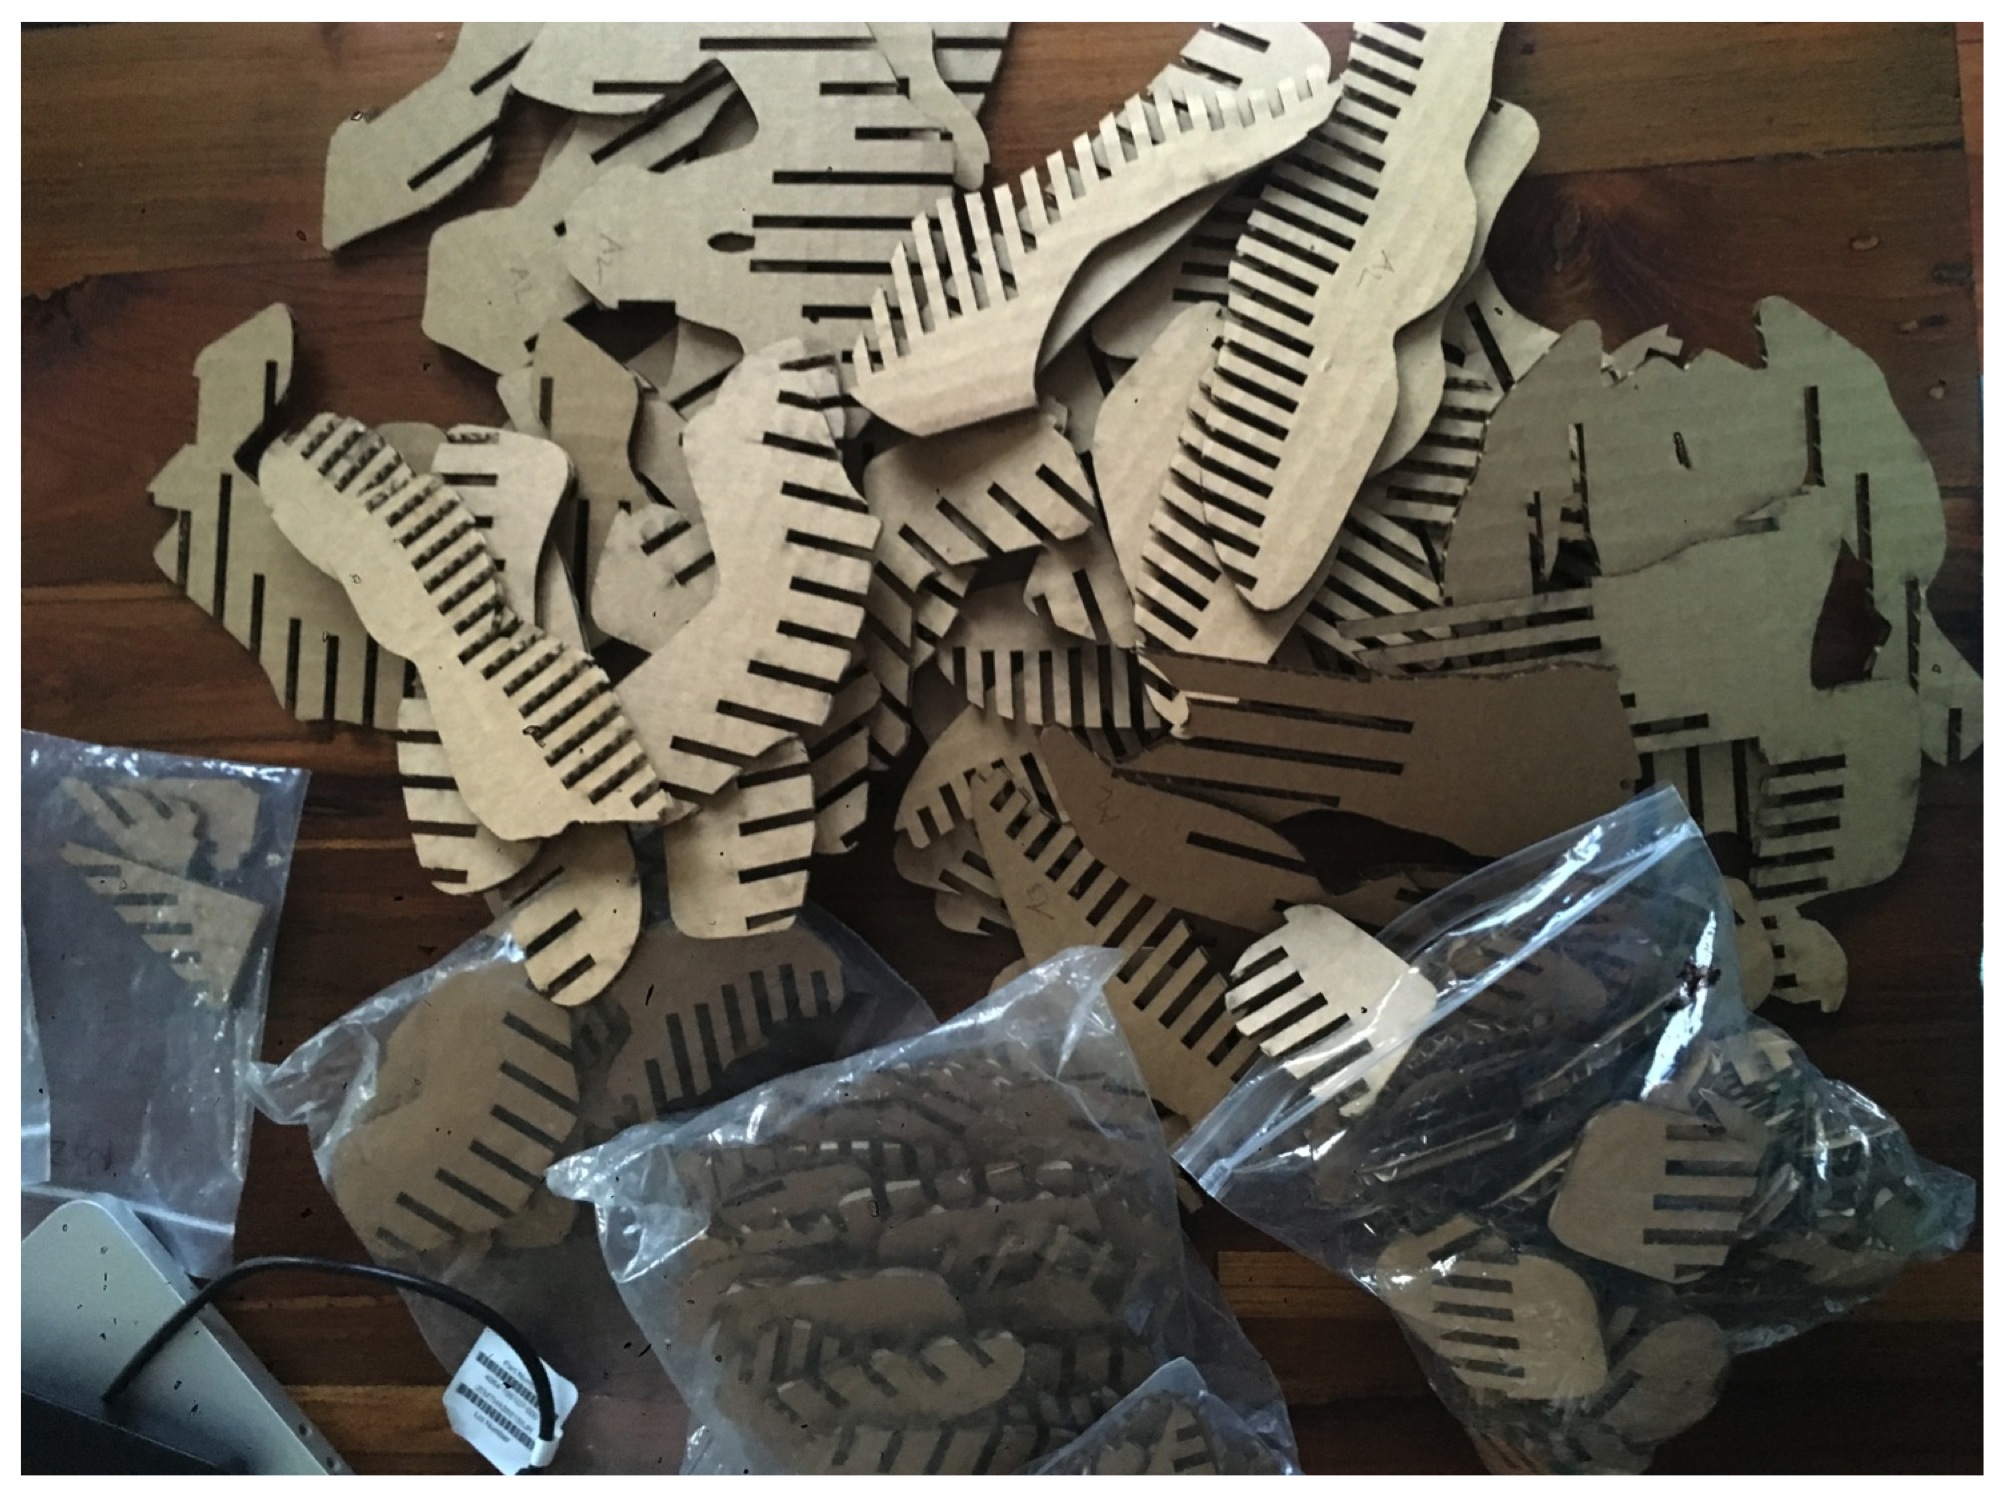
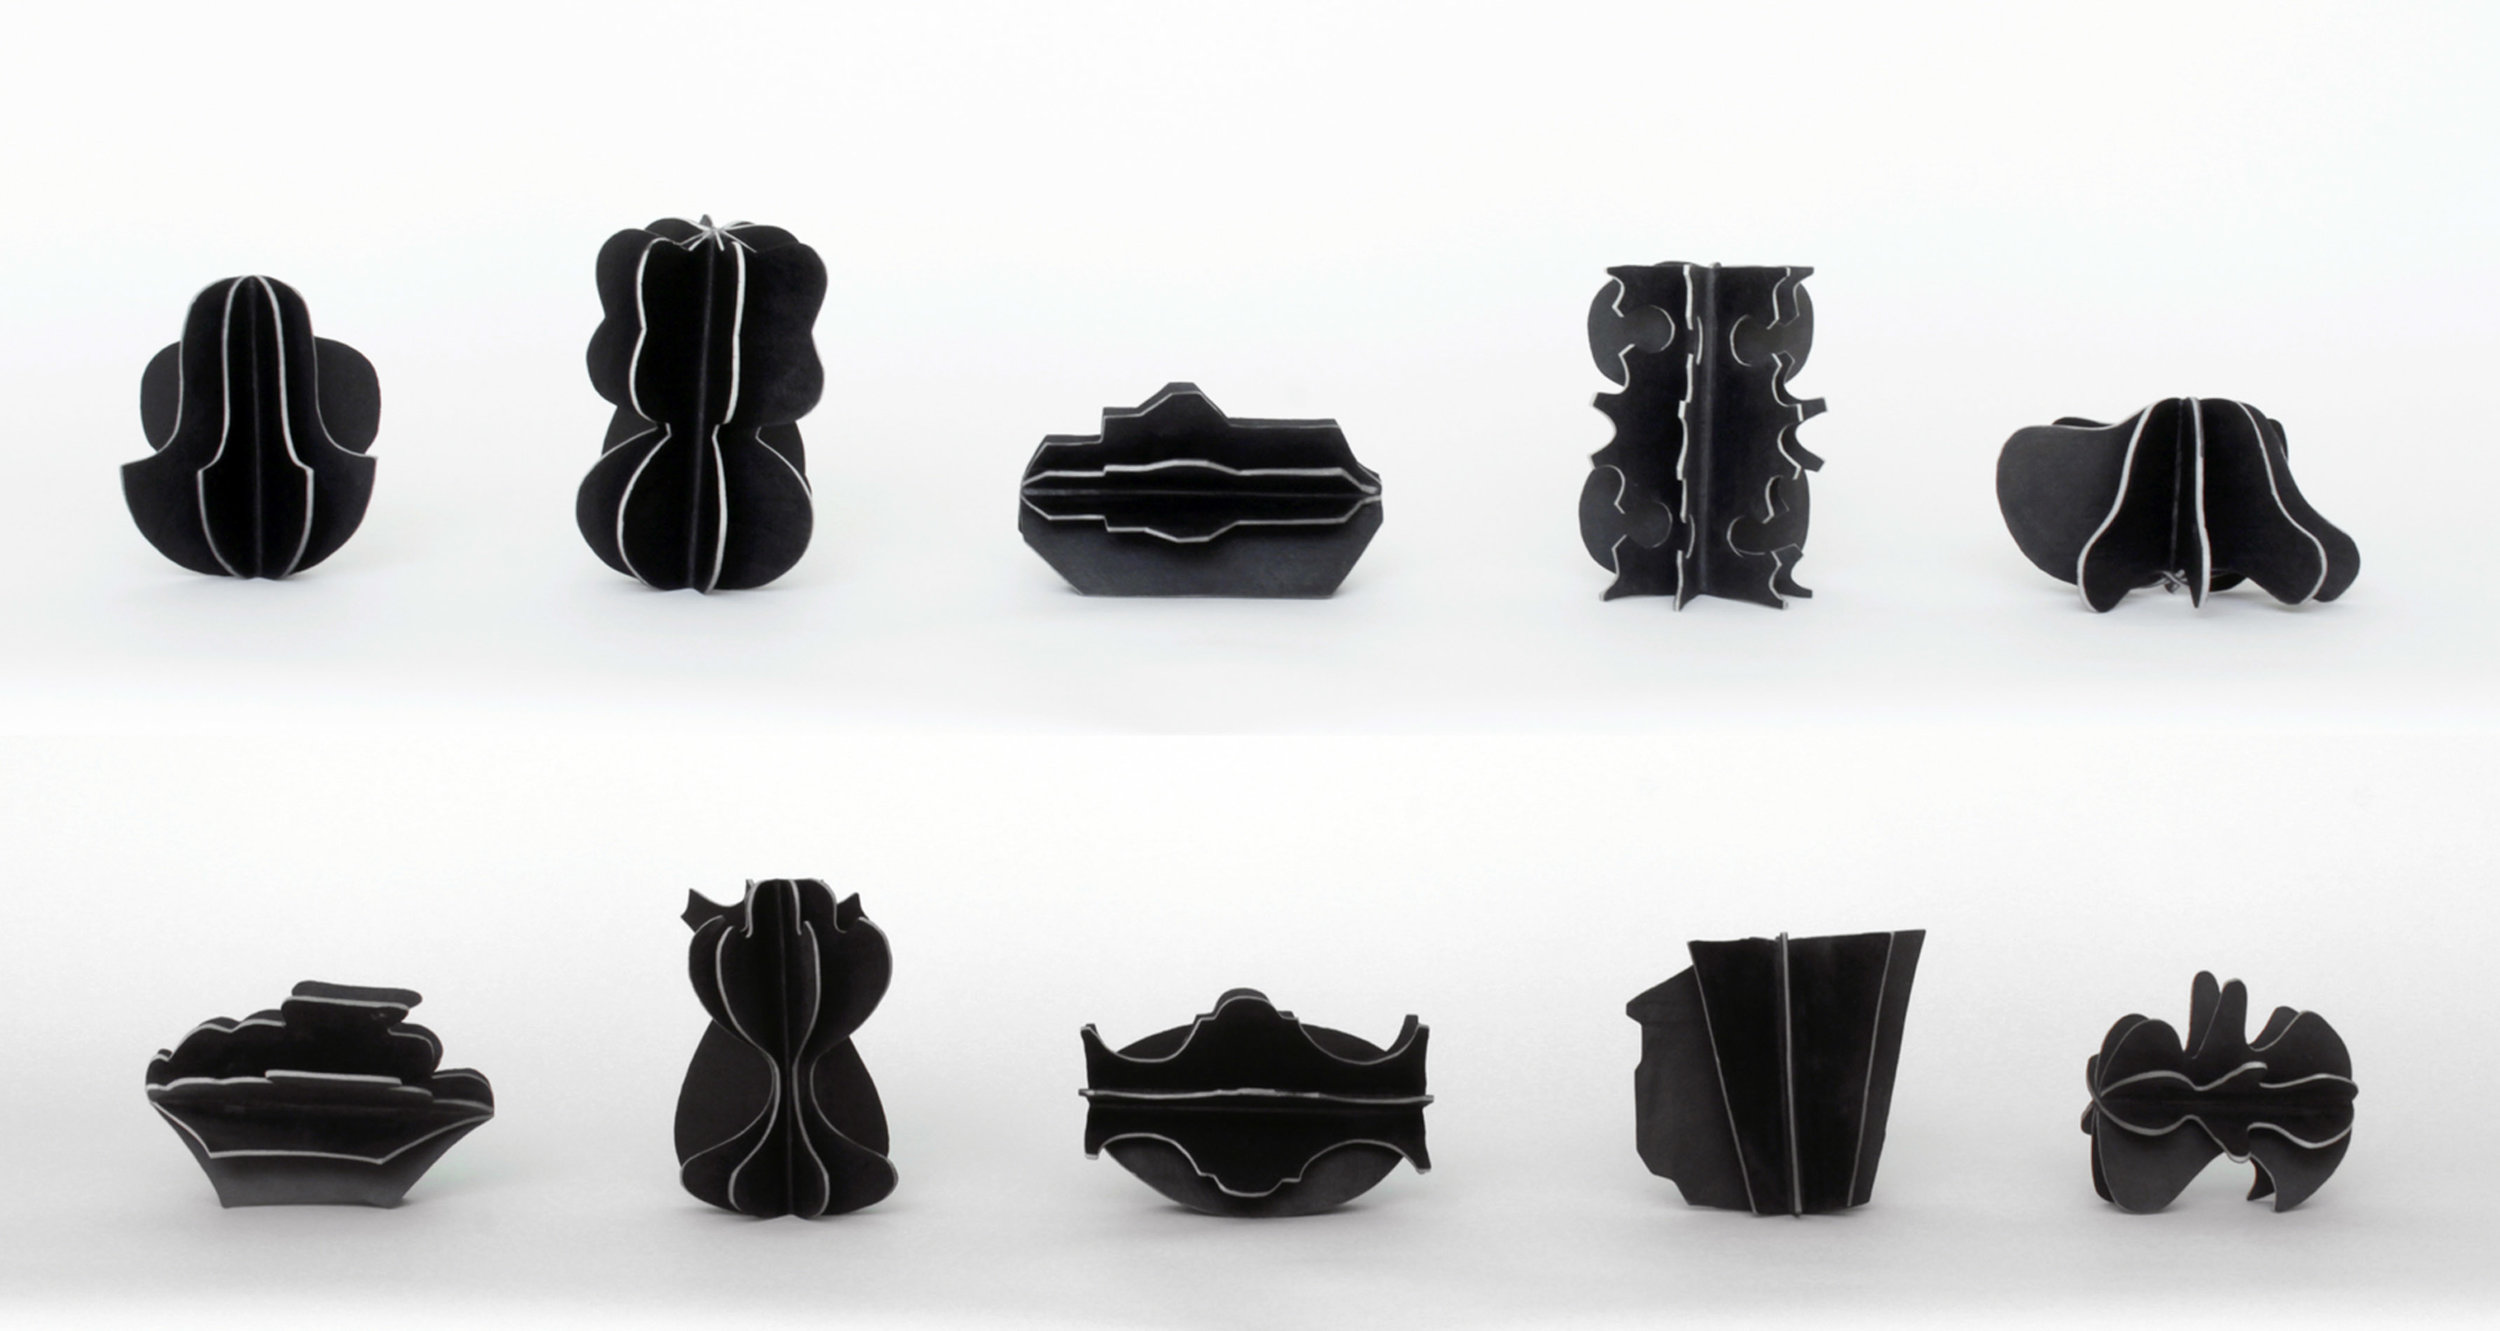
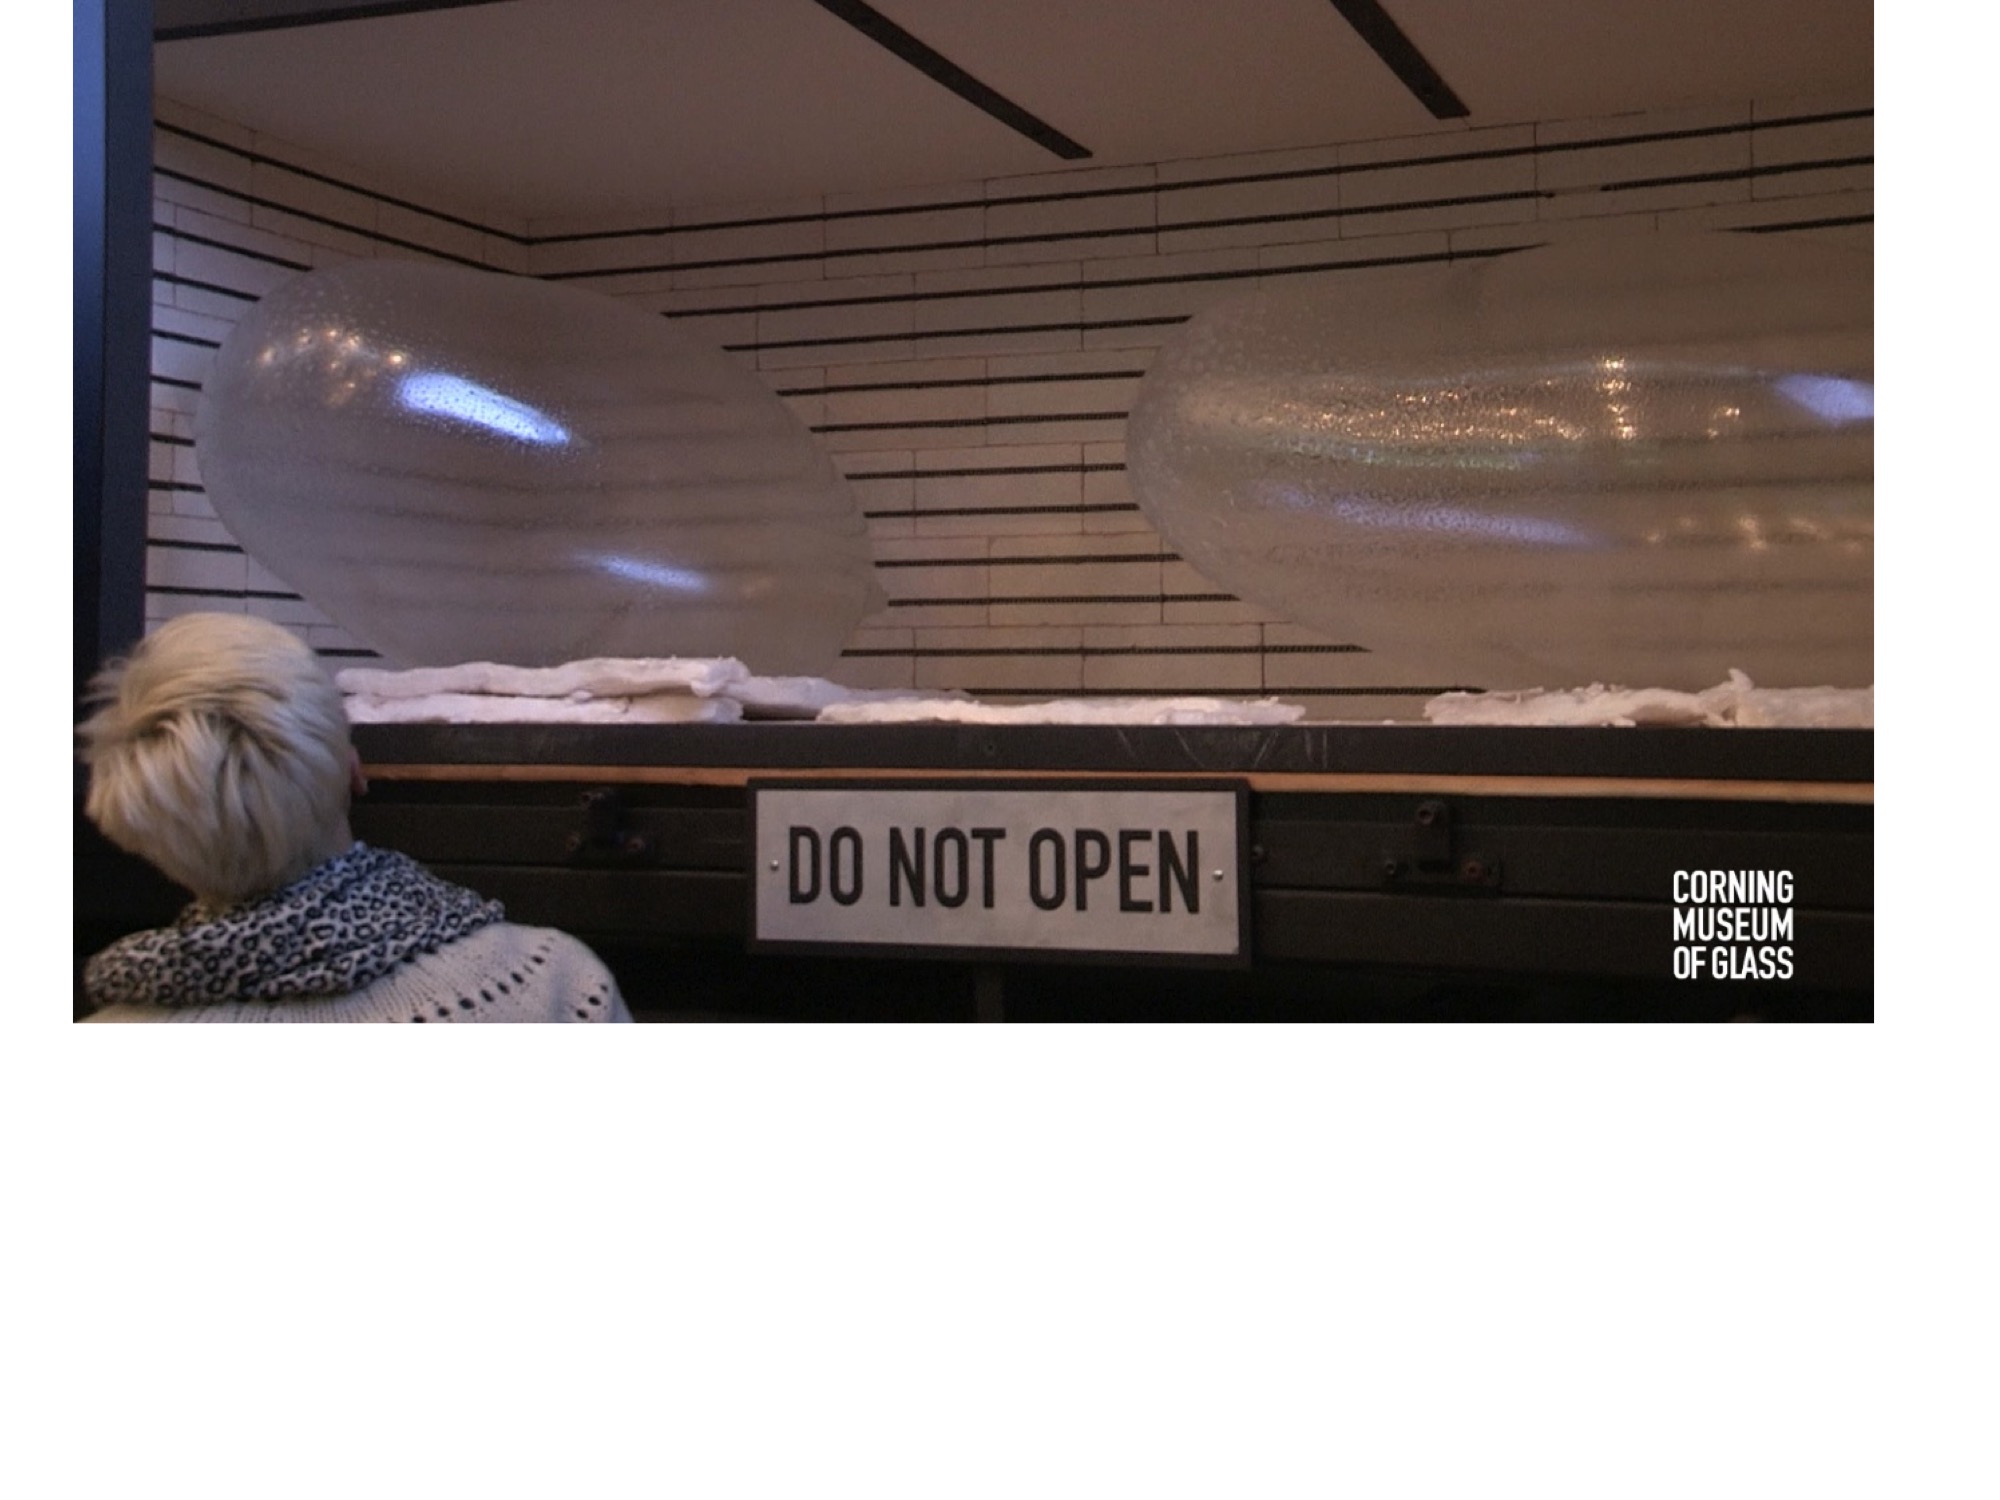
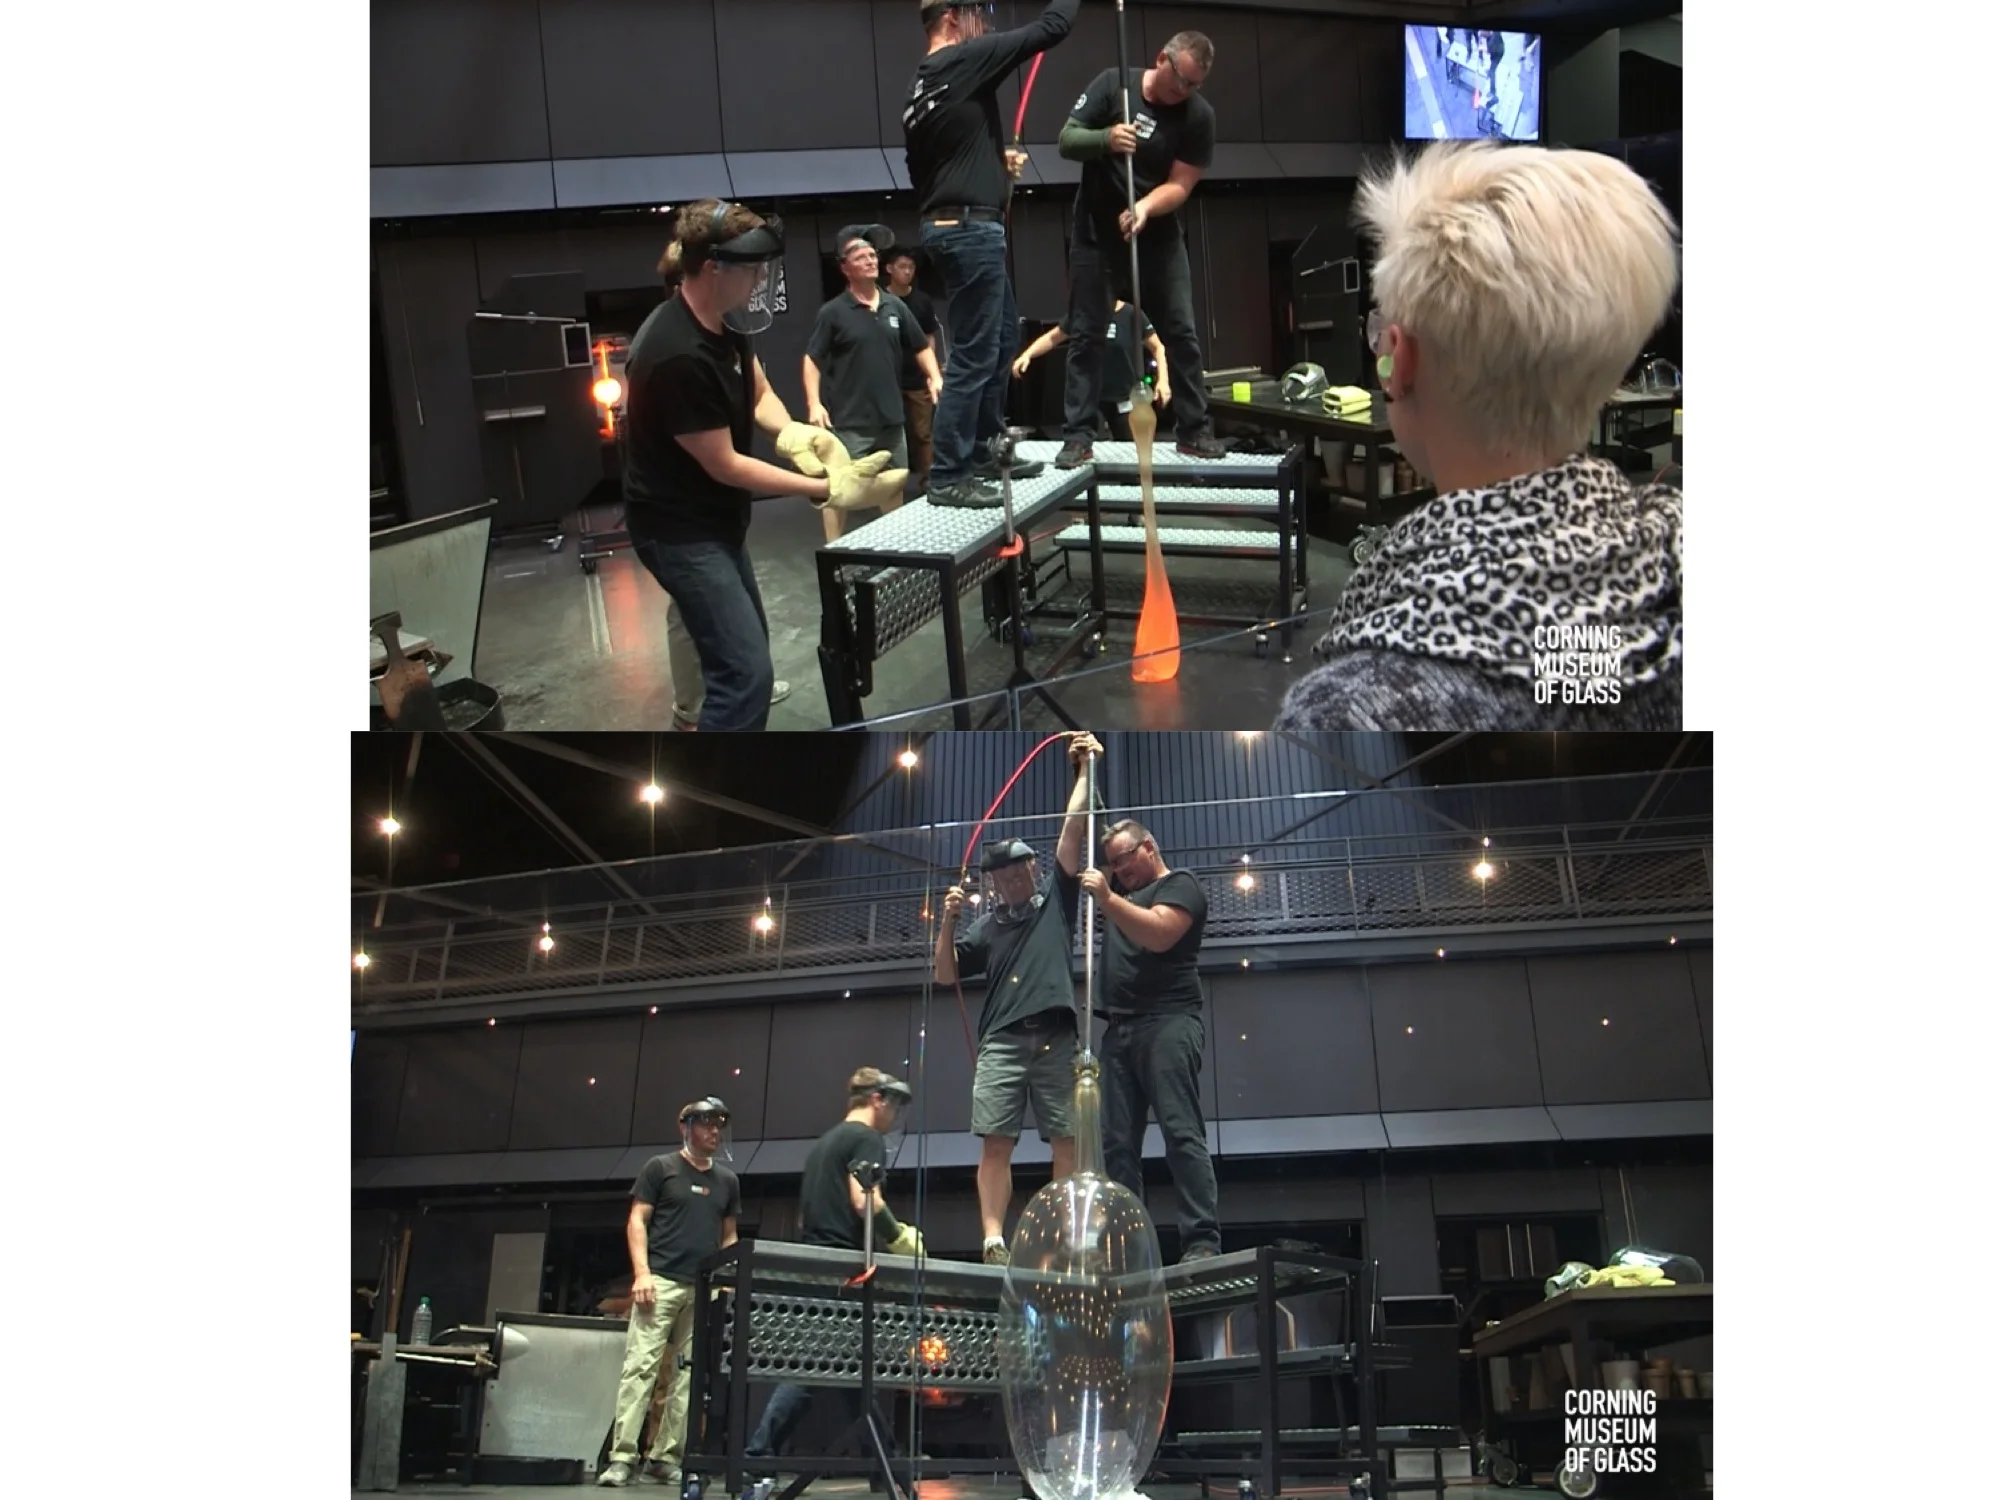
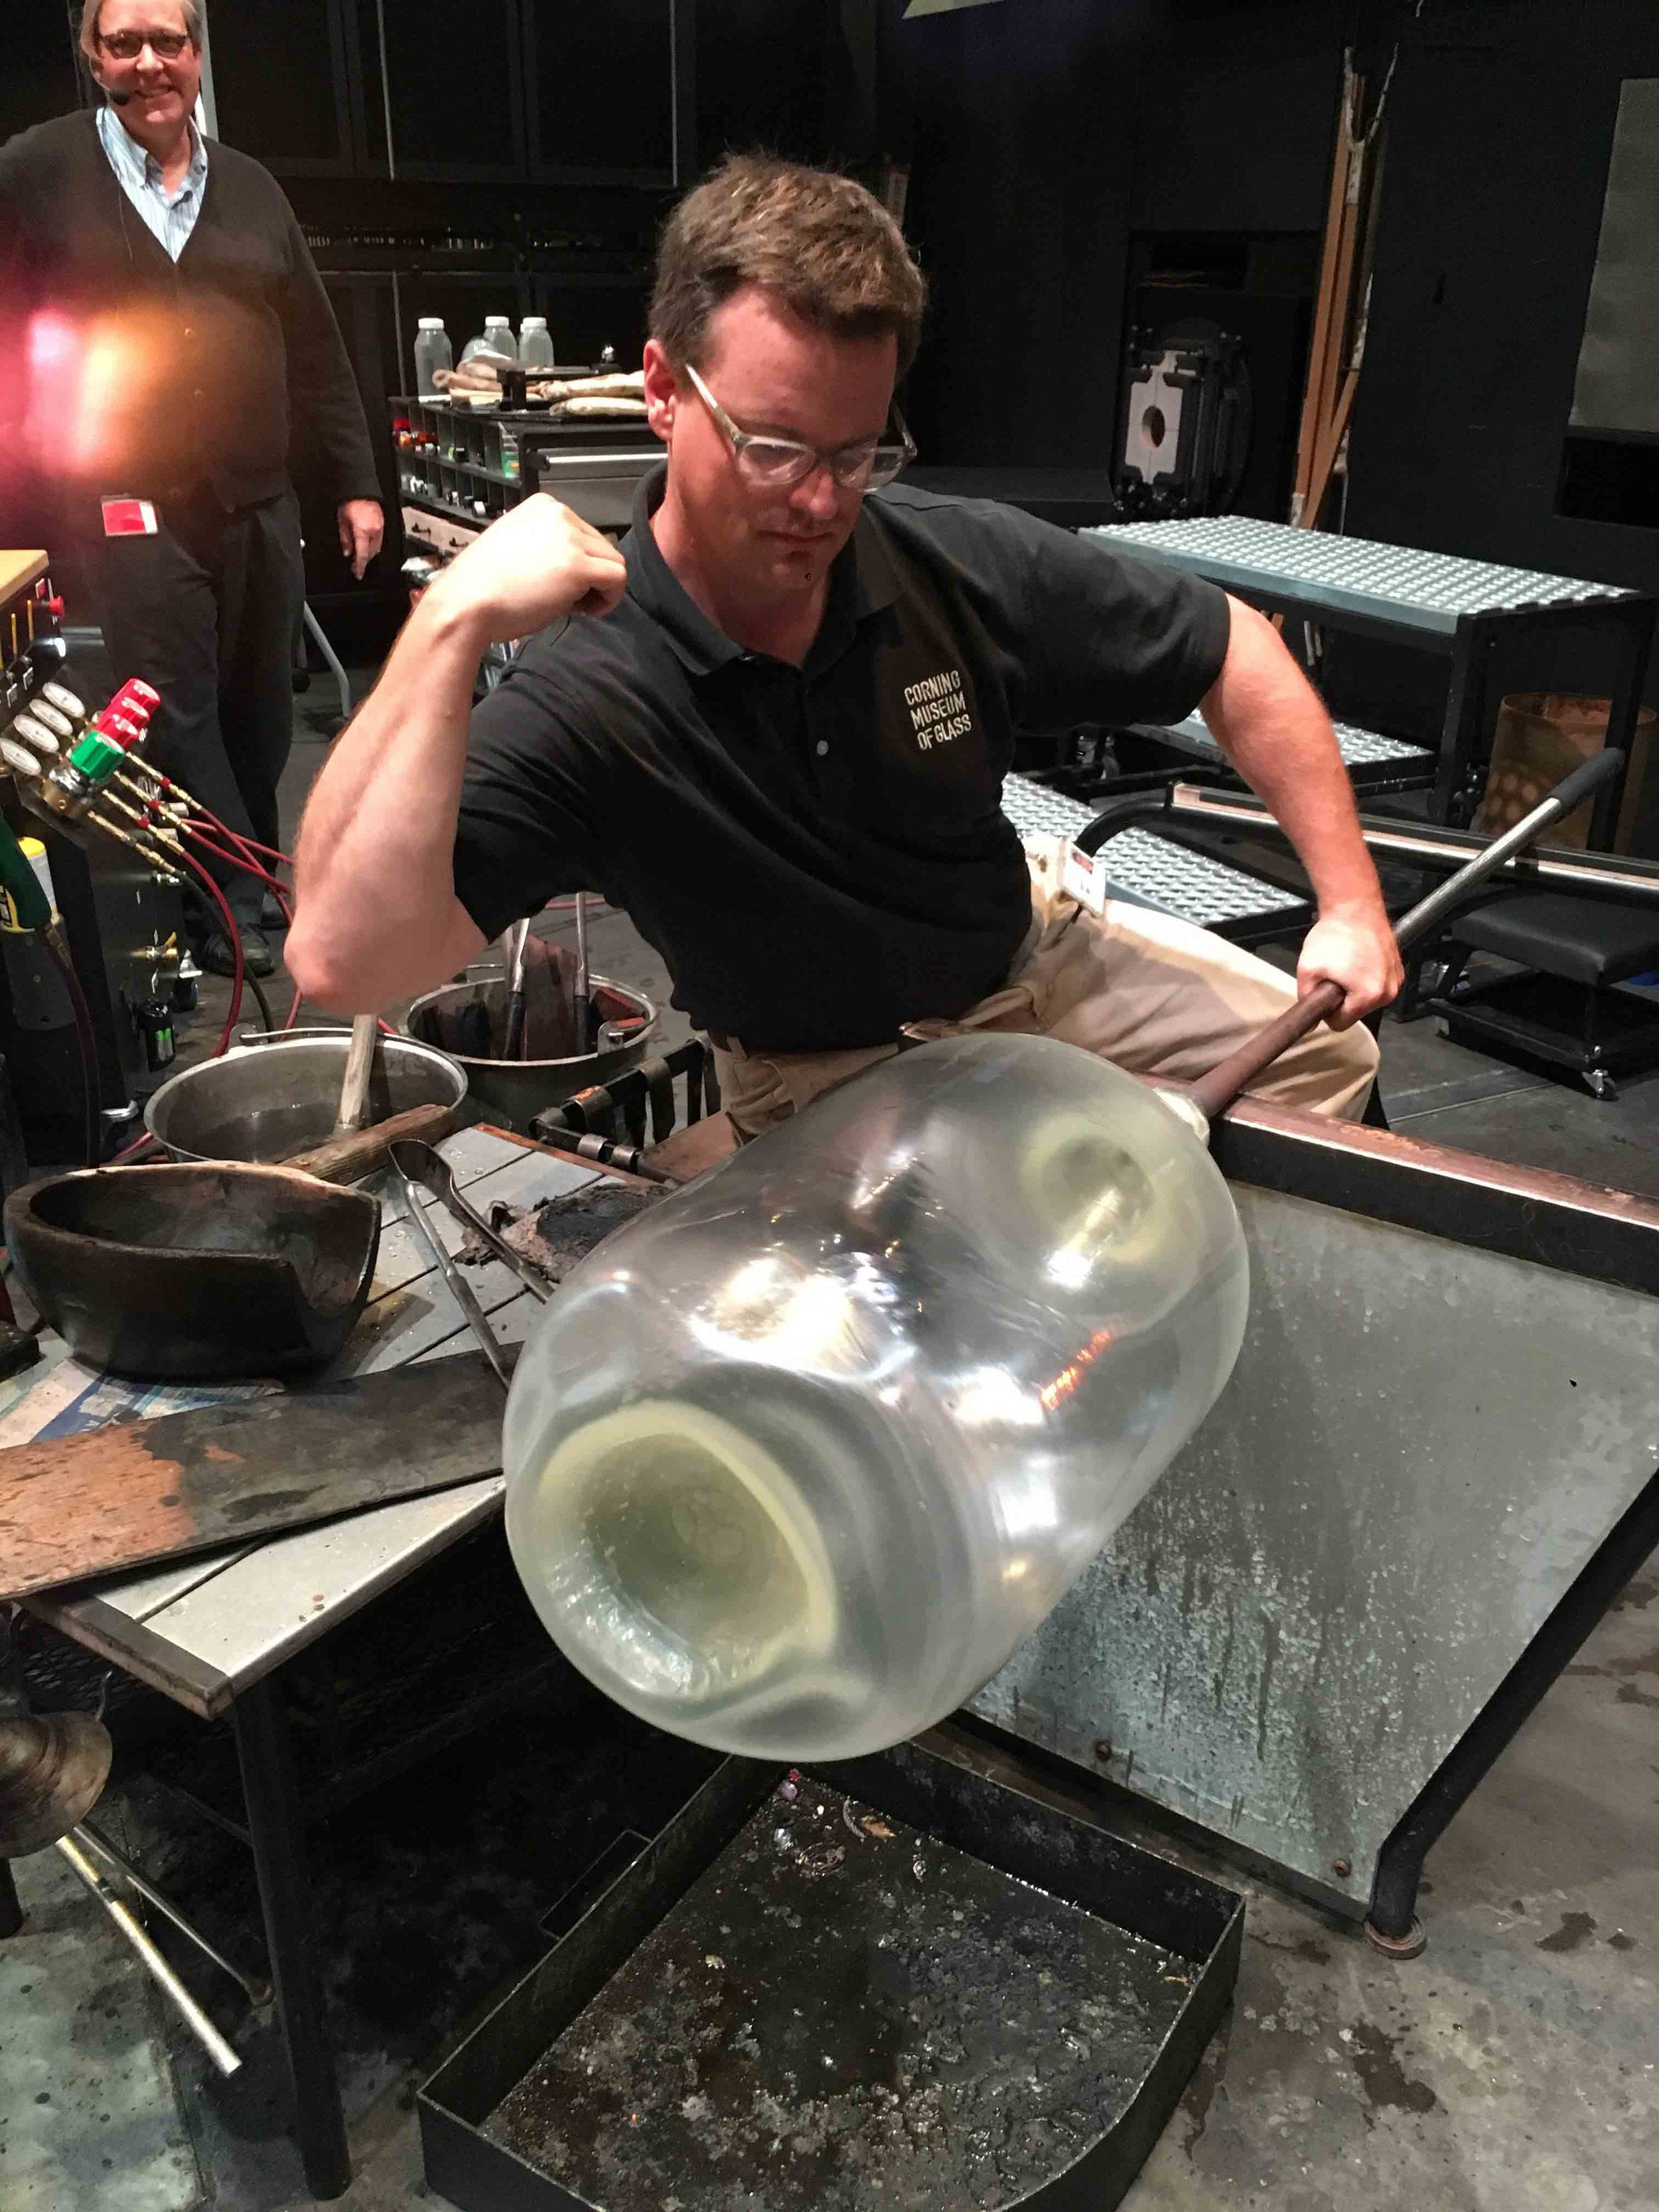
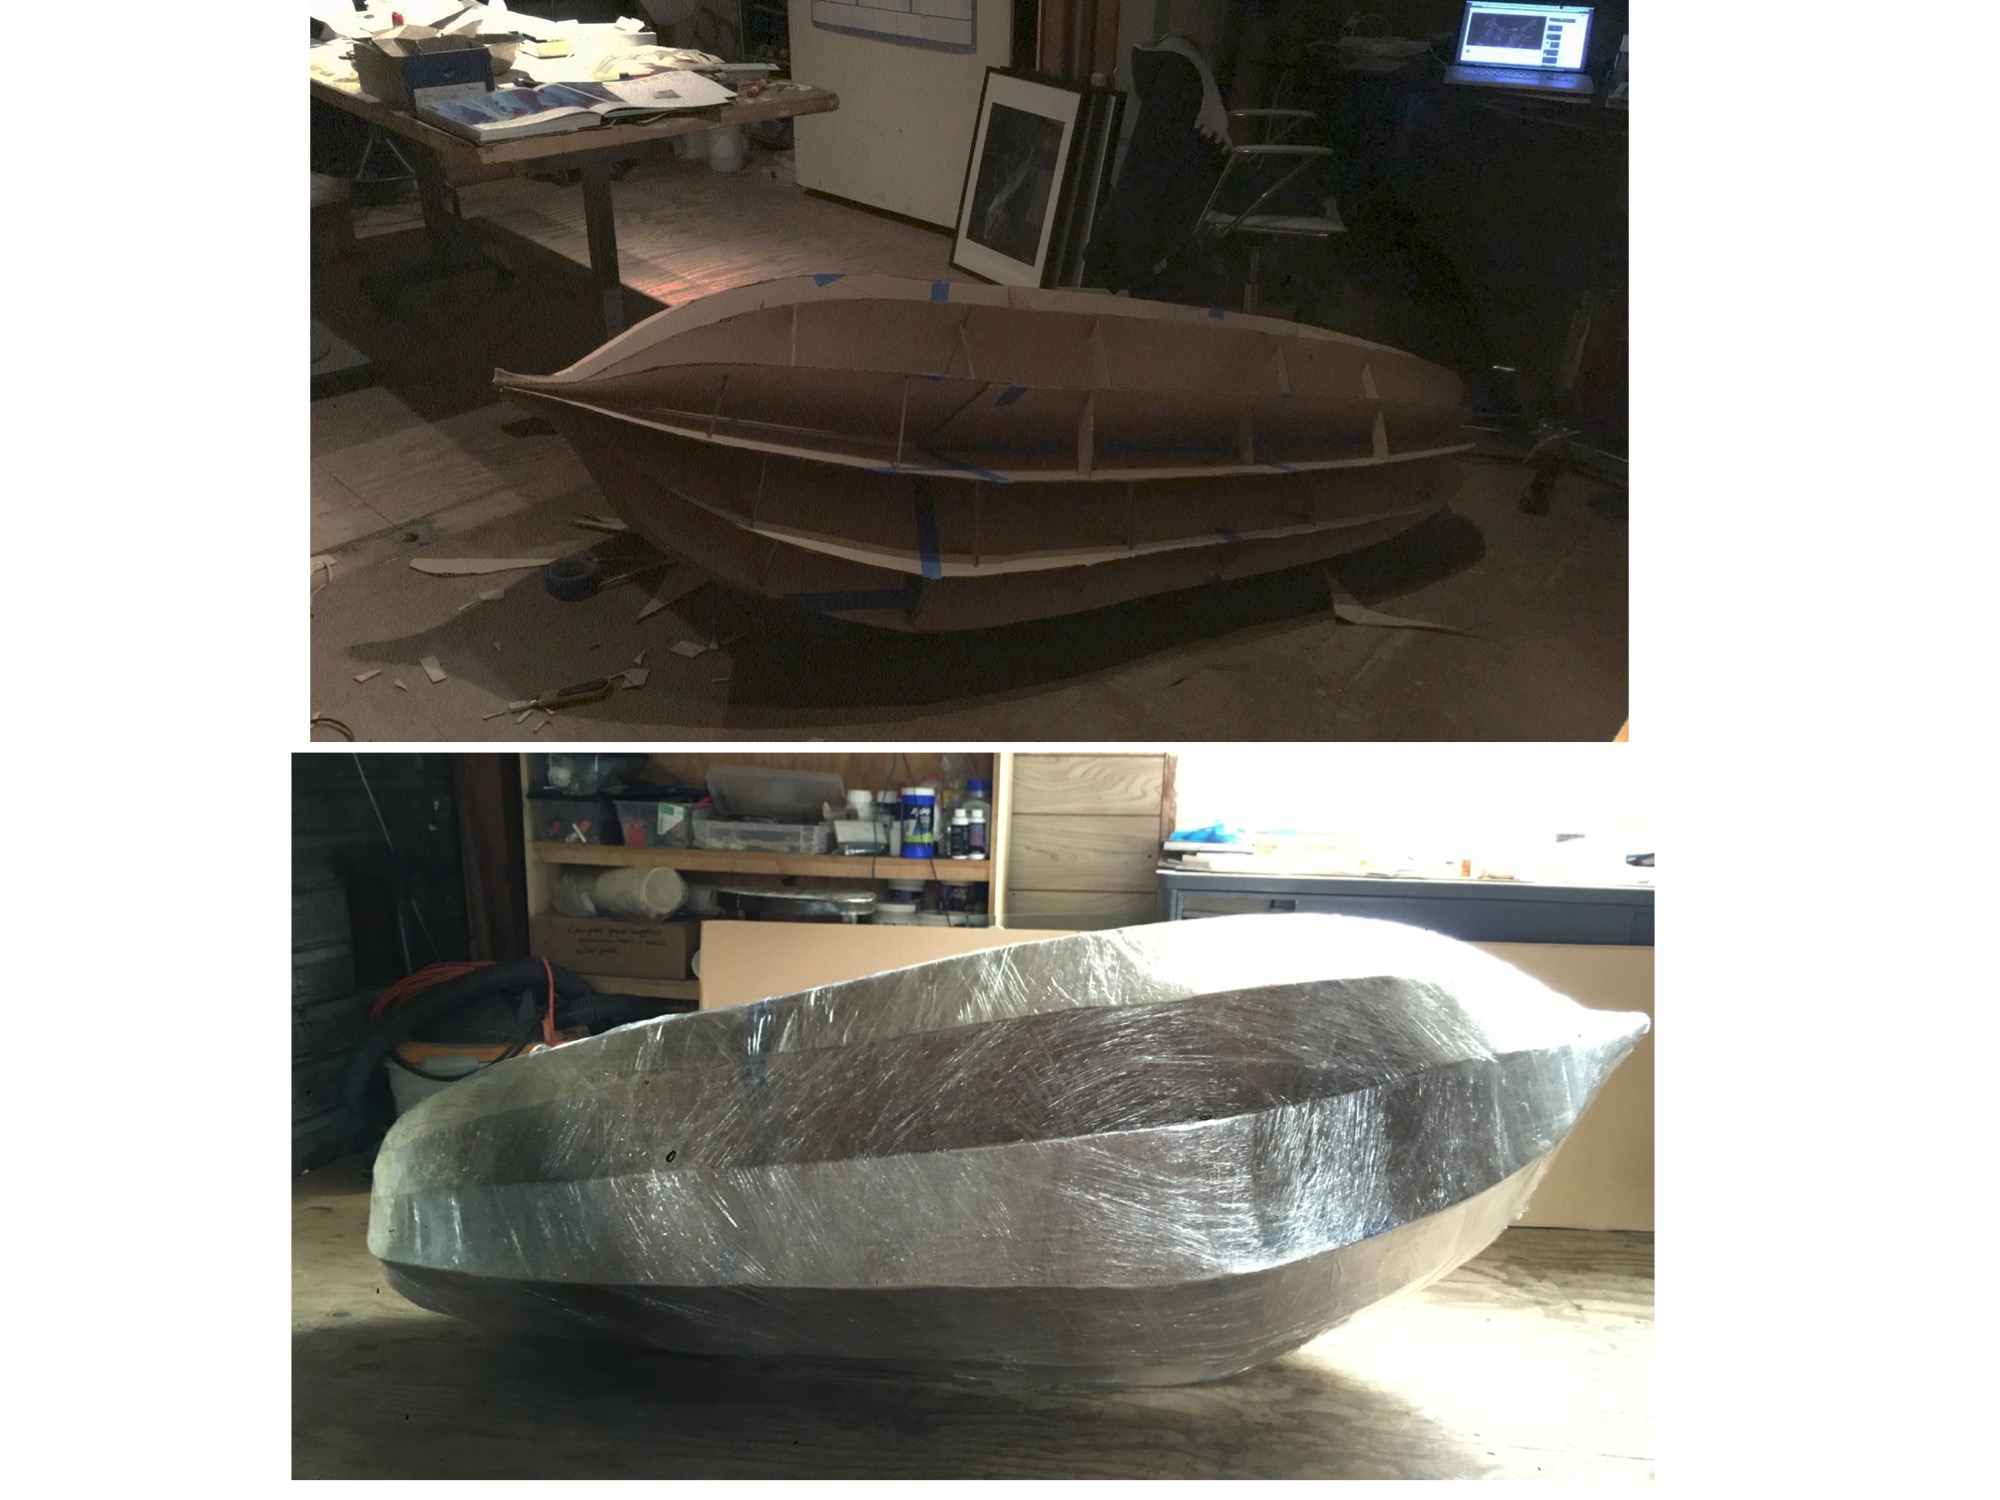
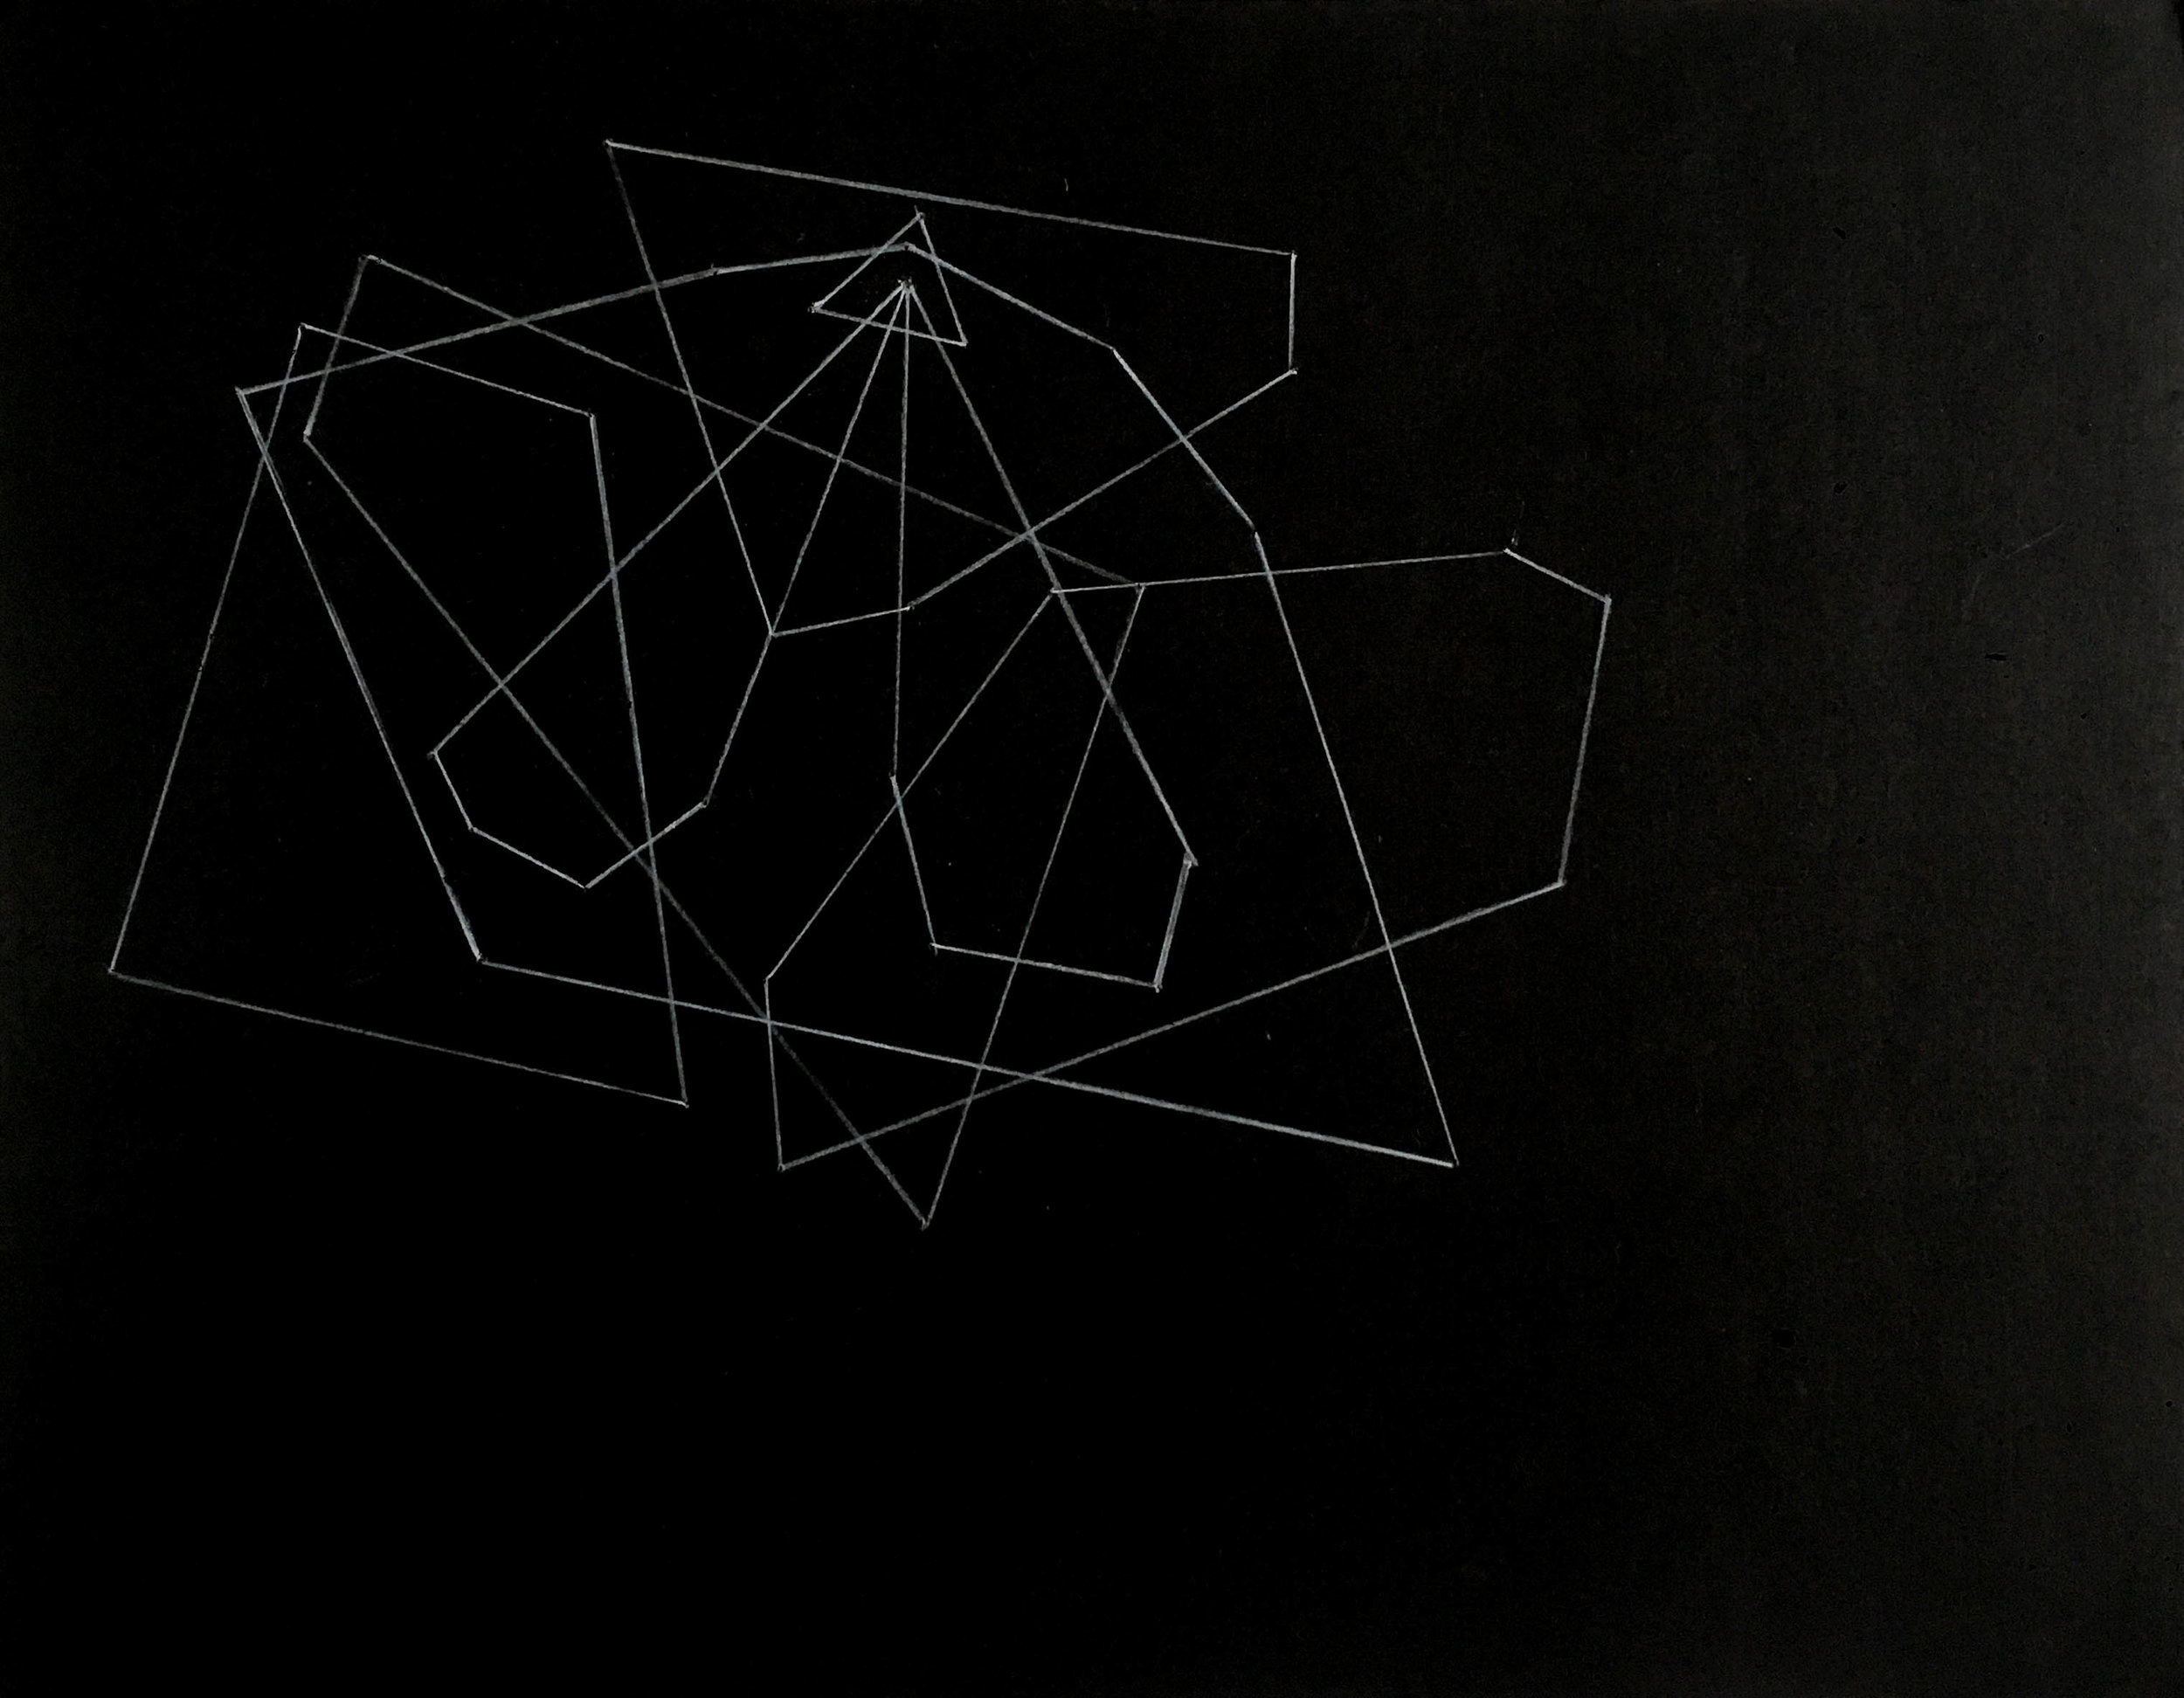
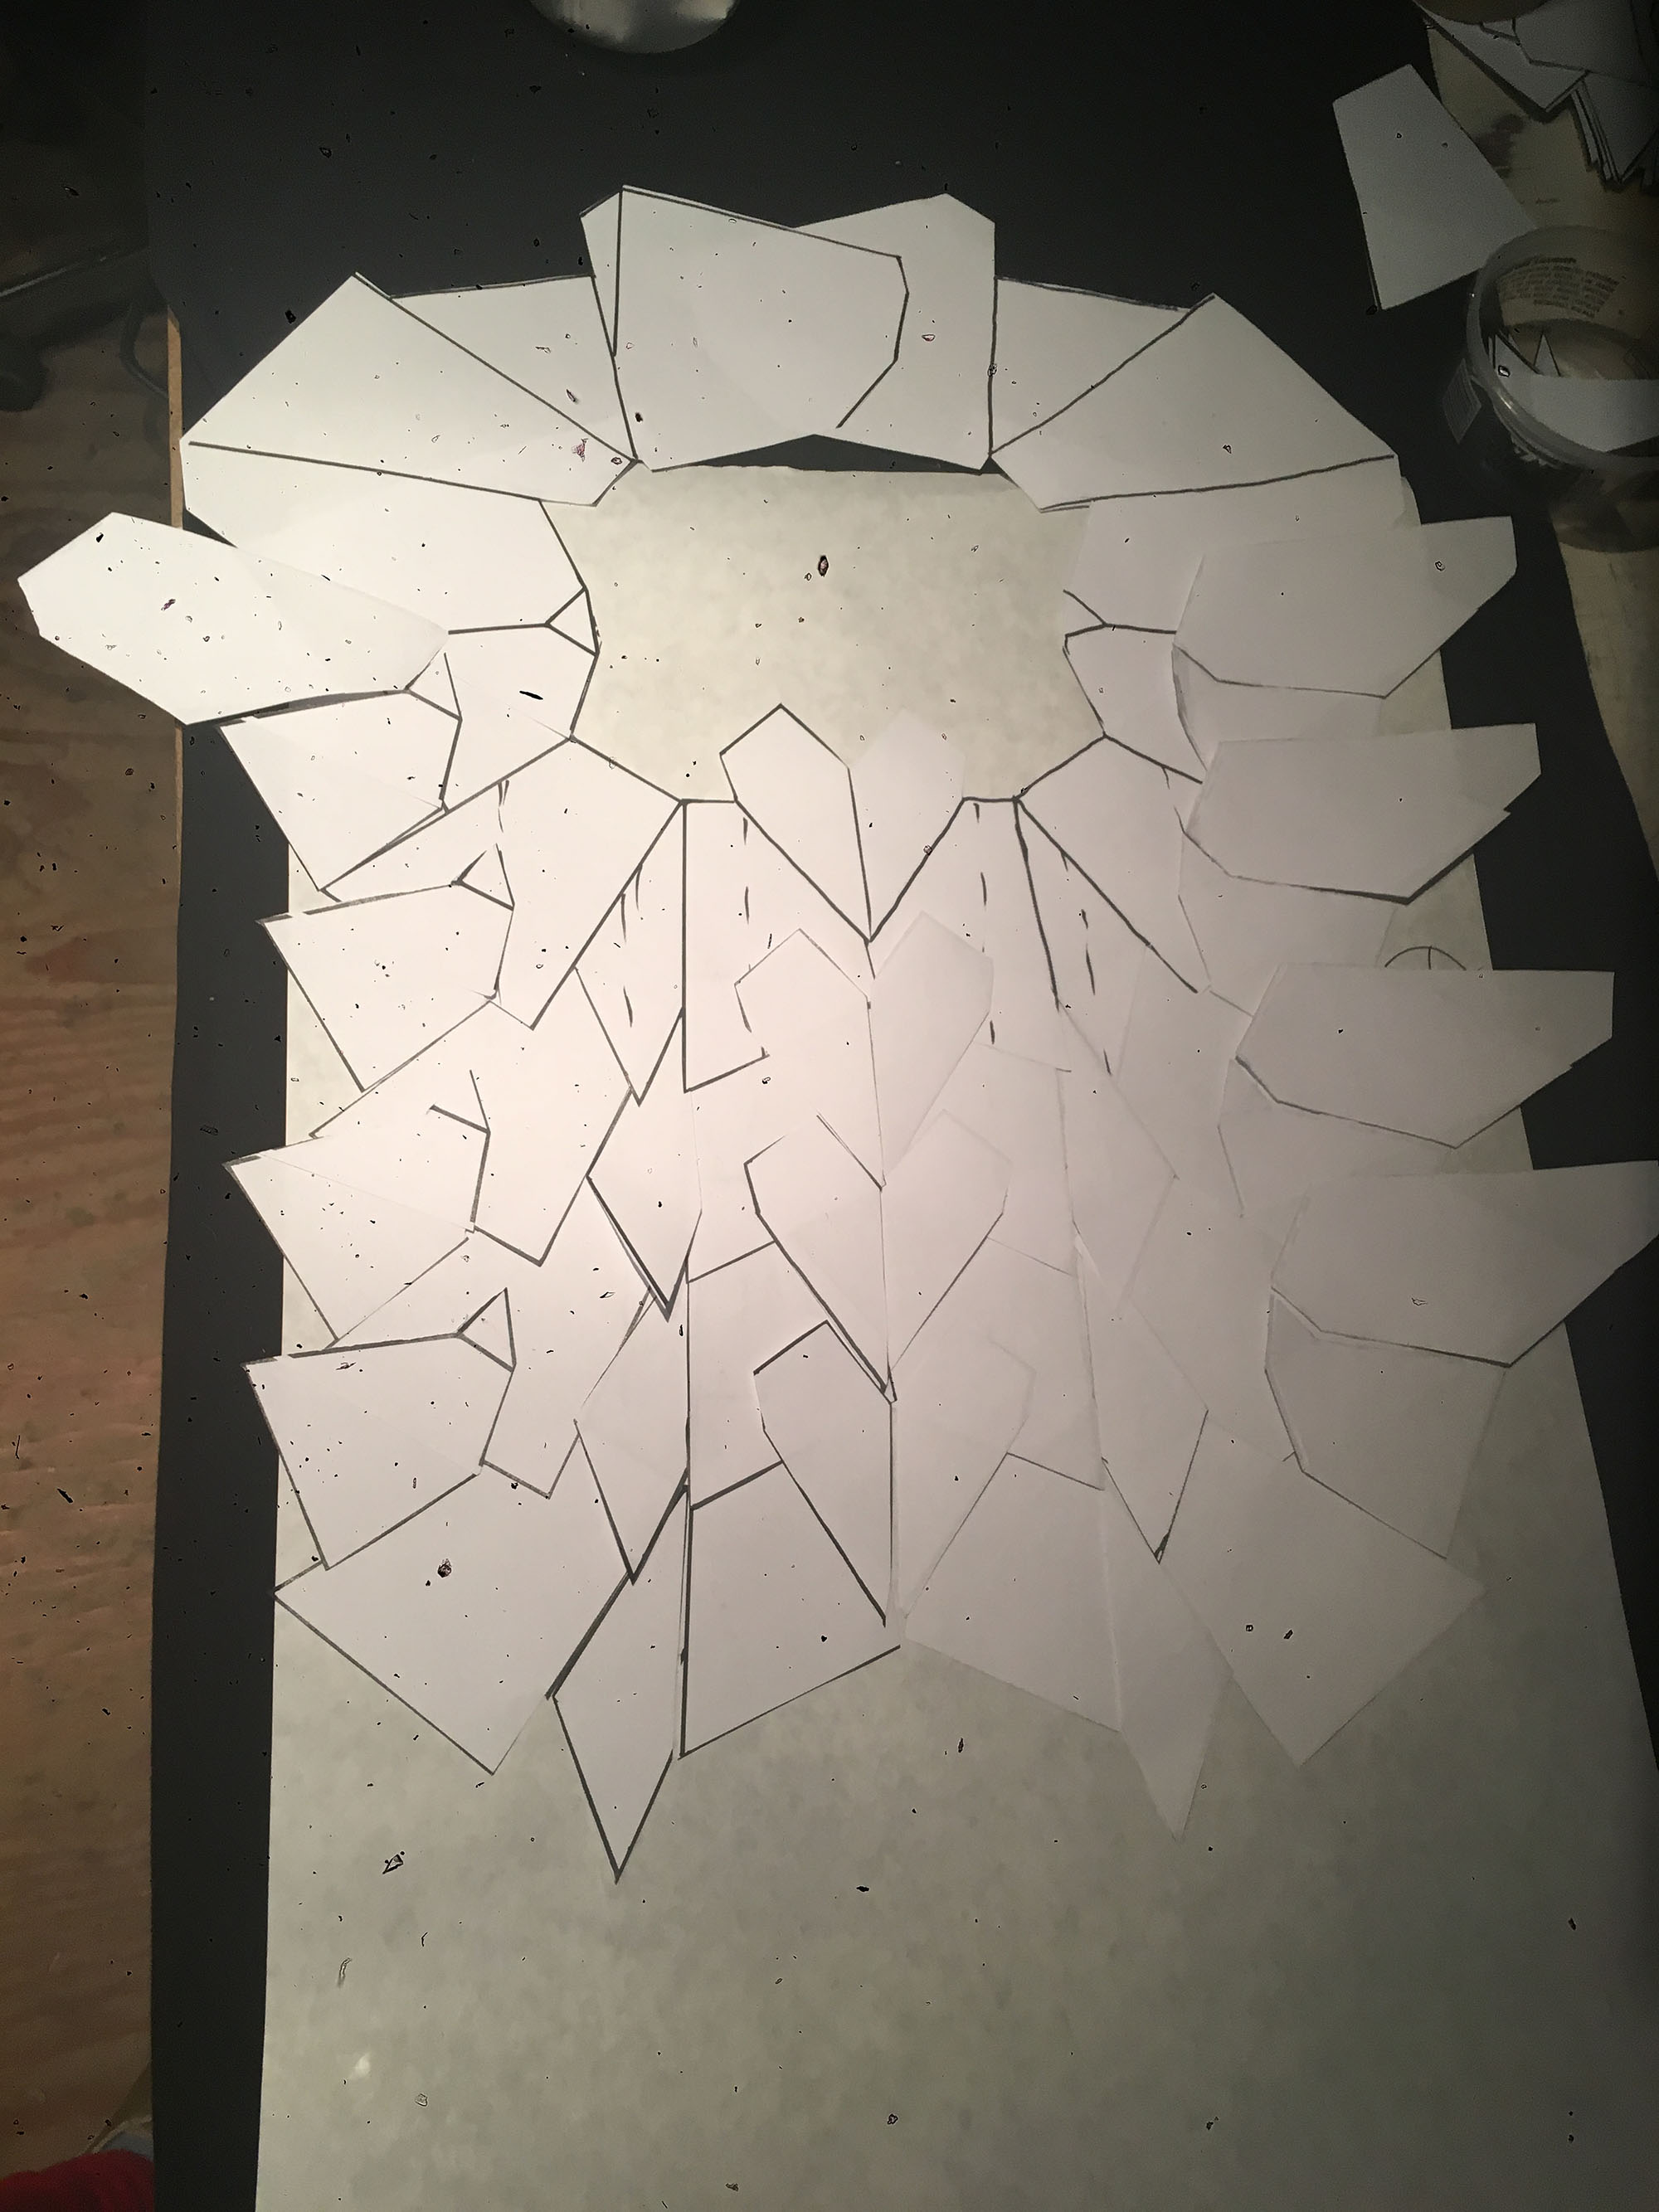
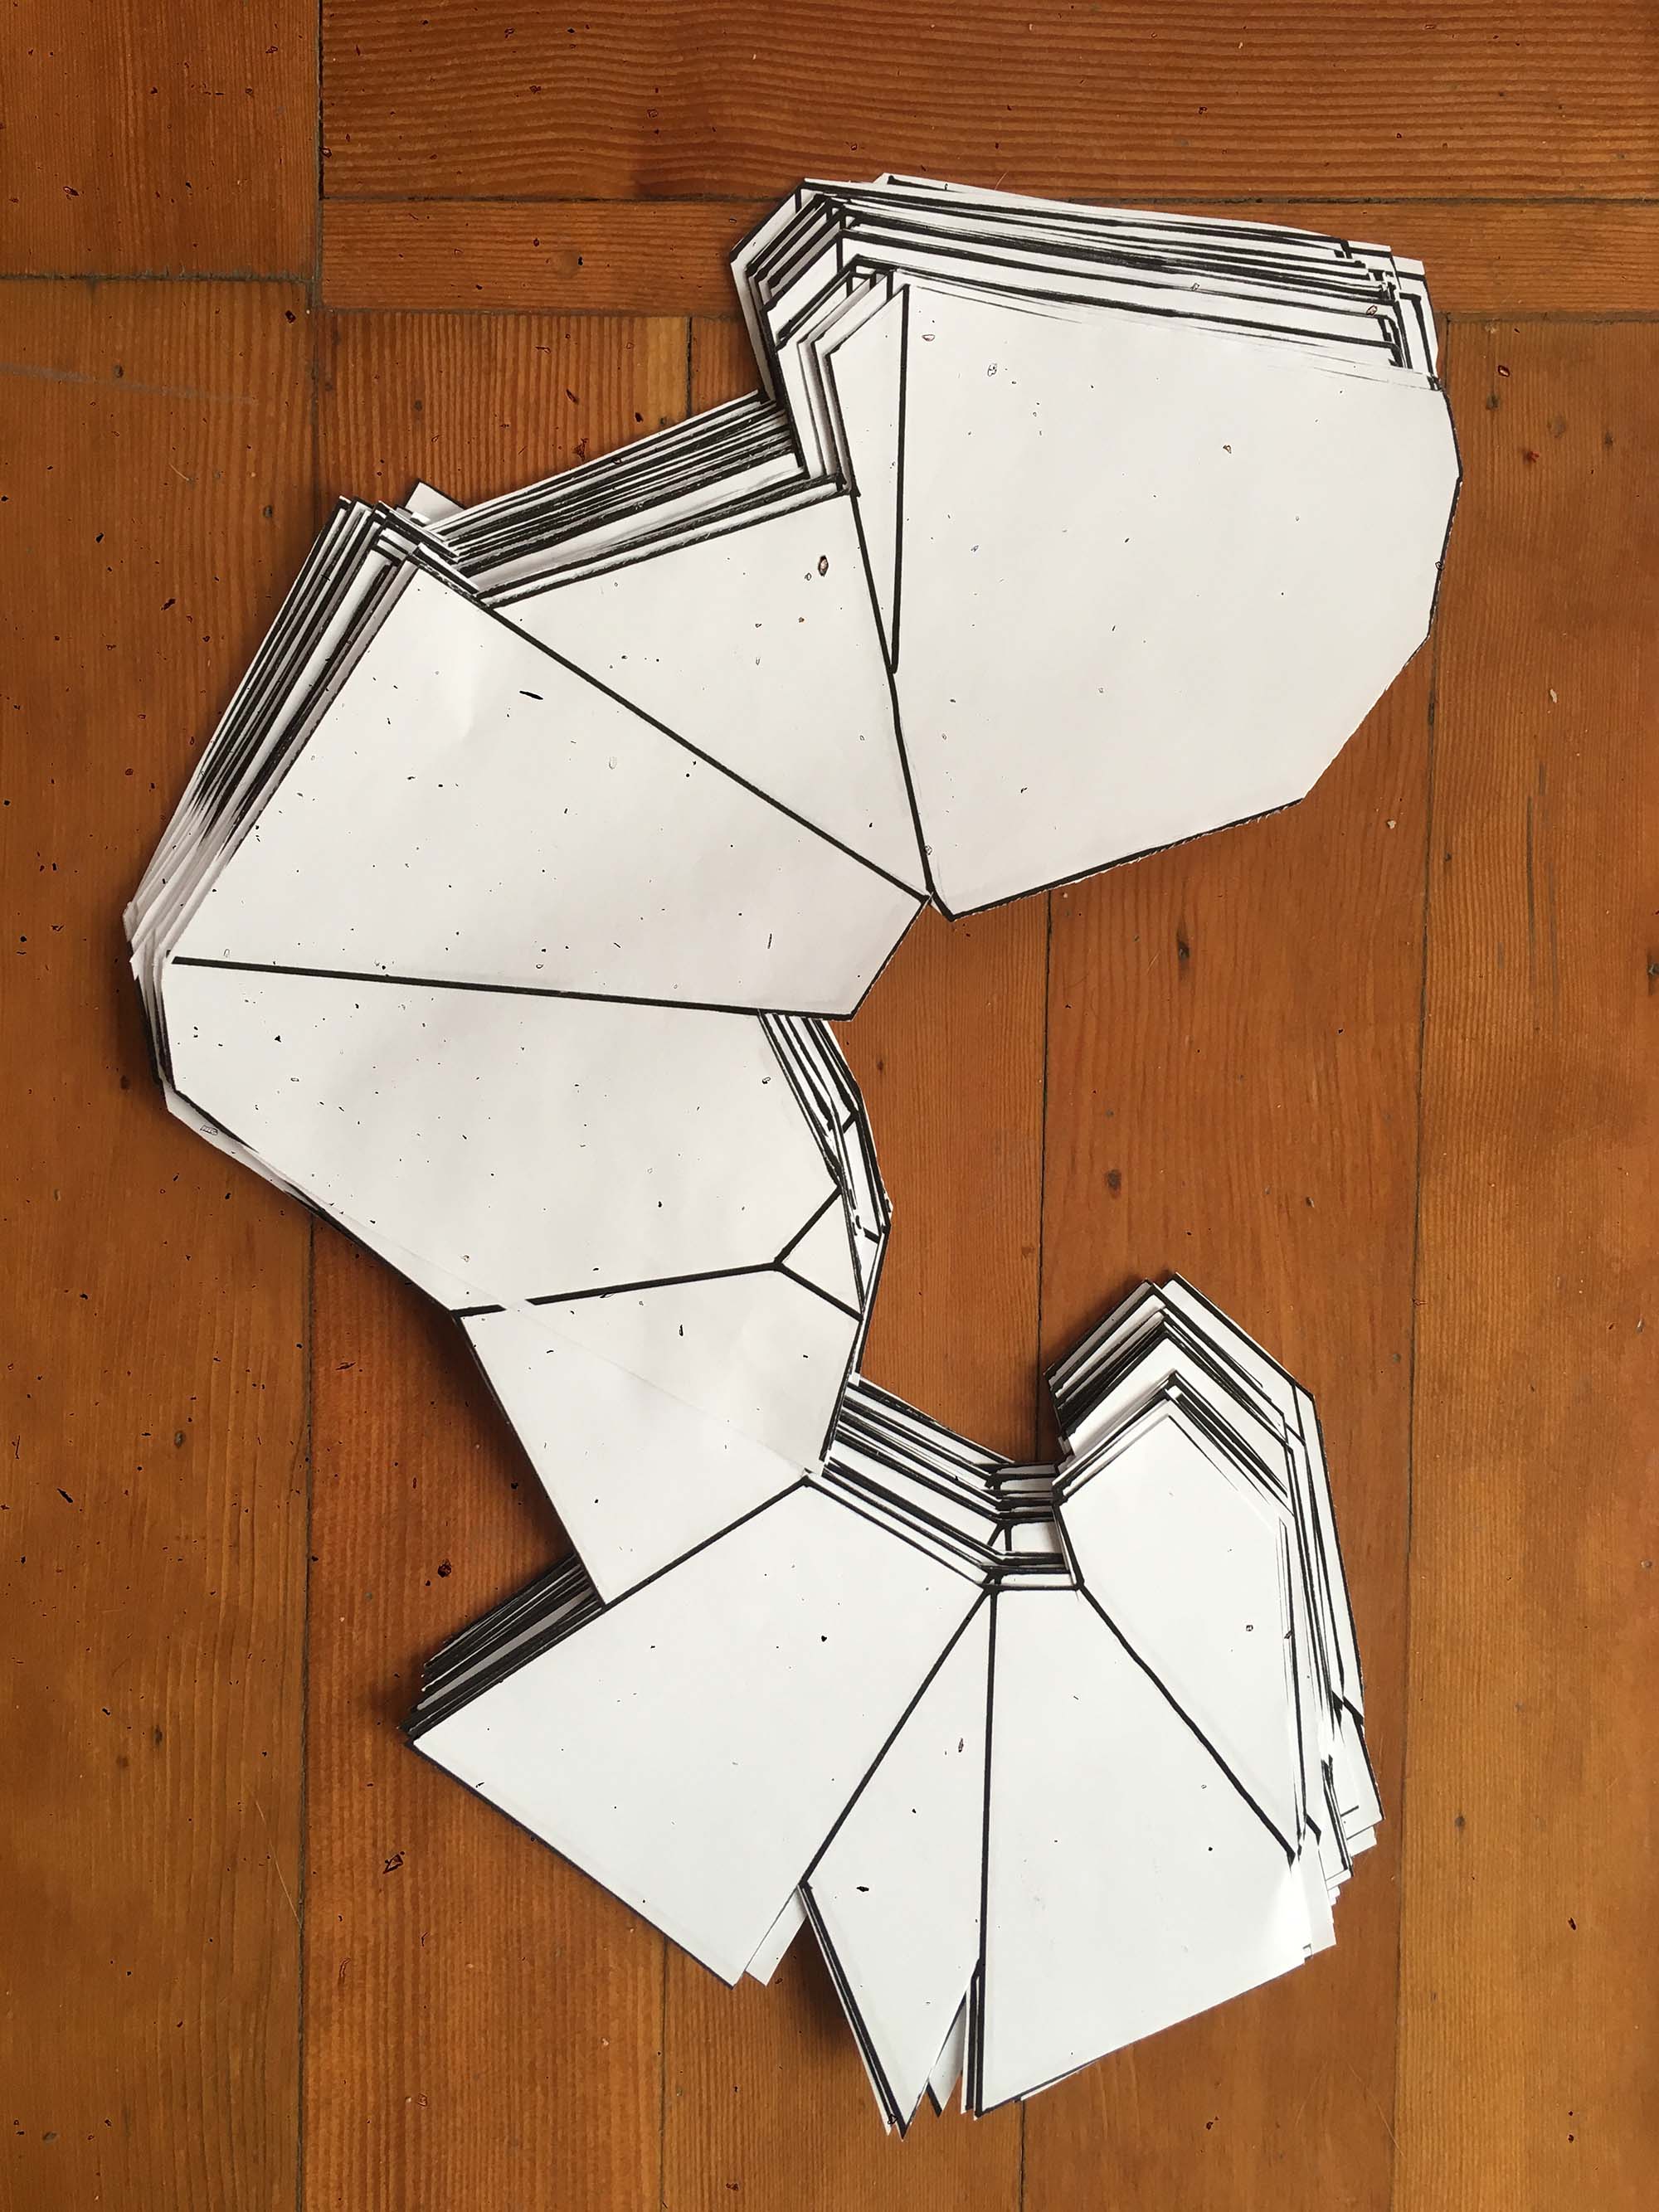
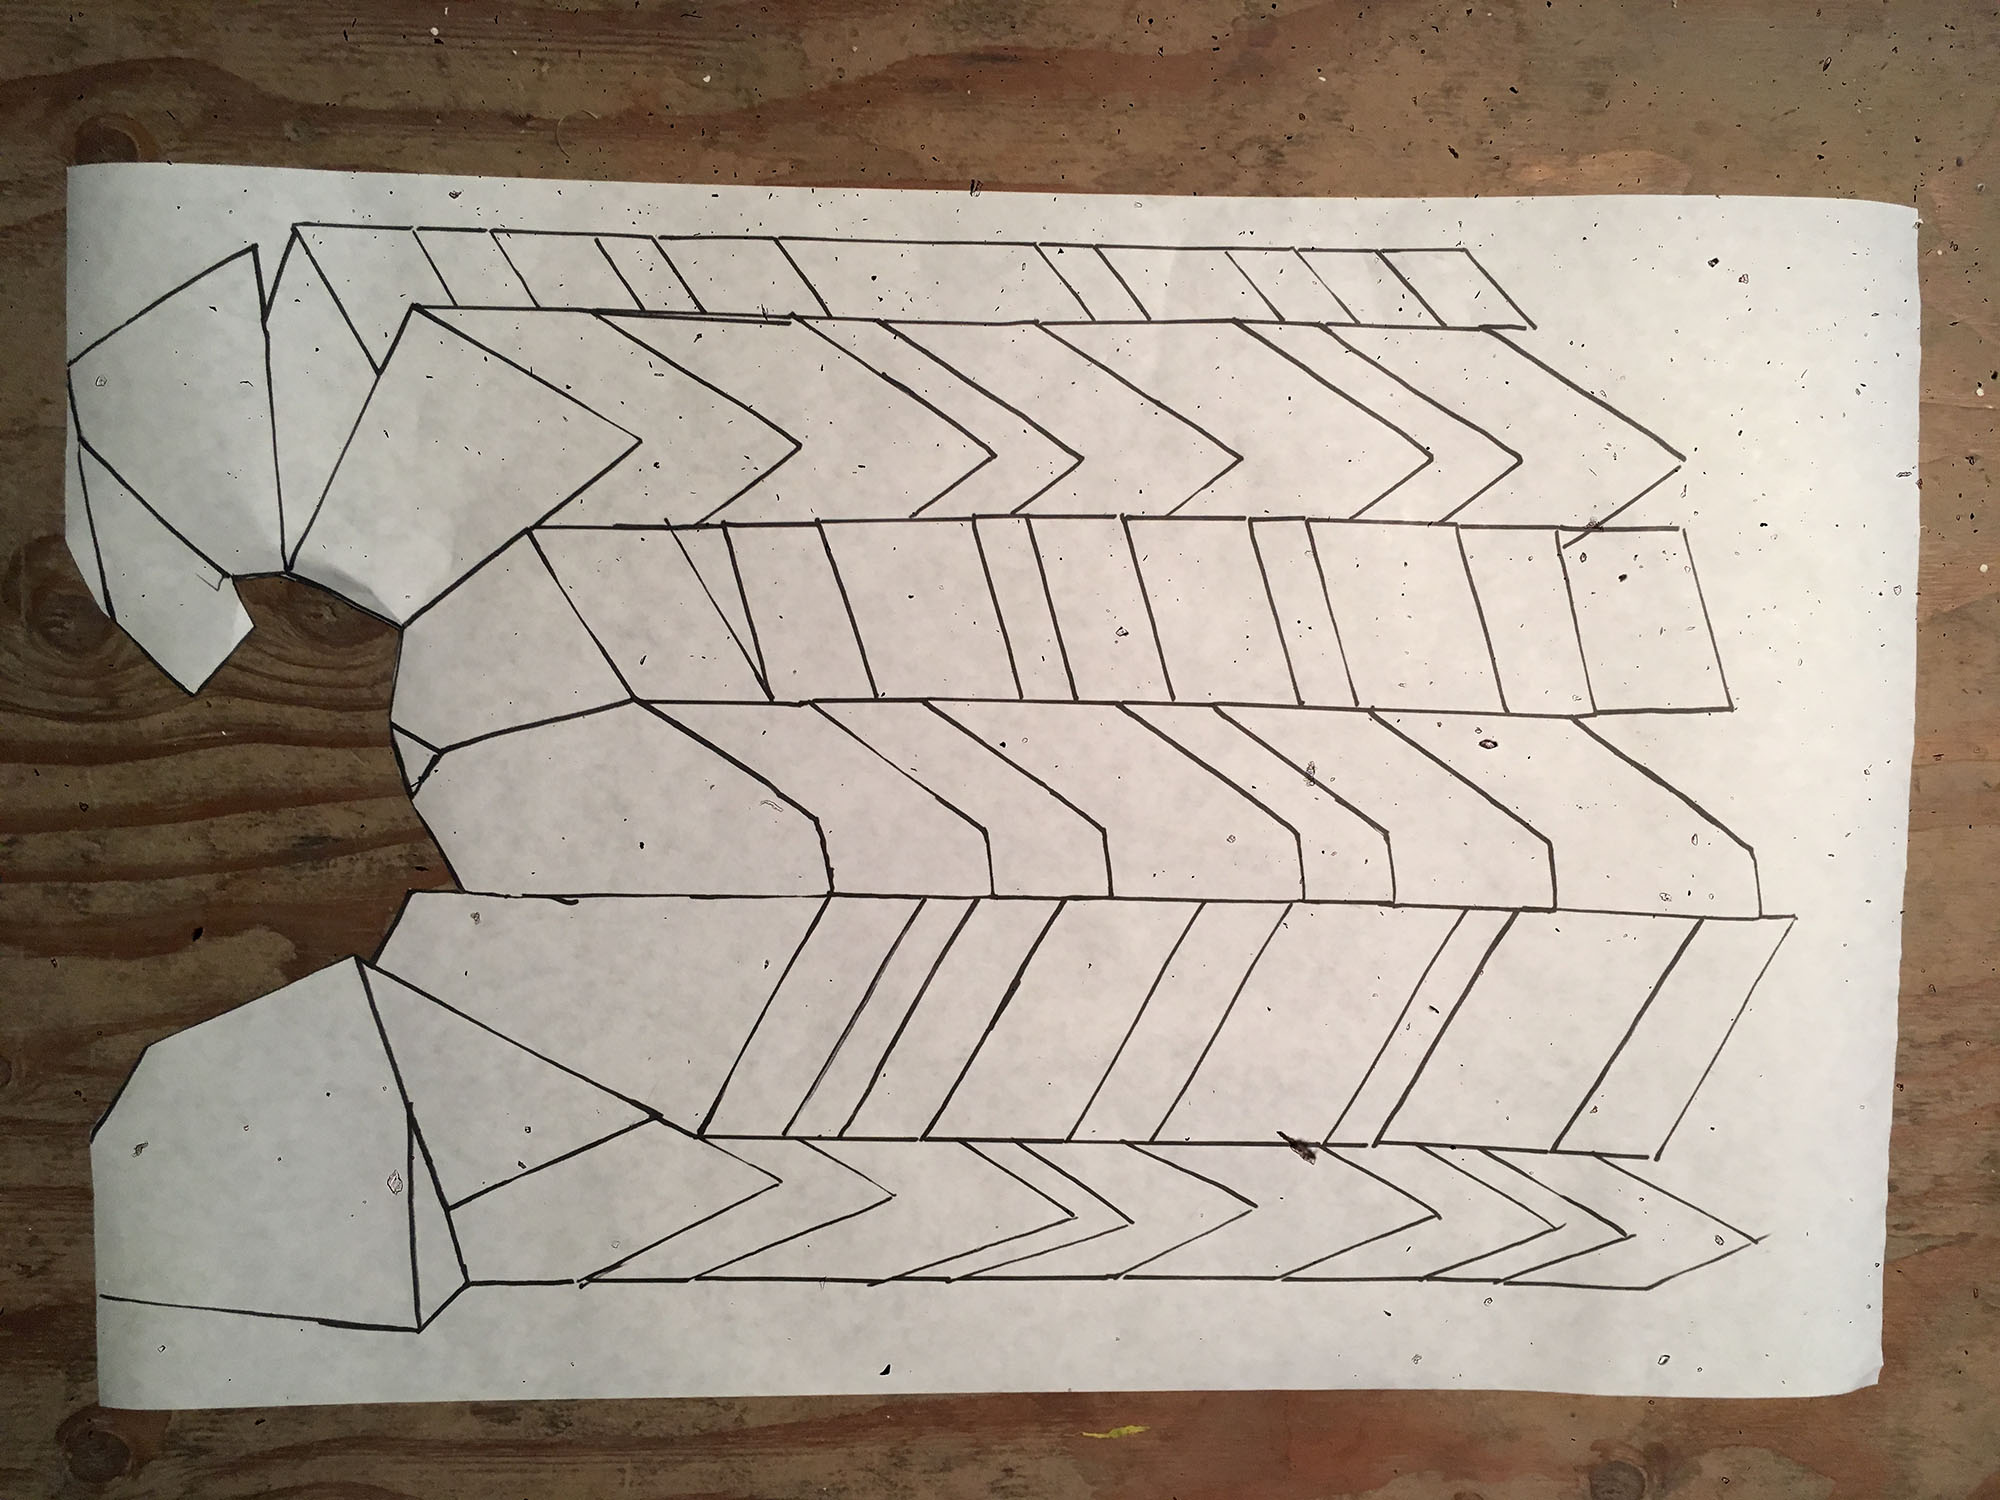
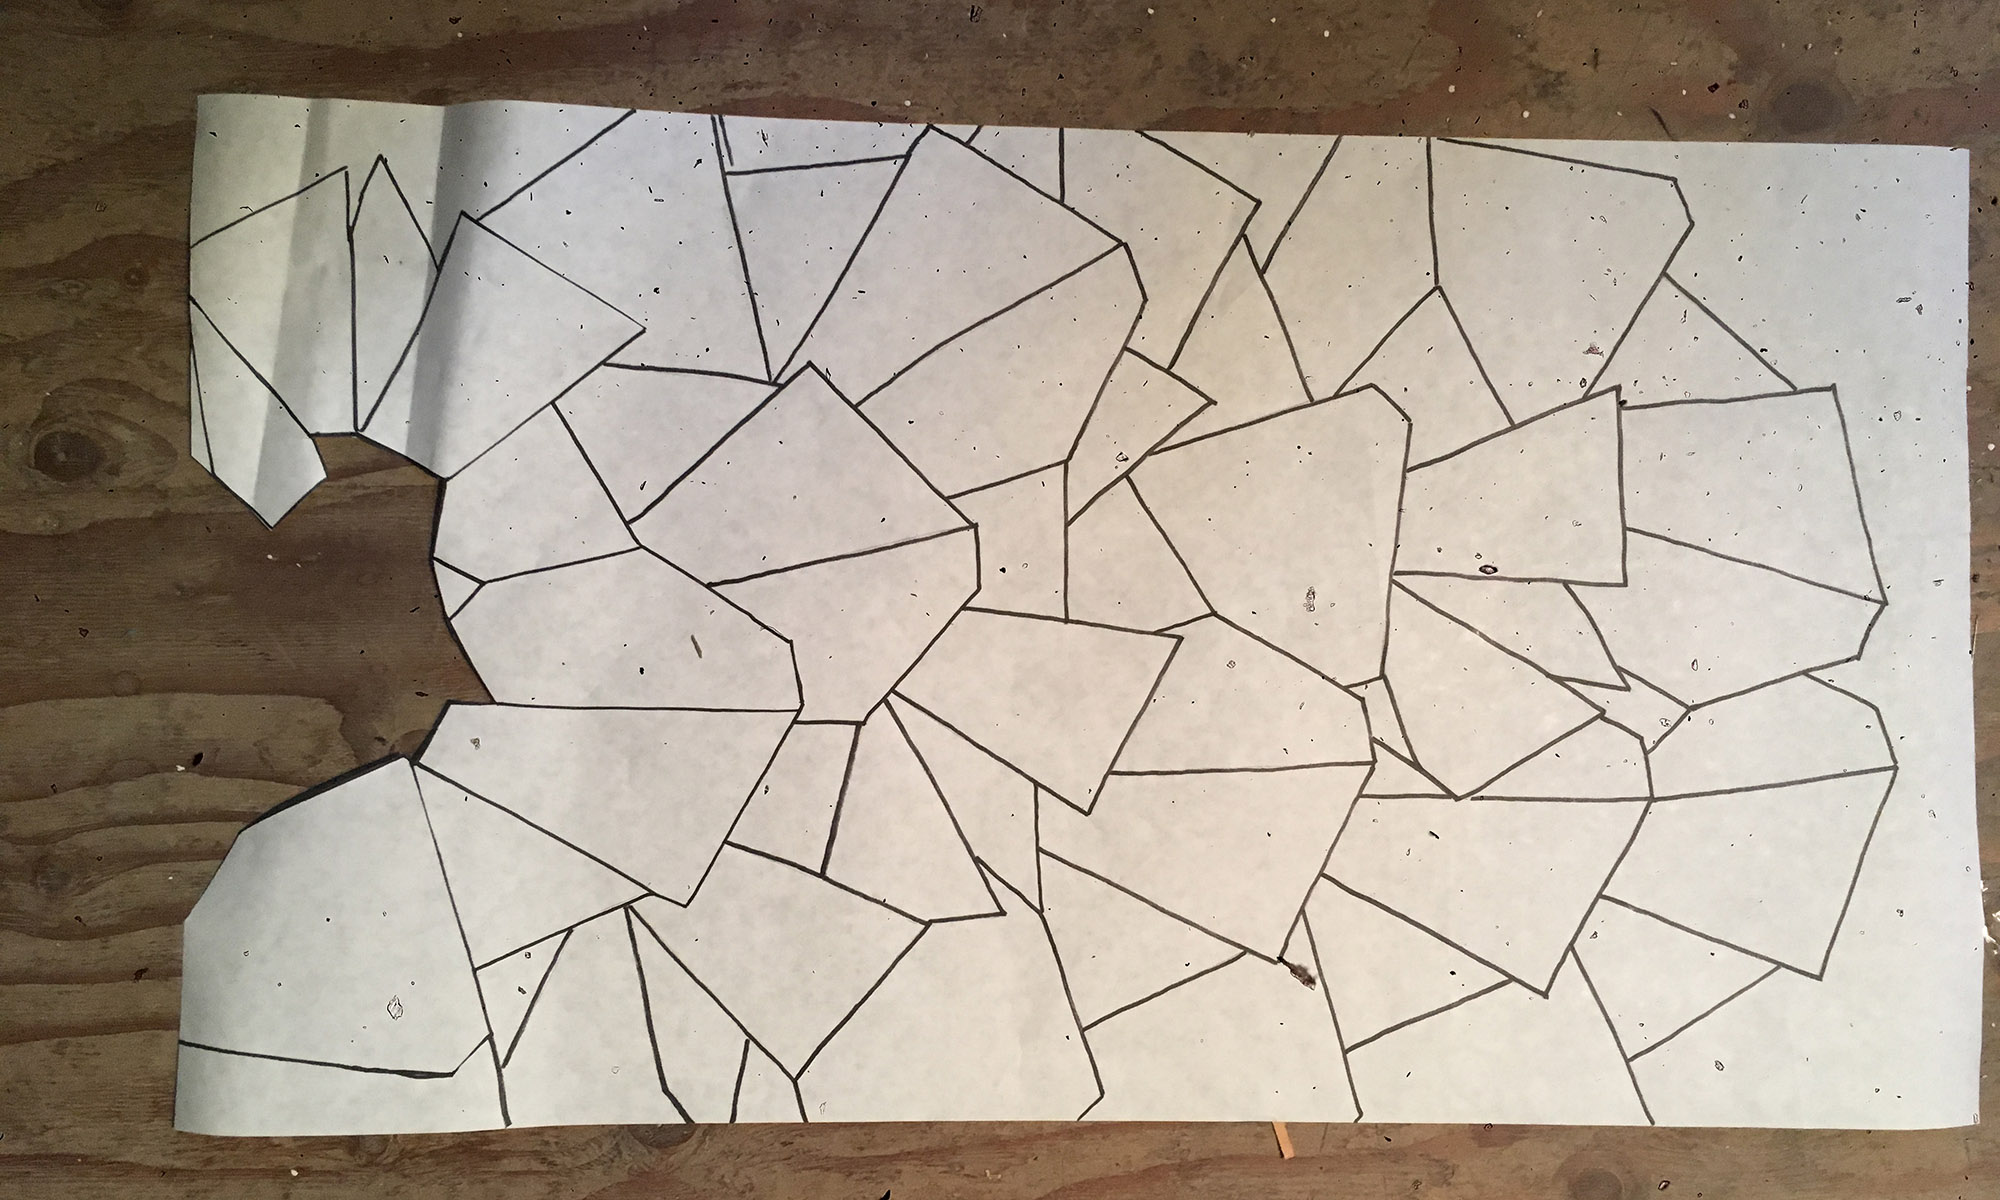
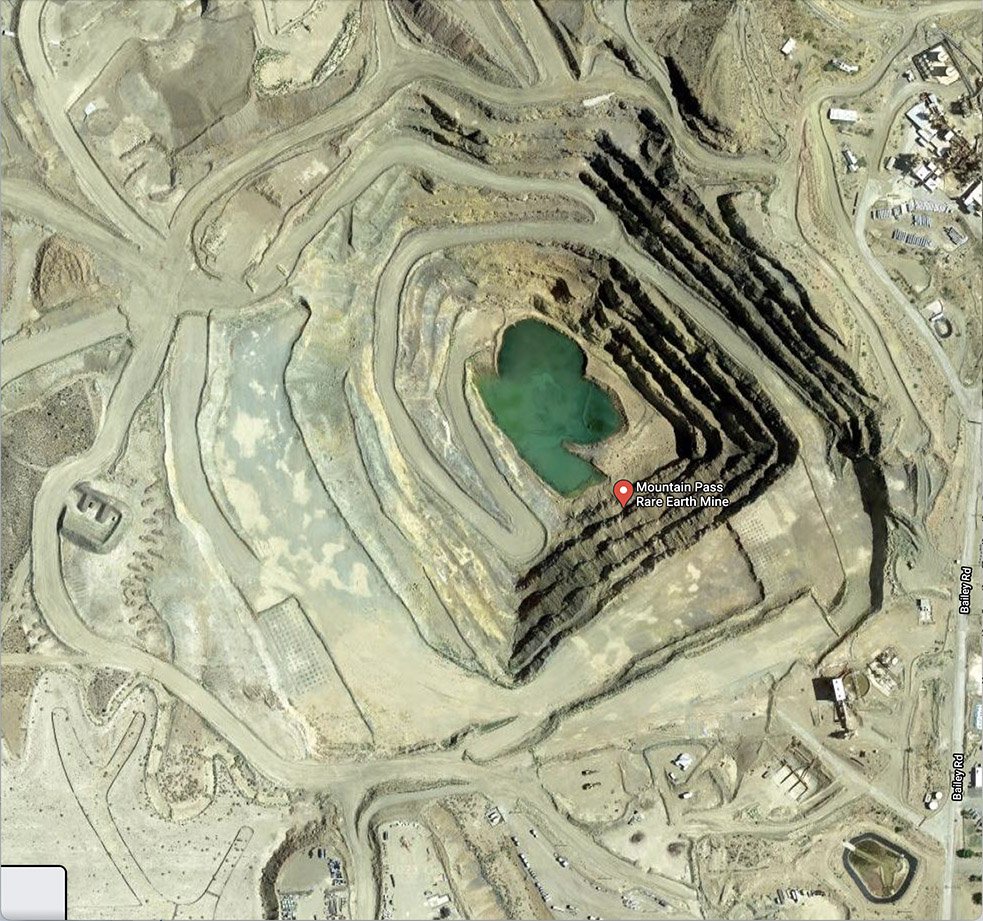
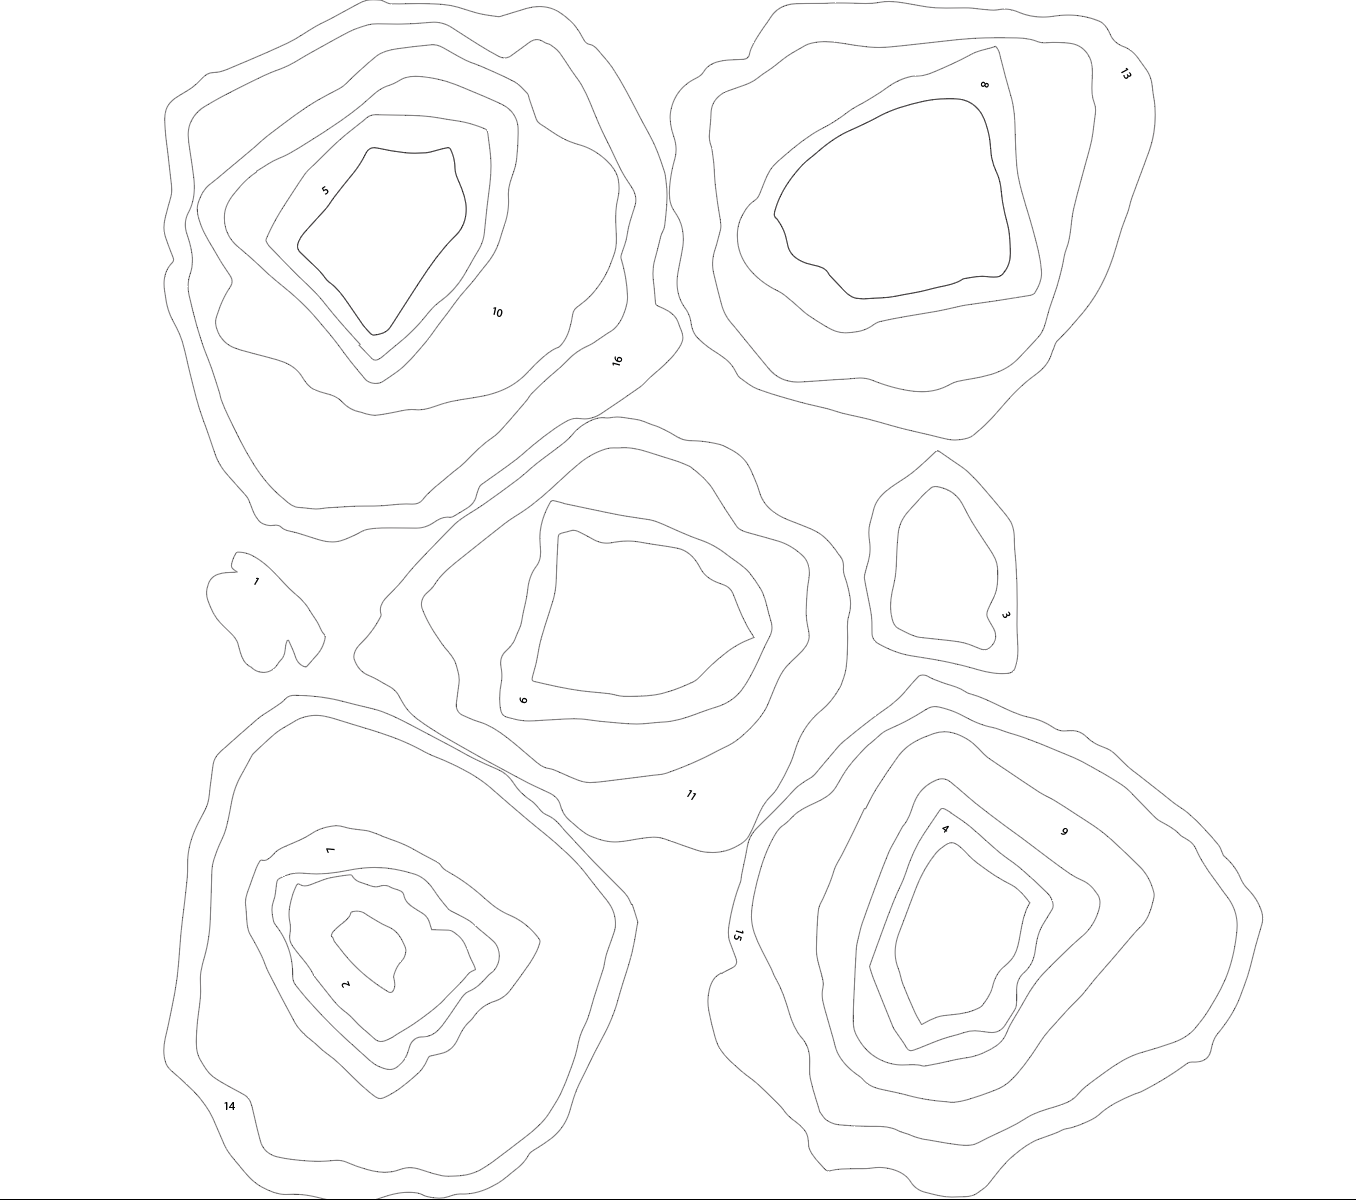
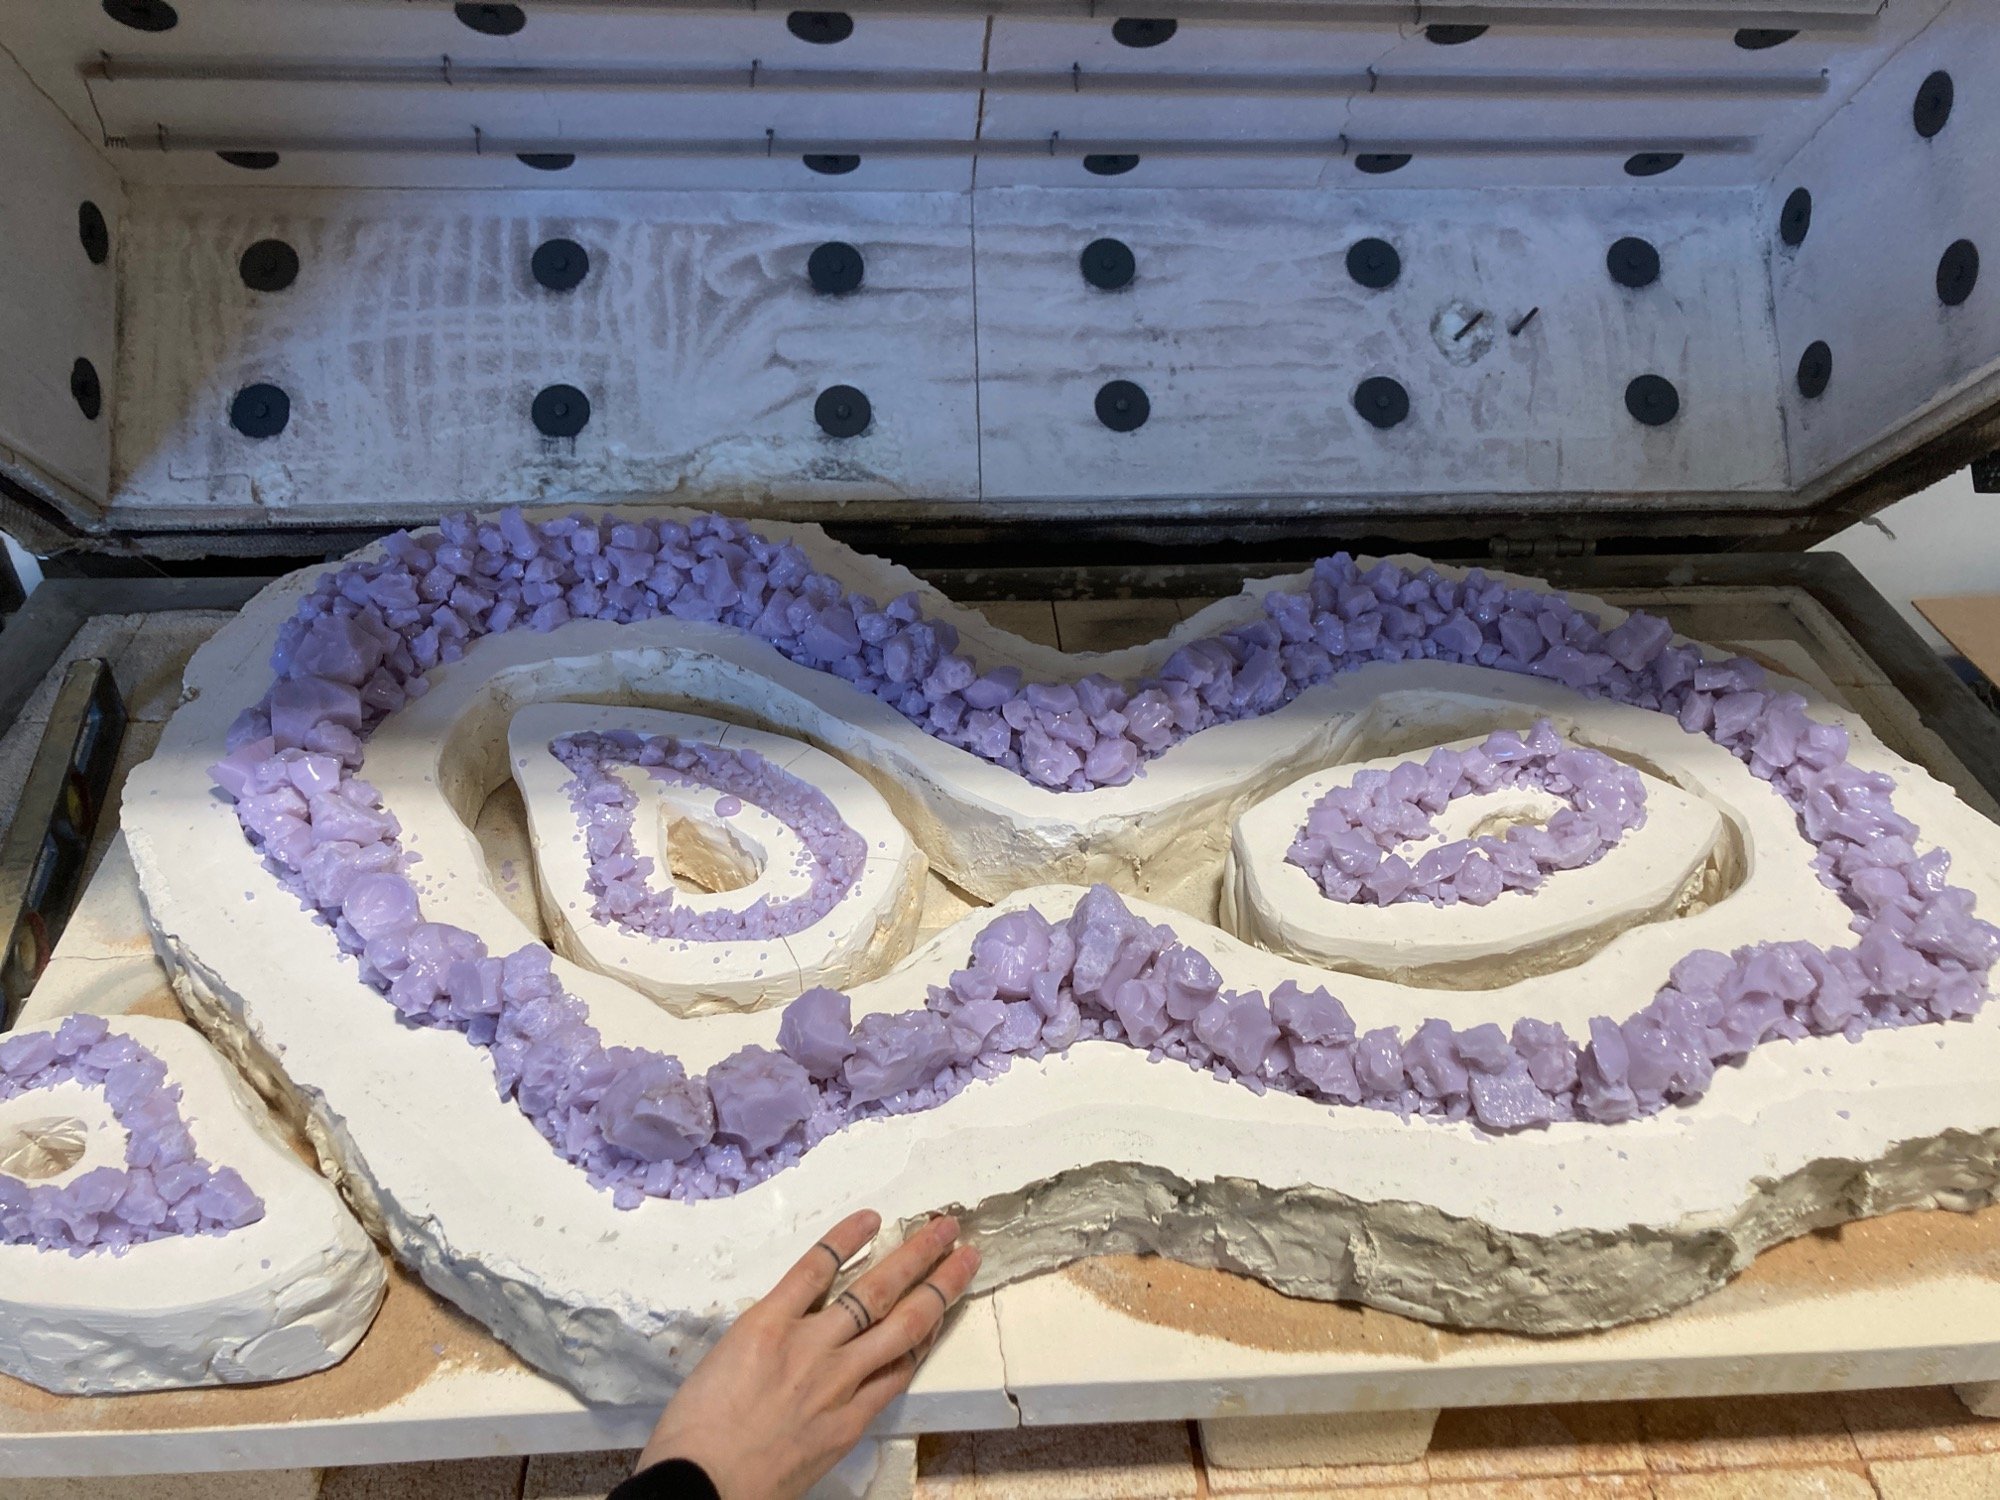
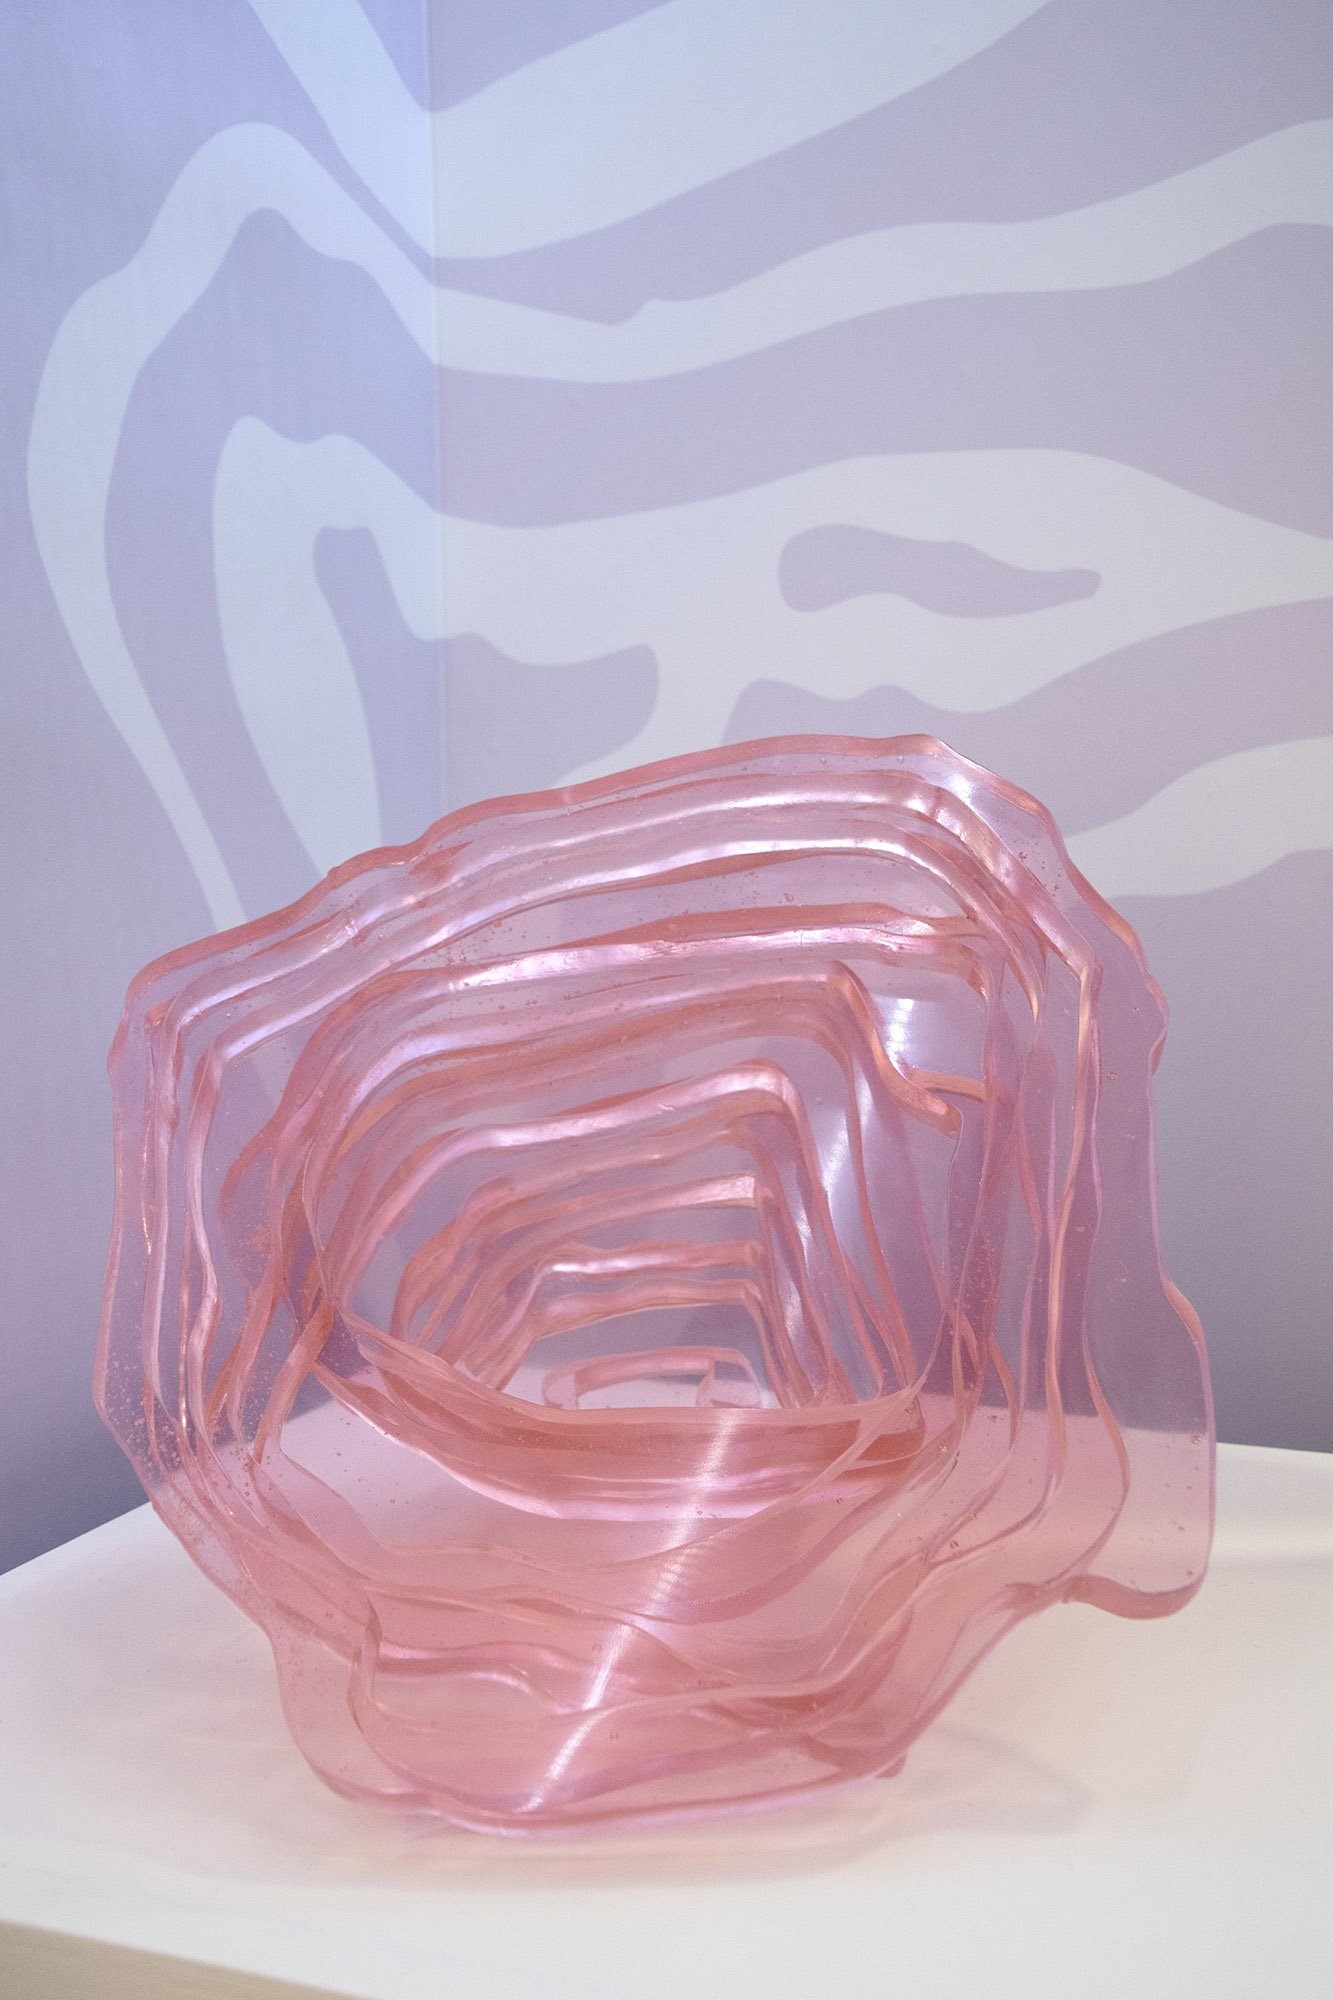
One set of objects are five large cast glass mine vessels that portrait rare earth mines around the world. I used satellite Images to trace the terrain as outlines. These were laser cut as wood templates, which in turn helped create the clay forms, from which the molds were made. Finally each mine was cast in 12-15 individual sections, which have to be ground and assembled. The color in the glass used, are RE’s from the minerals mined at these mines. Each mine vessel depicts a different RE mine around the globe.


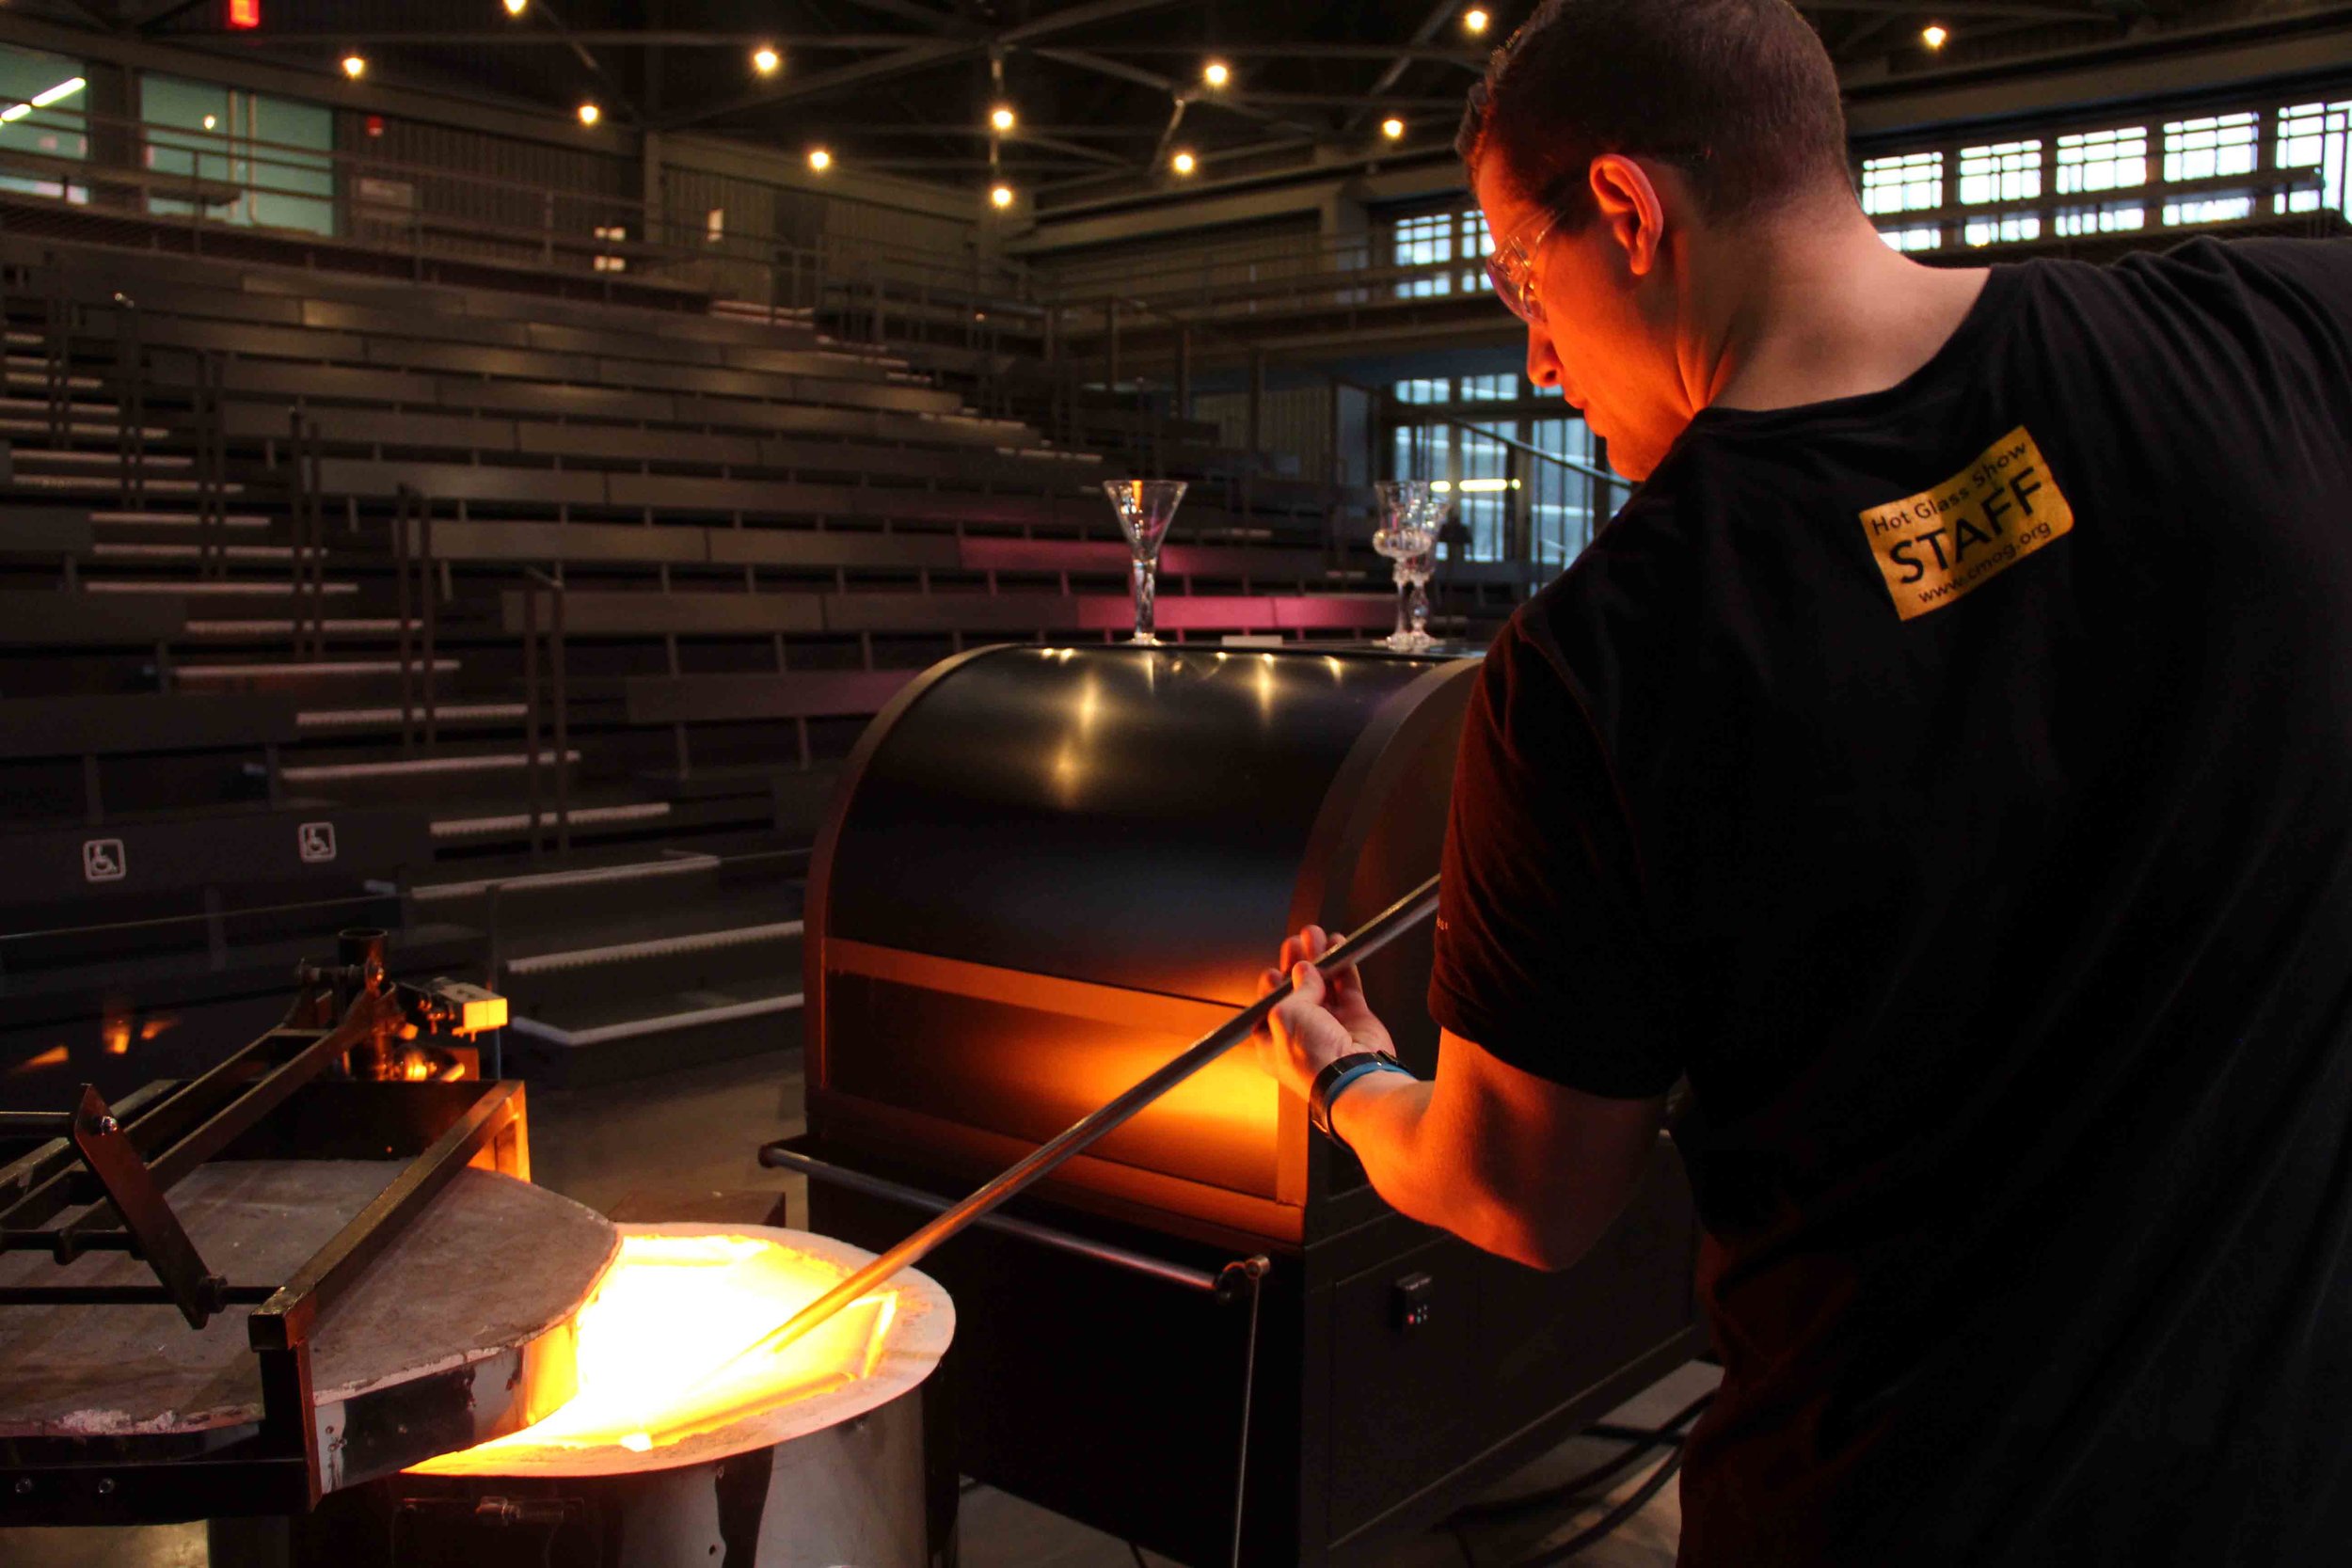
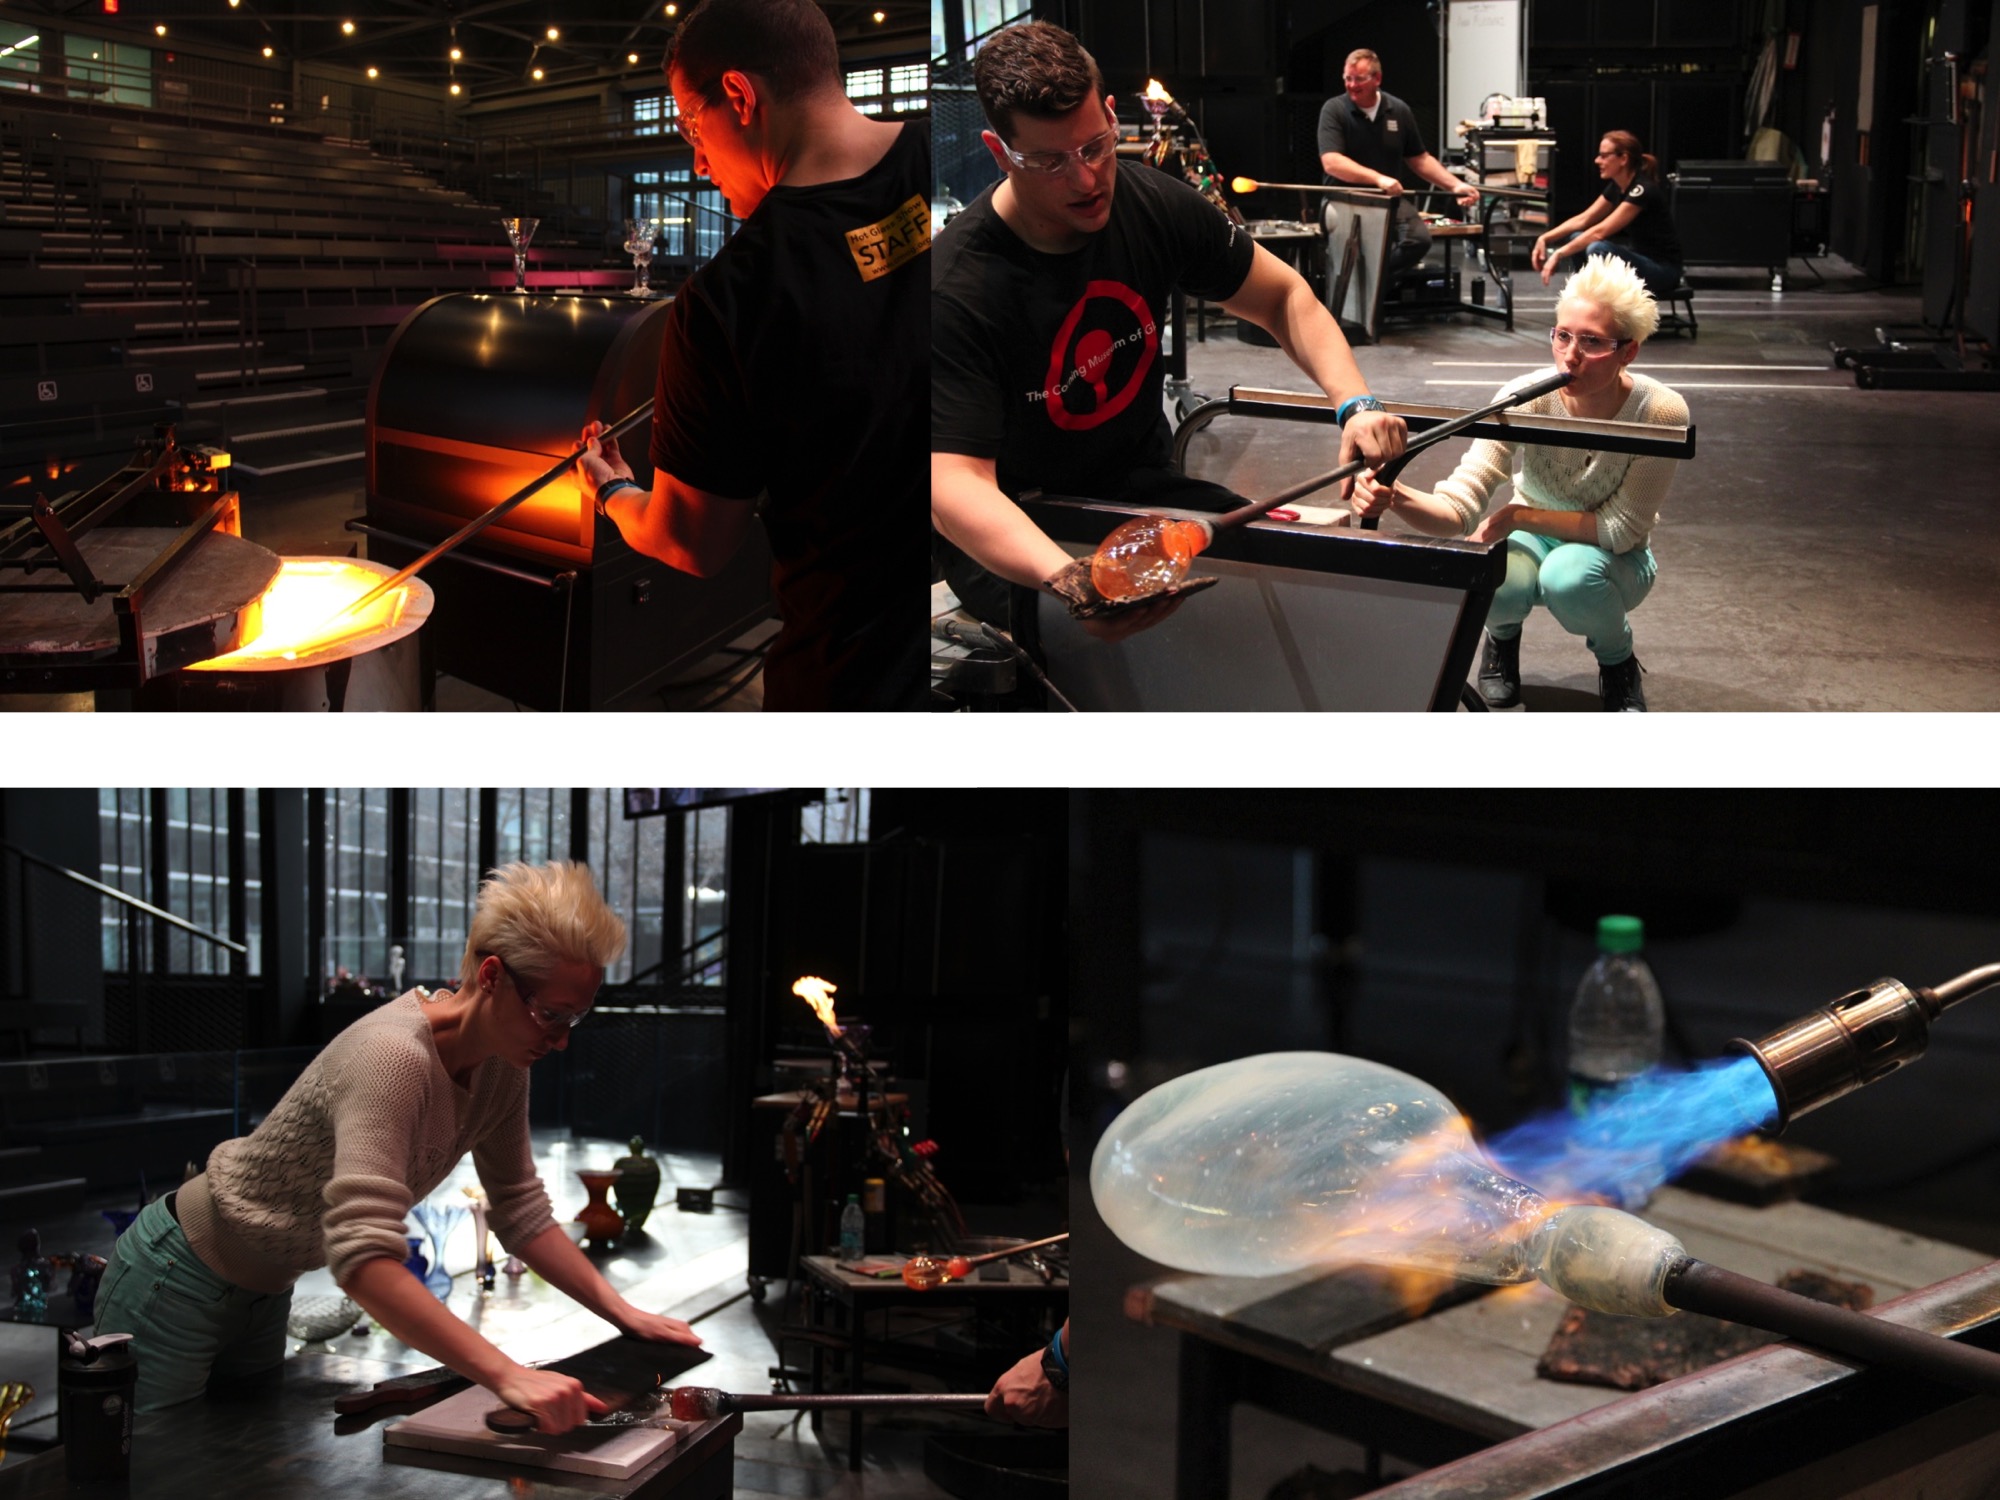
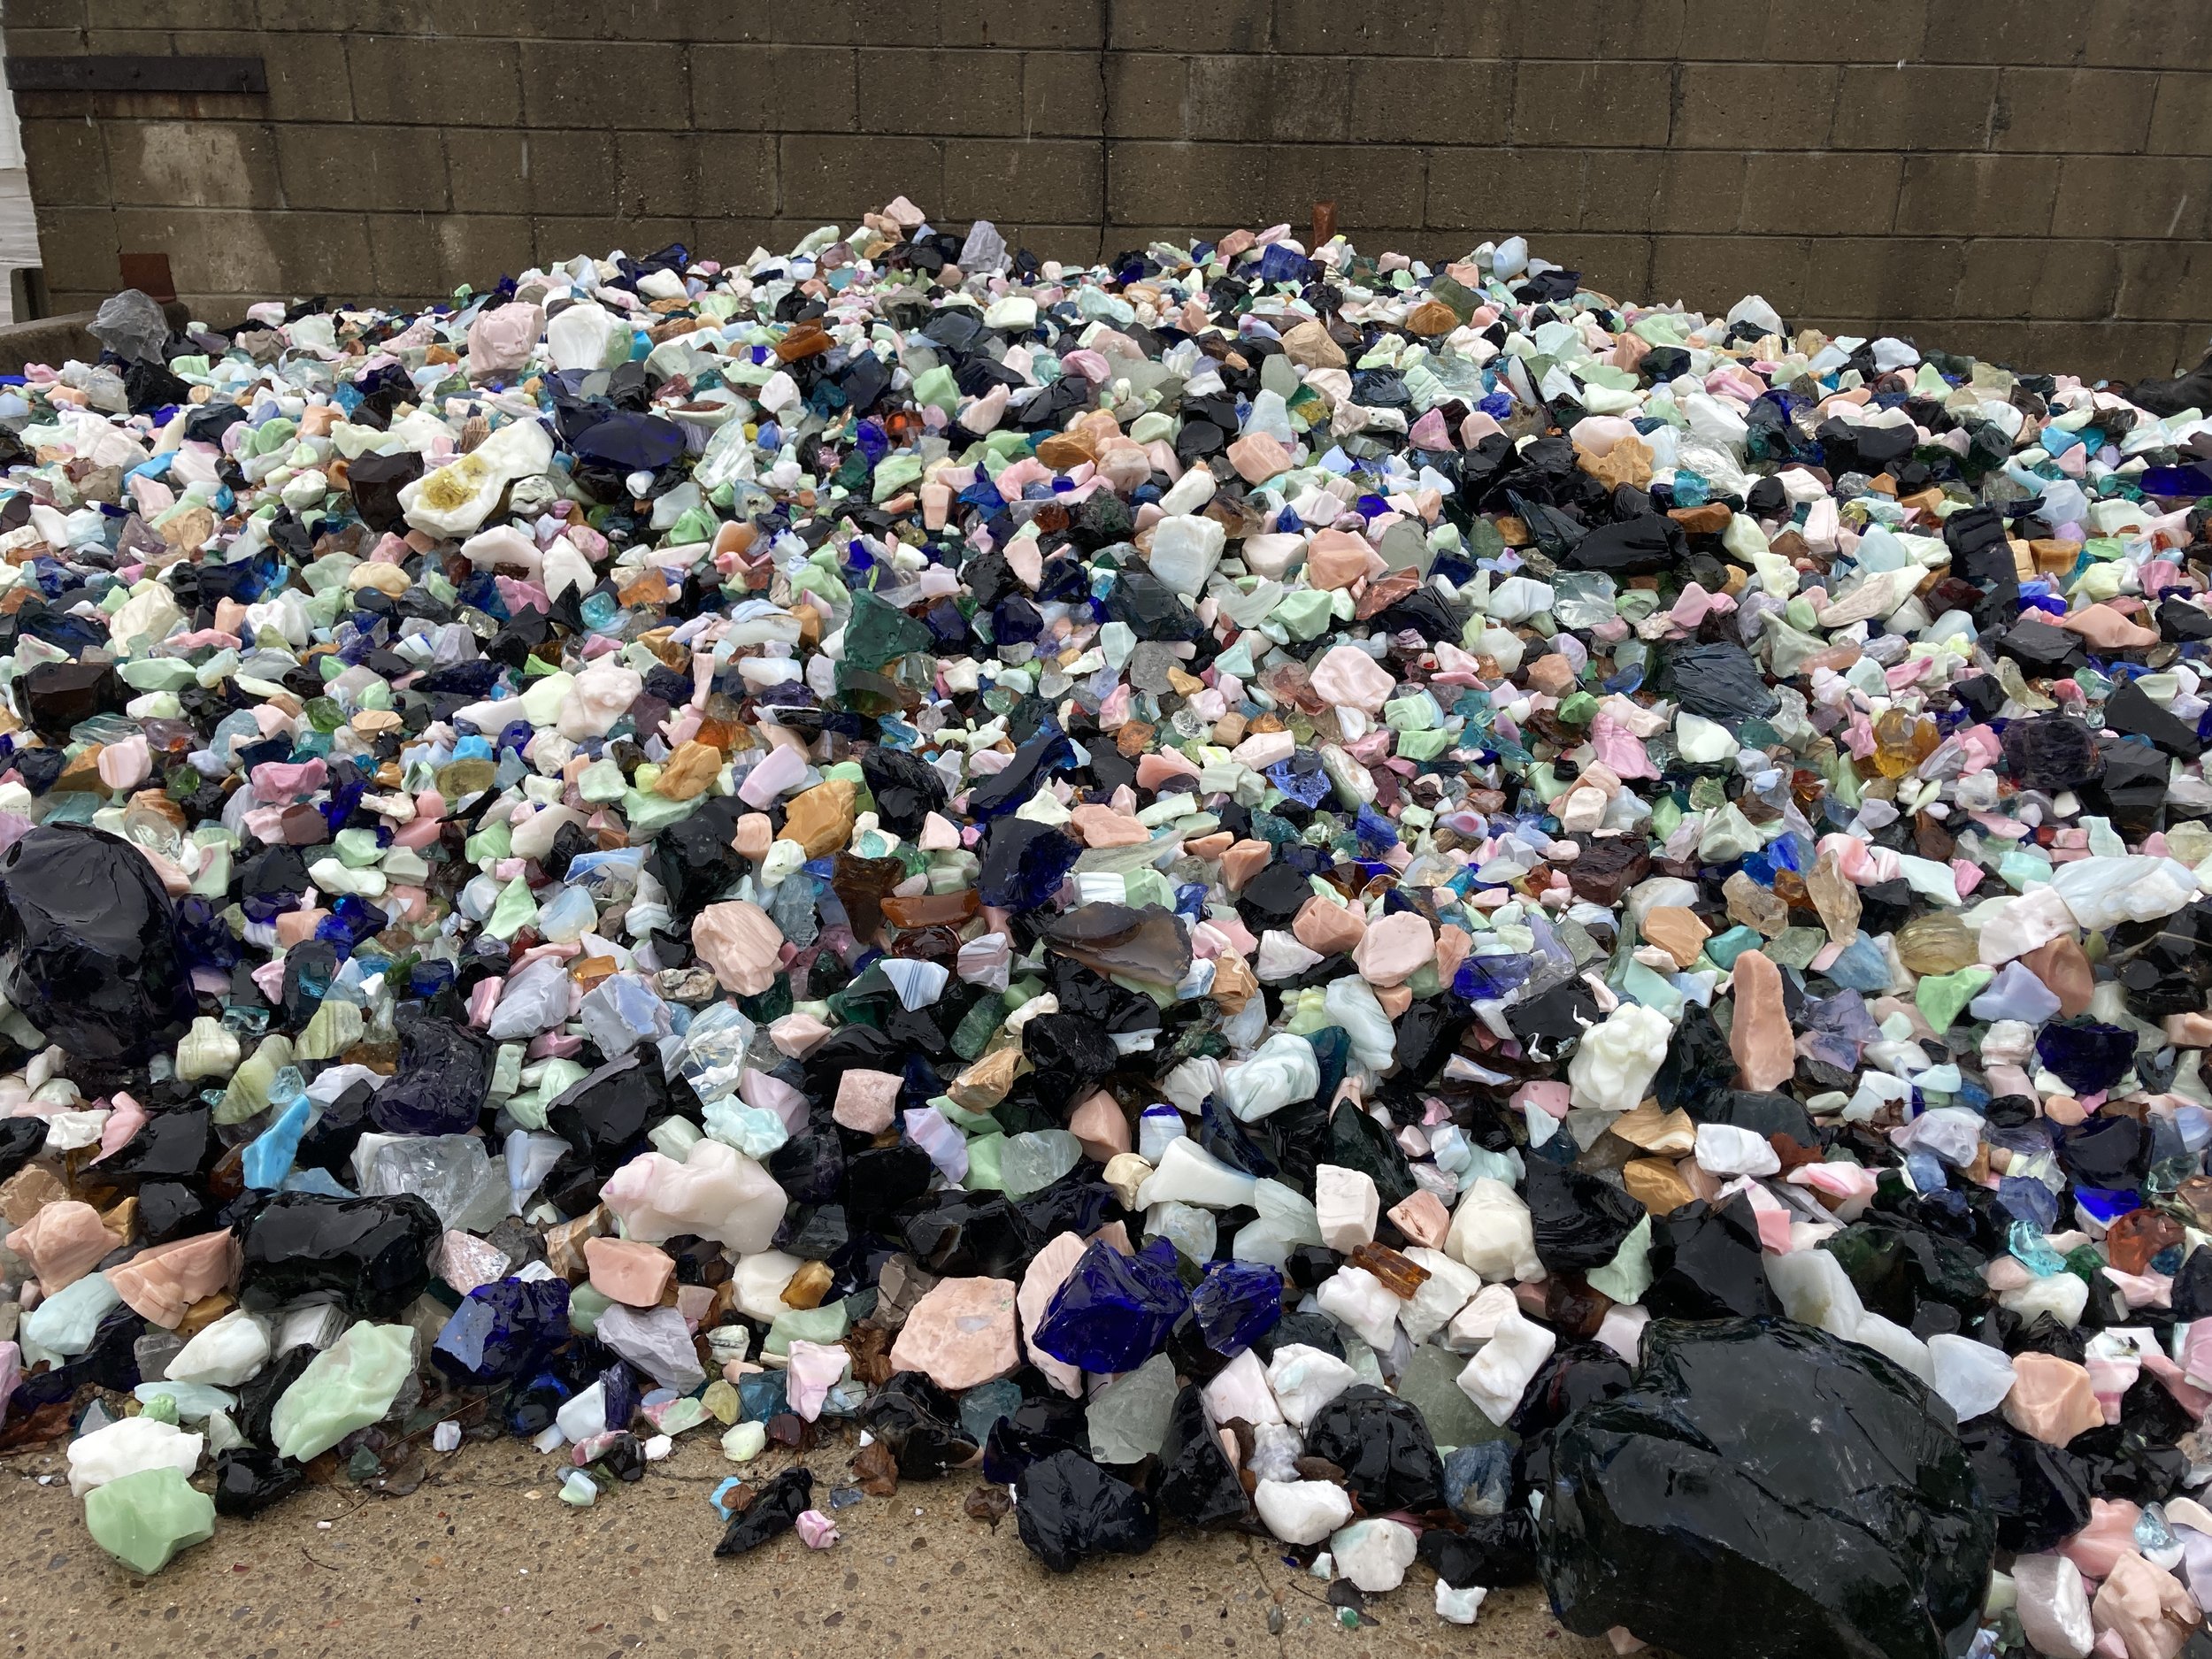
I purchase the 1000lb of glass for these castings from the derelict US glass industries surplus. Their glasses from the 1950-70’s often contain rare earths and uranium as they were very inexpensive then.


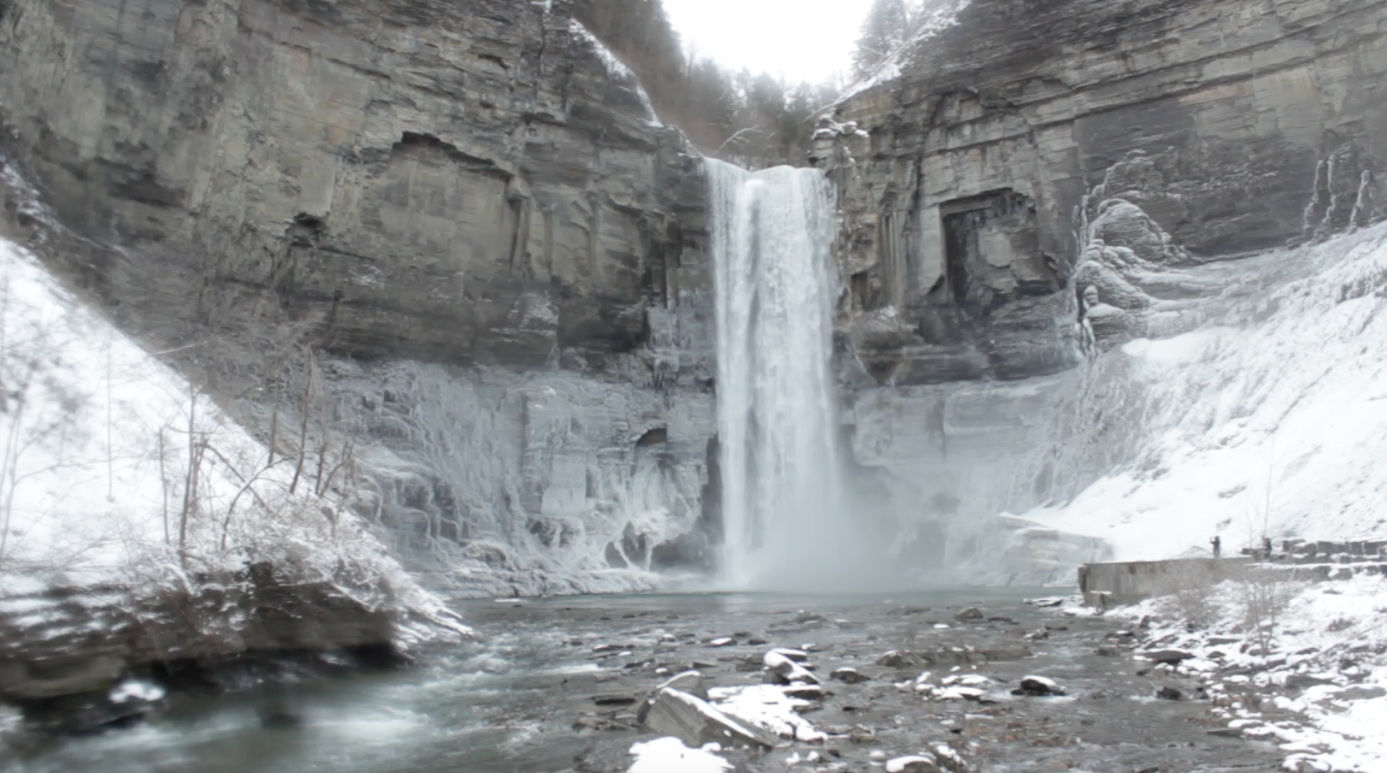
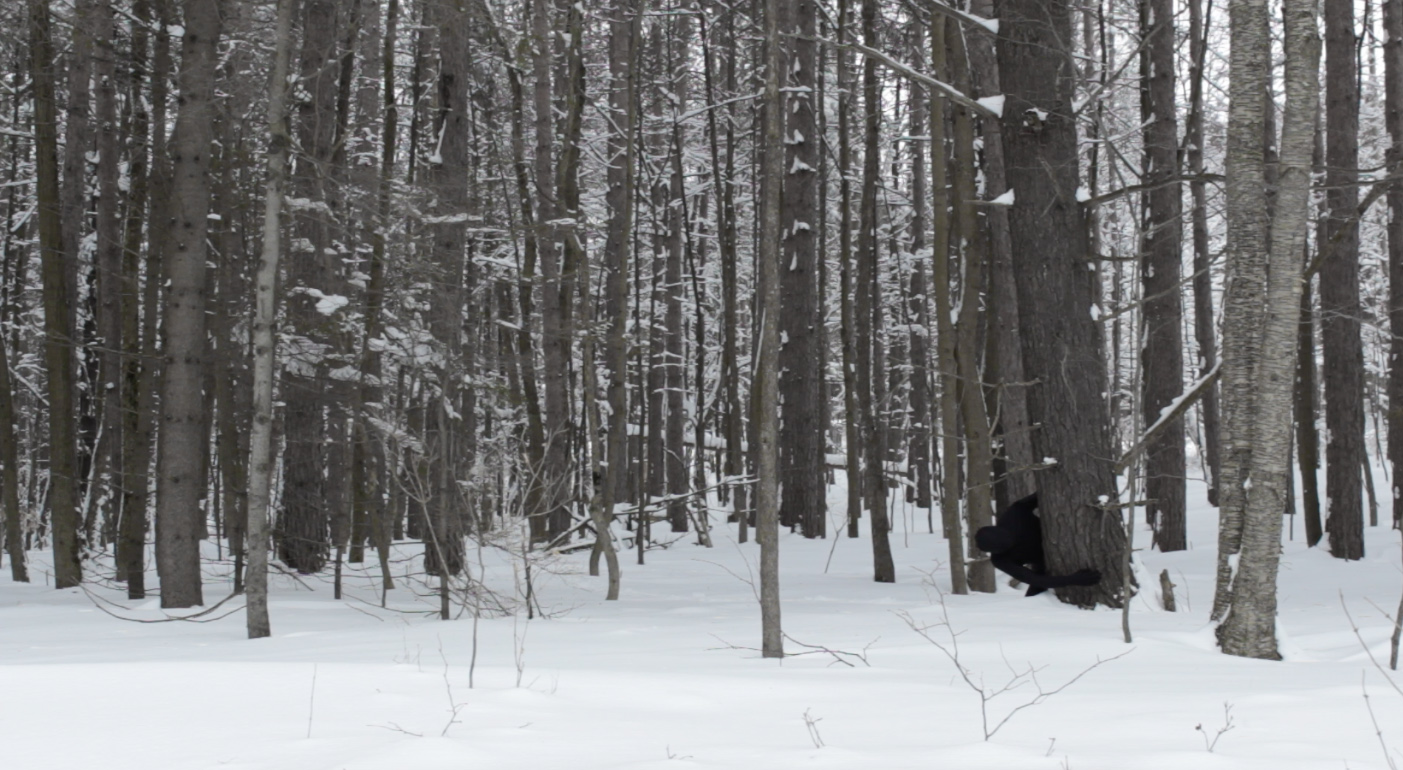
Last summer I went on a month long road trip to mining sites in the US to film sections of my video piece for the exhibition.
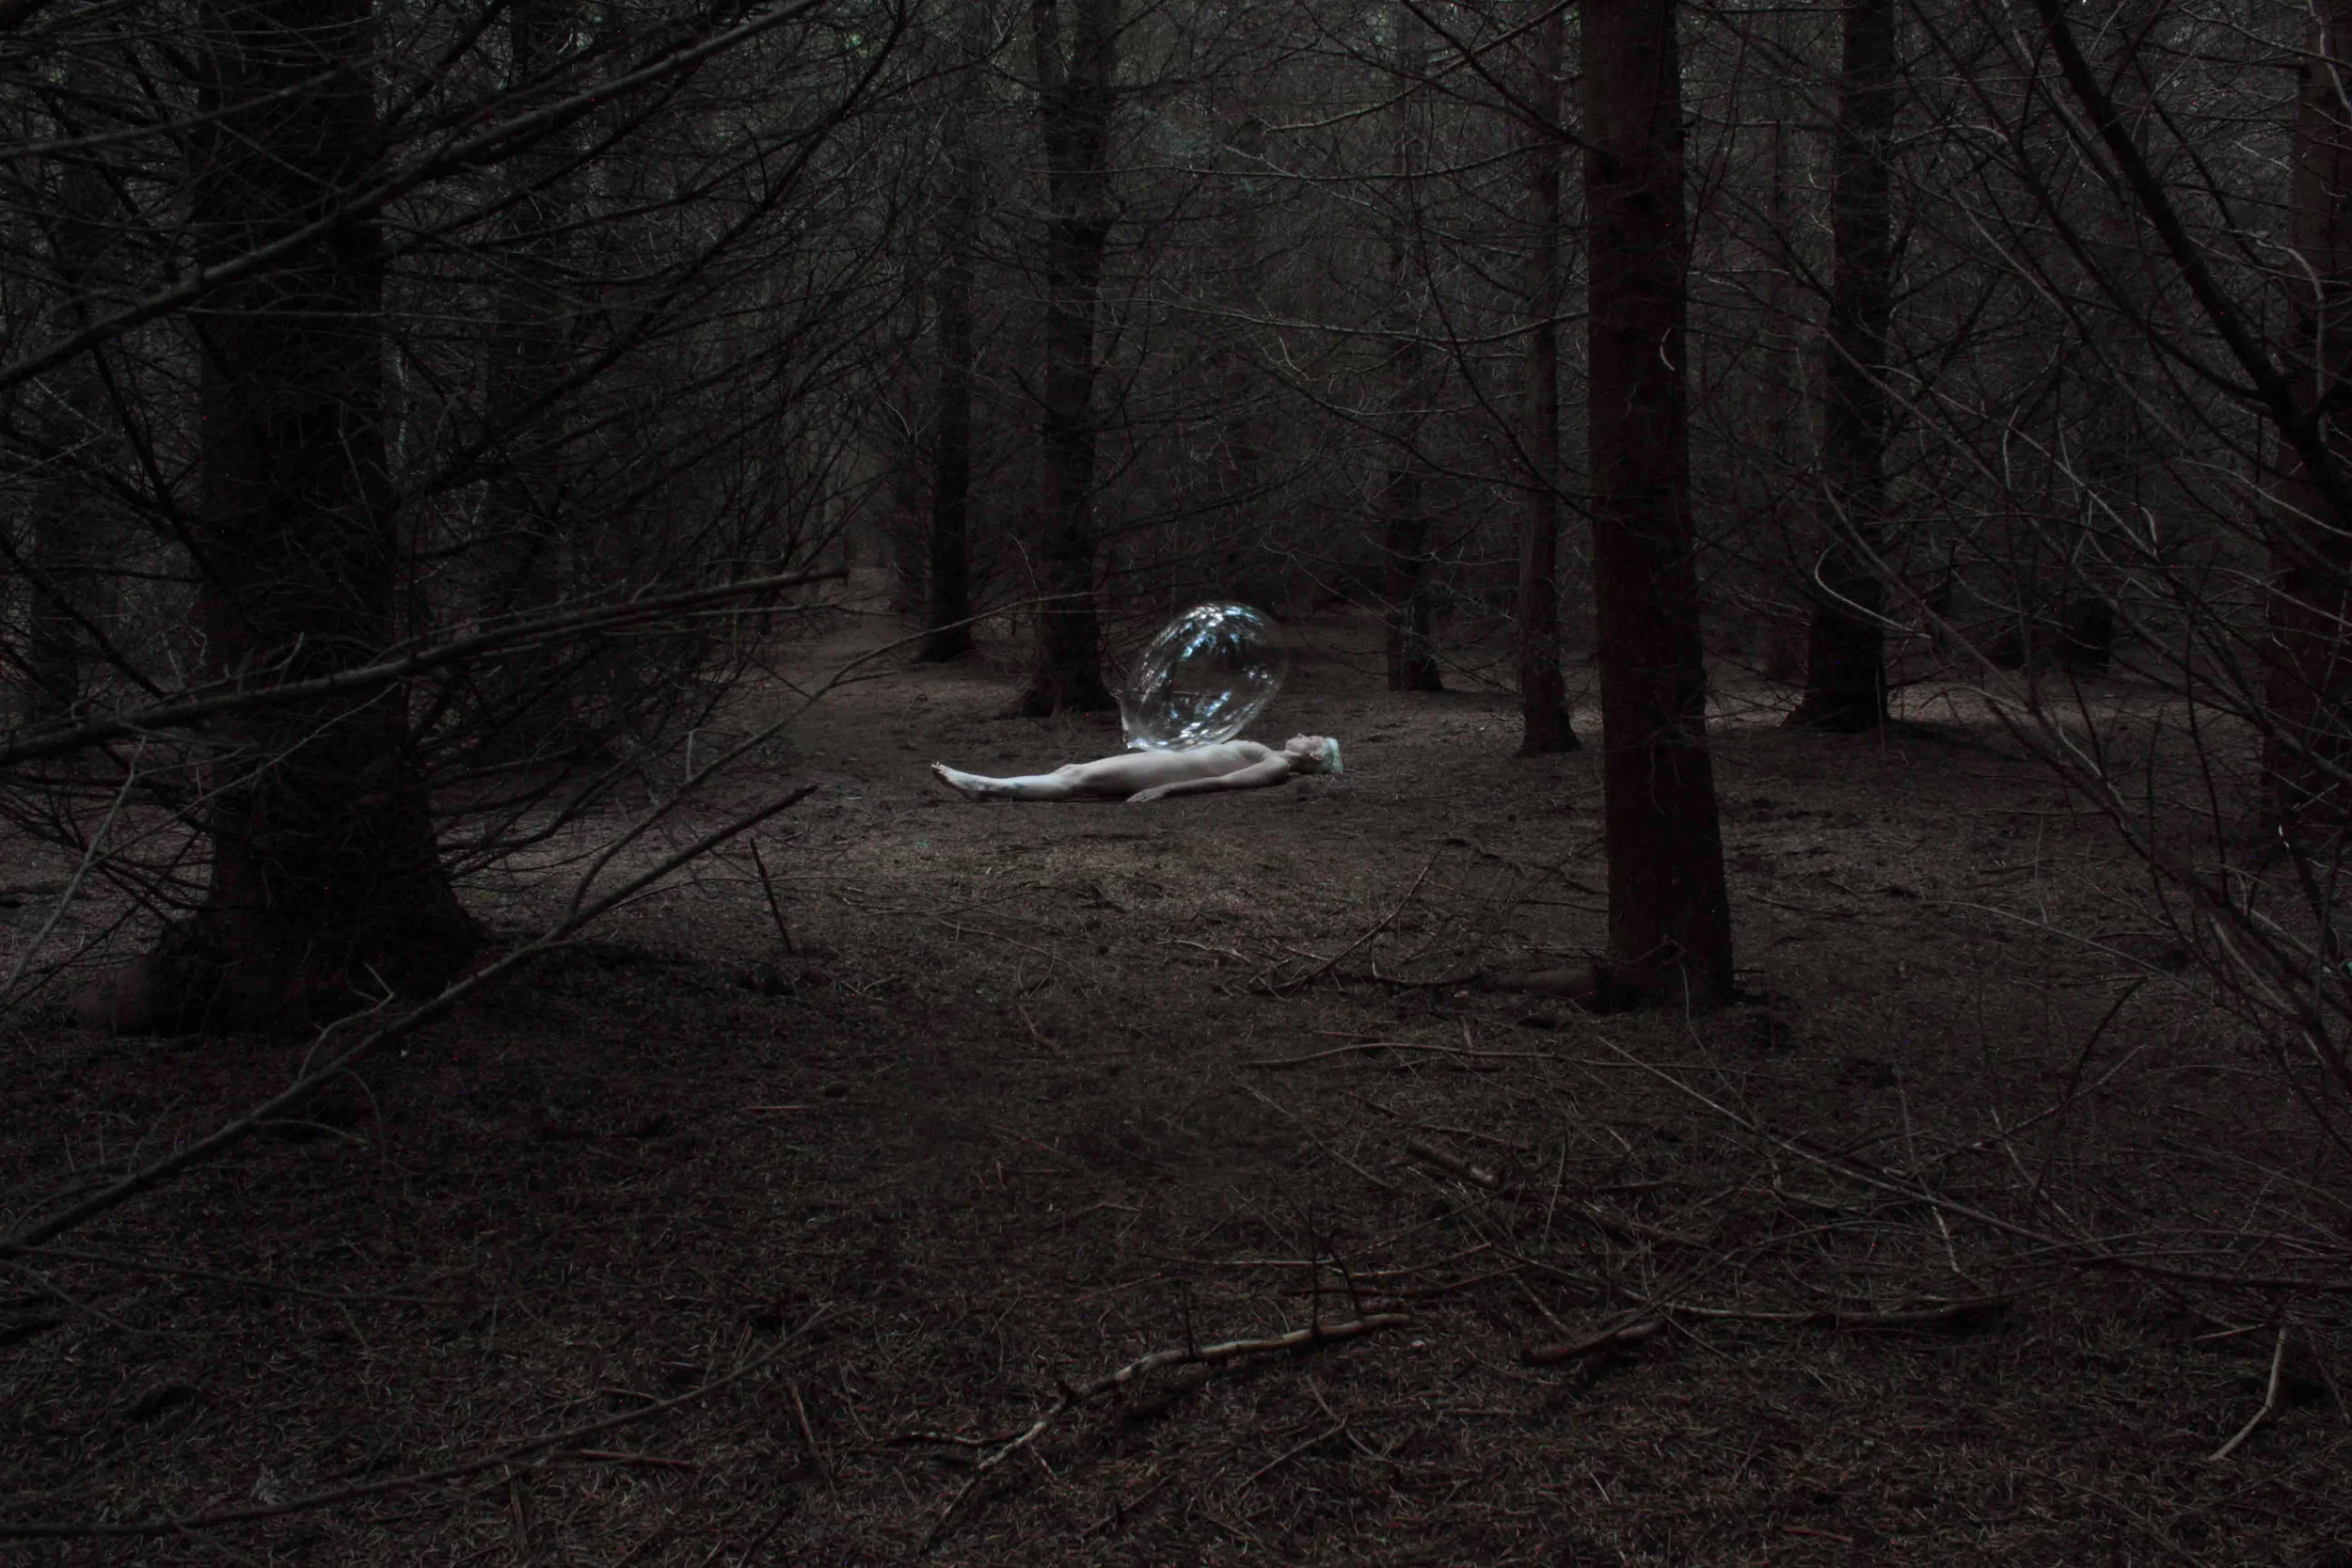
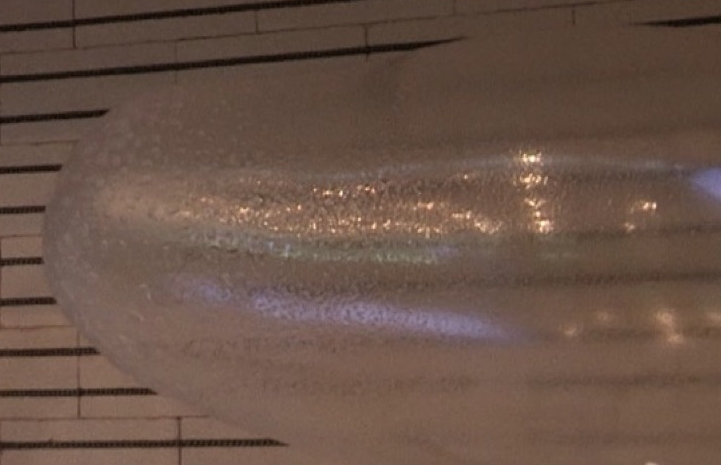
I am working on a video in which geologic survey map symbols hover above a landscape as a capitalistic way of looking at nature. I filmed it last summer during a mining road trip of the US West. From the ceiling will hang miners clothing baskets made from glass rods and rings. Visuals for these are included in my work samples. The exhibition will use three different types of light to illuminate the color changing abilities of RE glasses, to reveal invisible identities to point towards the hidden legacies of extraction.


I have presented my research during the Craft Ways Symposium in 2021. Craft Ways 2021-Tending to Craft, was co-presented by the Center for Craft and the MA in Critical Craft Studies program at Warren Wilson College. This gathering exemplified the type of generative collaboration that builds intergenerational networks to recognize and support future craft practice, research, and scholarship.
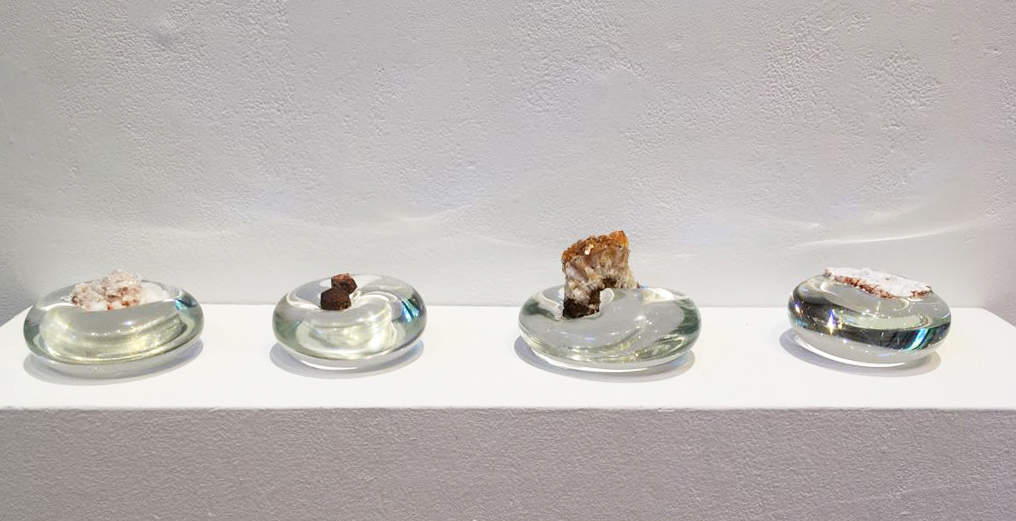
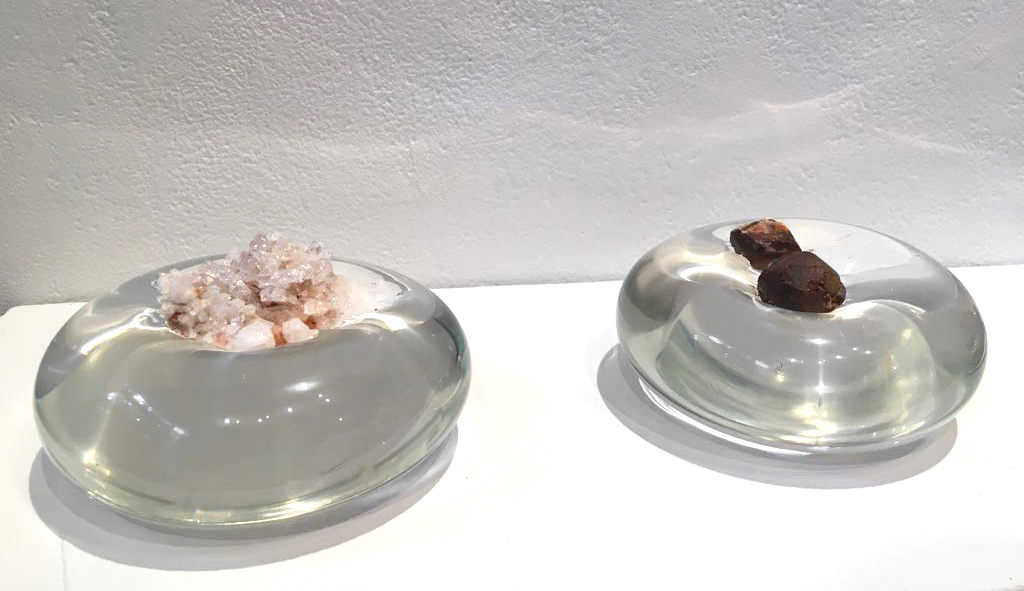
In 2022 I opened a small exhibition in the lobby of the Science History Institute for their visitors, that shows works in progress, material samples and documents the archival research conducted at SHI. This exhibition will be on display until April 2023.
Images by Emma Gothelf, courtesy of SHI


At the conclusion of my Fellowship at SHI a symposium Titled: “Color, Metals and Environments” was held, for which I presented my research and participated in a round table discussion with invited researchers from the University of Pennsylvania ( Dr. Eric Shelton) and Siobhan Angus, Ph.D. Fellow in the History of Art department at Yale University amongst others.
This is still a project in progress and I have yet to finish all the pieces.